Brother International DS-620 BR-Receipts Users Guide Windows - Page 13
Status Bar, Mark All - manual
 |
View all Brother International DS-620 manuals
Add to My Manuals
Save this manual to your list of manuals |
Page 13 highlights
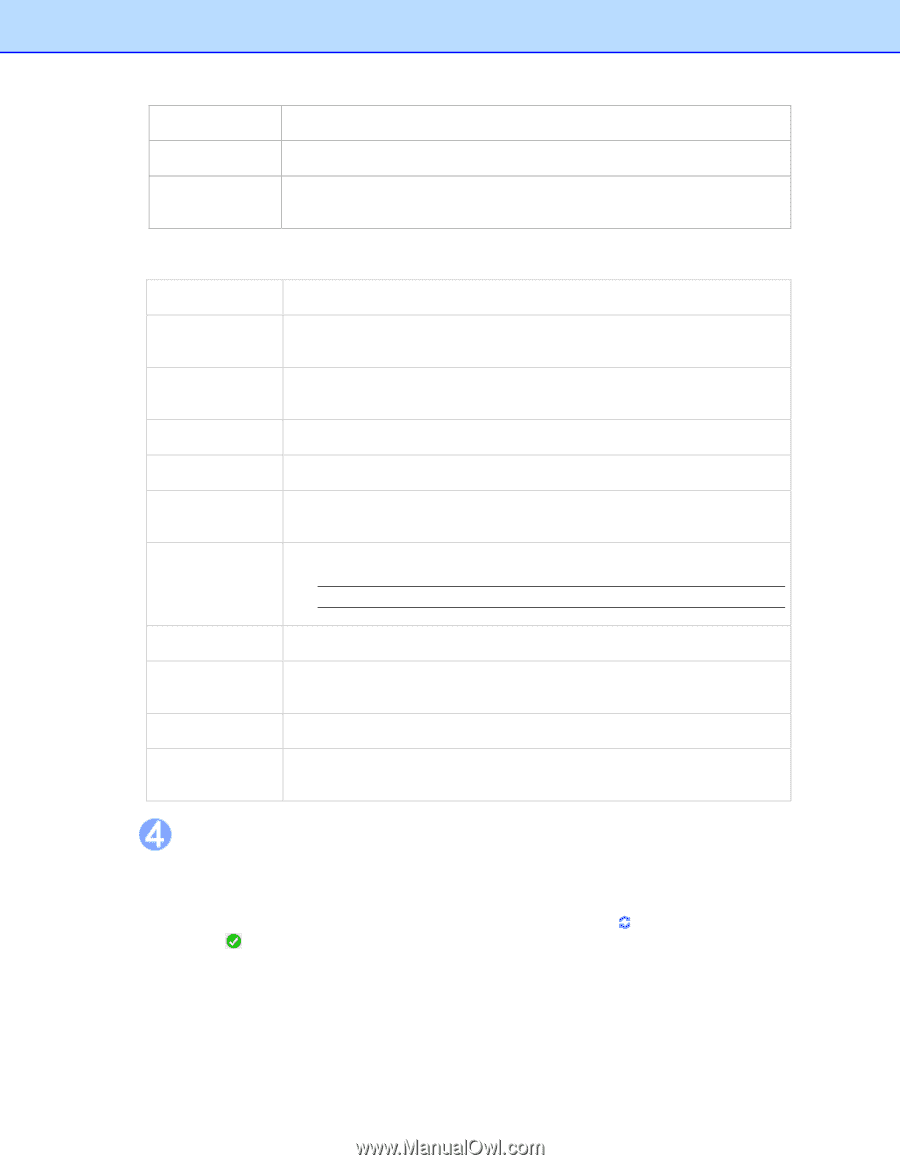
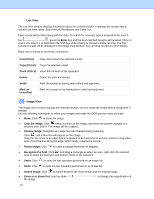
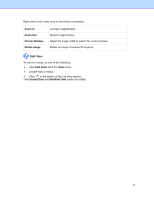
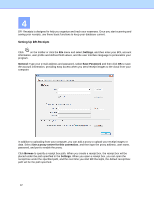
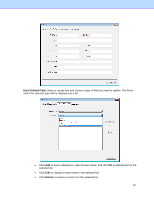
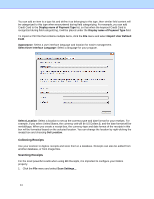
Set Location Choose a receipt box location from the menu. Close Close the receipt box and all the folders under it. Export to Cloud Enter an e-mail address and password to log in, select a receipt box, and send the receipt image to the cloud from your local computer. Right-click a folder in the Folder section to view these folder commands: Scan Receipt... Scan receipts to the currently selected folder. Import Receipt Images... Import receipts to the currently selected folder. Manually Create Create a new receipt and save it as a record. a New Receipt Paste Receipt Paste a copied receipt to a folder. Verify All Mark the folders as having been edited and approved. Mark All as Unverified Mark the folders as not having been edited and approved. Rename Folder Change the name of a folder. NOTE: The folder name can be no more than 184 characters. Delete Folder The folder and all of its contents will be erased from the database. Export to File Save specific receipts or all receipts in the folder as a file in CSV, PDF, QIF, or IIF format. Create Report Choose folders and generate reports. Export to Cloud Enter an e-mail address and password to log in, select a receipt box, and send the receipt image to the cloud from your local computer. Status Bar The Status bar displays the current number of receipts, the unverified receipts and the processing status when you upload files to BOL. To view status when you upload receipt images or data to the cloud, click . When you export a file successfully, appears in the status bar. 9
-
 1
1 -
2
-
3
-
4
-
5
-
6
-
7
-
 8
8 -
 9
9 -
 10
10 -
 11
11 -
 12
12 -
 13
13 -
 14
14 -
 15
15 -
 16
16 -
 17
17 -
 18
18 -
19
-
20
-
21
-
22
-
23
-
24
-
25
-
26
-
27
-
28
-
29
-
30
-
31
-
32
-
33
 |
 |