Brother International NX-400 Users Manual - English - Page 127
Realigning the pattern, operation panel.
 |
View all Brother International NX-400 manuals
Add to My Manuals
Save this manual to your list of manuals |
Page 127 highlights
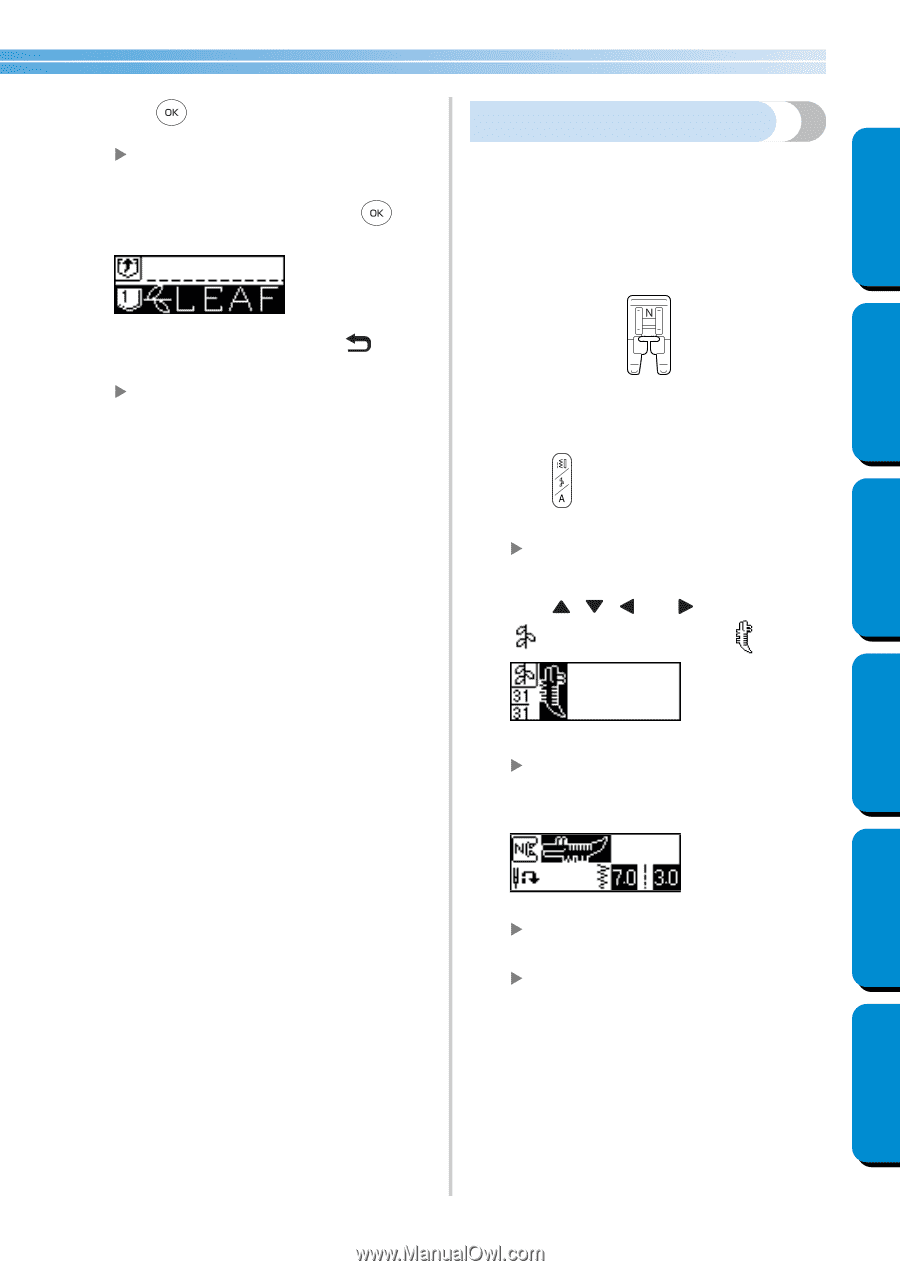
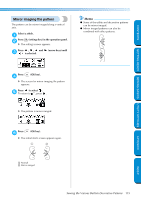
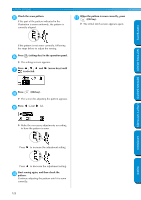
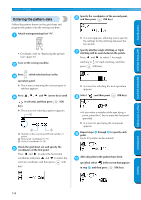
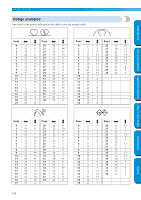
CONTENTS GETTING READY SEWING BASICS UTILITY STITCHES Press 5 (OK key). X The contents of the selected pocket are displayed. Check the contents, and then press (OK 6 key). Realigning the pattern The pattern may not be sewn correctly, depending on the type of fabric being sewn or the sewing speed. If this occurs, adjust the pattern while sewing on a piece of scrap fabric that is the same as that used for your project. Attach monogramming foot "N". 1 To select a different pocket, press key). (back X The initial stitch screen appears again, and the pattern from the selected pocket is recalled. • For details, refer to "Replacing the presser foot" (page 37). Press 2 (stitch selection key) in the operation panel. X The screen containing the various types of stitches appears. Press , , and (arrow keys) until 3 is selected, and then select . X The pattern alignment stitch is selected. Start sewing. 4 X The pattern for making the adjustment is sewn. X The sewing machine stops after it has finished sewing the pattern. APPENDIX INDEX Sewing the Various Built-In Decorative Patterns 121
-
 1
1 -
2
-
3
-
4
-
5
-
6
-
7
-
8
-
9
-
10
-
11
-
12
-
13
-
14
-
15
-
16
-
17
-
18
-
19
-
20
-
21
-
22
-
23
-
24
-
25
-
26
-
27
-
28
-
29
-
30
-
31
-
32
-
33
-
34
-
35
-
36
-
37
-
38
-
39
-
40
-
41
-
42
-
43
-
44
-
45
-
46
-
47
-
48
-
49
-
50
-
51
-
52
-
53
-
54
-
55
-
56
-
57
-
58
-
59
-
60
-
61
-
62
-
63
-
64
-
65
-
66
-
67
-
68
-
69
-
70
-
71
-
72
-
73
-
74
-
75
-
76
-
77
-
78
-
79
-
80
-
81
-
82
-
83
-
84
-
85
-
86
-
87
-
88
-
89
-
90
-
91
-
92
-
93
-
94
-
95
-
96
-
97
-
98
-
99
-
100
-
101
-
102
-
103
-
104
-
105
-
106
-
107
-
108
-
109
-
110
-
111
-
112
-
113
-
114
-
115
-
116
-
117
-
118
-
119
-
120
-
121
-
 122
122 -
 123
123 -
 124
124 -
 125
125 -
 126
126 -
 127
127 -
 128
128 -
 129
129 -
 130
130 -
 131
131 -
 132
132 -
133
-
134
-
135
-
136
-
137
-
138
-
139
-
140
-
141
-
142
-
143
-
144
-
145
-
146
-
147
-
148
-
149
-
150
-
151
-
152
-
153
 |
 |