Brother International XL-6452 User Manual - French - Page 18
Caution
 |
View all Brother International XL-6452 manuals
Add to My Manuals
Save this manual to your list of manuals |
Page 18 highlights
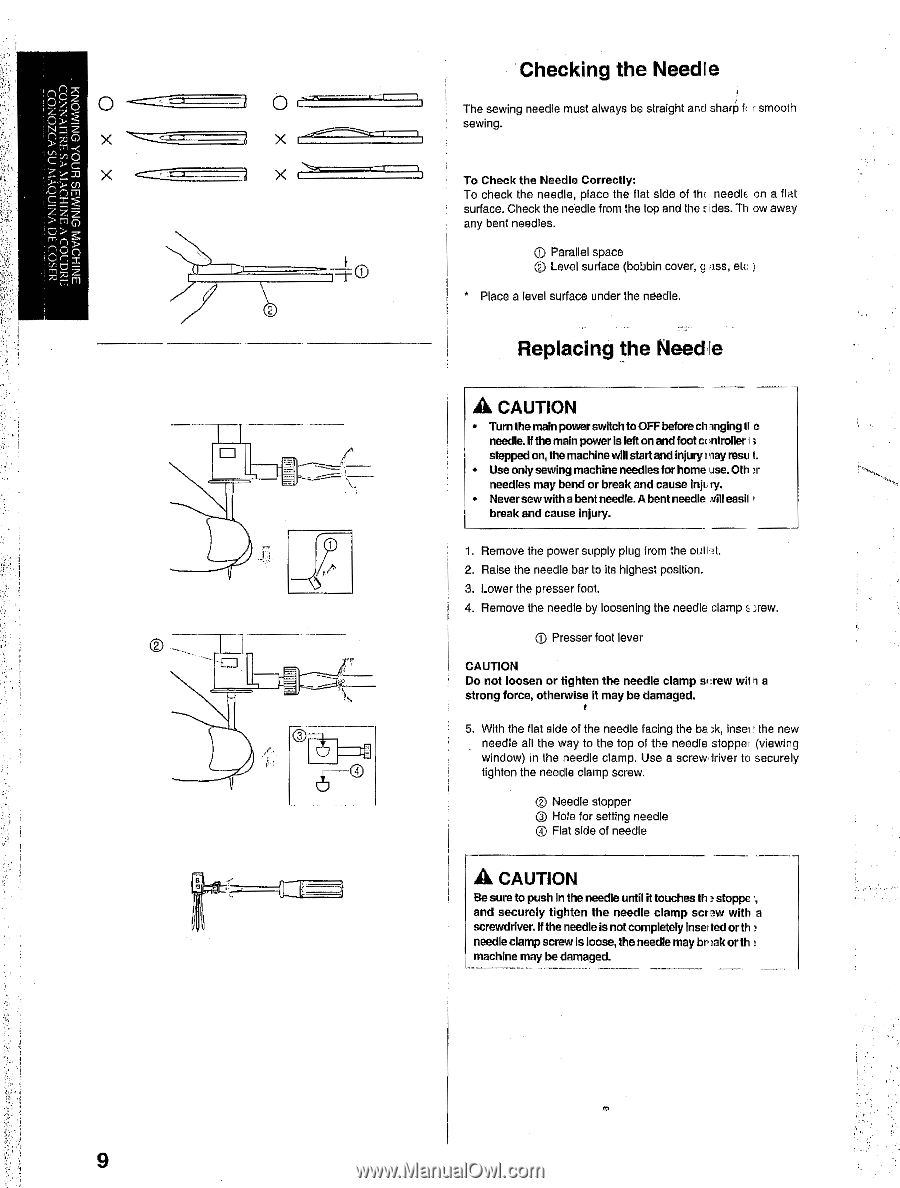
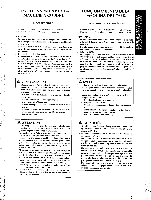
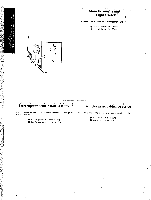
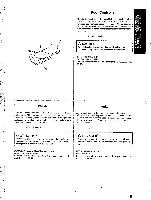
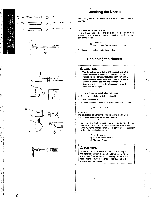
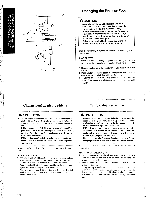
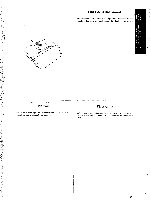
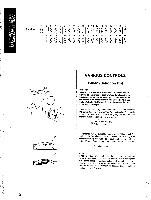
n P- Cz O N y a - z m (rm-- .l c Cc cn X ' > 21O; c > ,O n .1 Z Or X I I Checking the Needle The sewing needle must always be straight and sharp k r smooth sewing. To Check the Needle Correctly: To check the needle, place the flat side of 1hi needle on a flat surface. Check the needle from the top and the t ides. Th ow away any bent needles. 0) Parallel space CO Level surface (bobbin cover, g ass, etc ) " Place a level surface under the needle. Replacing the Needle A CAUTION • TurnthemainpowerswitchtoOFF before clunging tl e needled( the main power Is left on and foot a introtter ; stepped on, the machine will start and injury may resu I. • Use only sewing machine needles for home use. Oth needles may bend or break and cause inji ry. • Never sew with a bent needle. A bent needle mill easil break and cause injury. 1. Remove the power supply plug from the oullait. 2. Raise the needle bar to its highest position. 3. Lower the presser foot. 4. Remove the needle by loosening the needle clamp strew. Ci Presser foot lever CAUTION Do not loosen or tighten the needle clamp screw wil ; a strong force, otherwise it may be damaged. 5. With the flat side of the needle facing the bask, Insei ' the new needle all the way to the top of the needle stopper (viewing window) in the needle clamp. Use a screw (river to securely tighten the needle clamp screw. C) Needle stopper C) Hole for setting needle ) Flat side of needle A CAUTION Be sure to push In the needle until it touches th a stoppe and securely tighten the needle clamp screw with a screwdriver.If the needleis not completely Insertedor th needle clamp screw is loose, the needle may brtak or th machine may be damaged.
-
 1
1 -
2
-
3
-
4
-
5
-
6
-
7
-
8
-
9
-
10
-
11
-
12
-
 13
13 -
 14
14 -
 15
15 -
 16
16 -
 17
17 -
 18
18 -
 19
19 -
 20
20 -
 21
21 -
 22
22 -
 23
23 -
24
-
25
-
26
-
27
-
28
-
29
-
30
-
31
-
32
-
33
-
34
-
35
-
36
-
37
-
38
-
39
-
40
-
41
-
42
-
43
-
44
-
45
-
46
-
47
-
48
-
49
-
50
-
51
-
52
-
53
-
54
-
55
-
56
-
57
-
58
-
59
-
60
-
61
-
62
-
63
-
64
-
65
-
66
-
67
-
68
-
69
-
70
-
71
-
72
-
73
-
74
-
75
-
76
-
77
-
78
-
79
-
80
-
81
-
82
-
83
-
84
-
85
-
86
-
87
-
88
-
89
-
90
-
91
-
92
-
93
-
94
-
95
-
96
-
97
-
98
 |
 |