Brother International XL-6452 User Manual - French - Page 72
the presser
 |
View all Brother International XL-6452 manuals
Add to My Manuals
Save this manual to your list of manuals |
Page 72 highlights
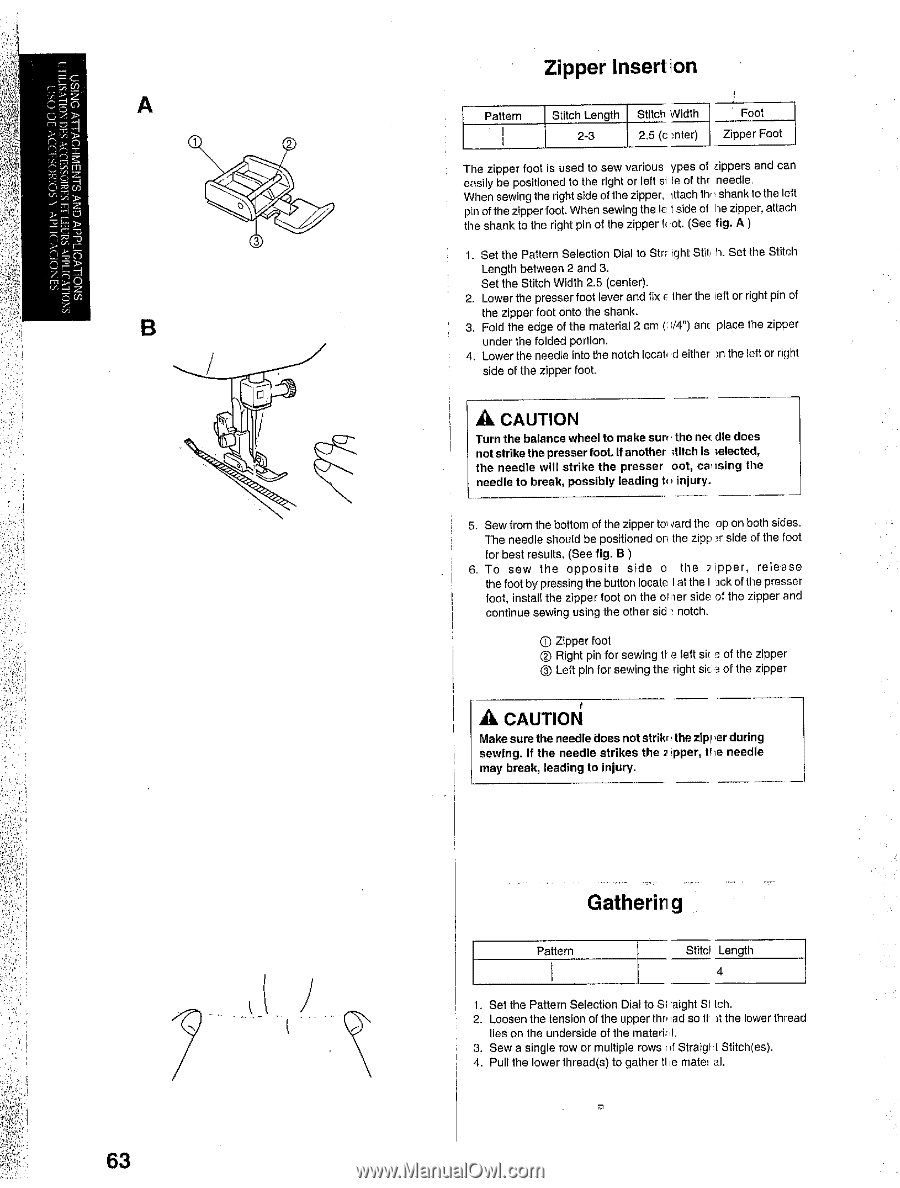
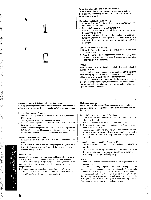
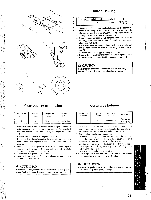
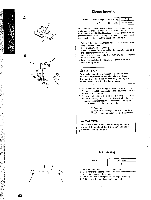
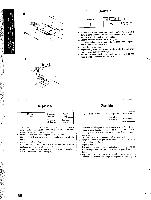
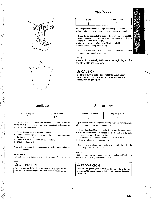
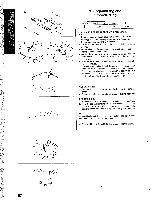
"), A 1 0 3 B 63 Zipper Insert ion Pattern I I Stitch Length Stitch Width 2-3 2.5 (c enter) Foot Zipper Foot The zipper foot is used to sew various ypes of zippers and can easily be positioned to the right or left si le of thr needle. When sewing the right side of the zipper, I ttach the shank to the left pin of the zipper foot. When sewing the le t side of he zipper, attach the shank to the right pin of the zipper IF ot. (See fig. A ) 1. Set the Pattern Selection Dial to Str( iyht Stiti h. Set the Stitch Length between 2 and 3. Set the Stitch Width 2.5 (center). 2. Lower the presser foot lever and fix a ther the i'e. ft or right pin of the zipper foot onto the shank. 3. Fold the edge of the material 2 cm (n/4") anc place the zipper under the folded portion. 4. Lower the needle Into the notch locabid either in the left or right side of the zipper foot. A CAUTION Turn the balance wheel to make sun the net die does notstrike the presser foot If another ;Inch is :elected, the needle will strike the presser oot, casing the needle to break, possibly leading to injury. 5. Sew from the bottom of the zipper to) yard the op on both sides. The needle should be positioned on the zipp Fr side of the foot for best results, (See fig. B ) 6. To sew the opposite side o the zipper, release the foot by pressing the button locate I at the I ick of the presser toot, install the zipper foot on the oiler side of the zipper and continue sewing using the other sid notch. Ct Zipper foot 0 Right pin for sewing tF a left sic a of the zipper (,) Left pin for sewing the right sic of the zipper A CAUTION Make sure the needle does not strikr, the zip! ier during sewing. If the needle strikes the zipper, the needle may break, leading to injury. Gatherin g Pattern Stitcl Length 4 1. Set the Pattern Selection Dia to SI Bight Si Leh. 2. Loosen the tension of the upper the ad so ft it the lower thread lies on the underside of the mater!: 3. Sew a single row or multiple rows of Straigi I Stitch(es). 4. Pull the lower thread(s) to gather tl ie mates
-
 1
1 -
2
-
3
-
4
-
5
-
6
-
7
-
8
-
9
-
10
-
11
-
12
-
13
-
14
-
15
-
16
-
17
-
18
-
19
-
20
-
21
-
22
-
23
-
24
-
25
-
26
-
27
-
28
-
29
-
30
-
31
-
32
-
33
-
34
-
35
-
36
-
37
-
38
-
39
-
40
-
41
-
42
-
43
-
44
-
45
-
46
-
47
-
48
-
49
-
50
-
51
-
52
-
53
-
54
-
55
-
56
-
57
-
58
-
59
-
60
-
61
-
62
-
63
-
64
-
65
-
66
-
 67
67 -
 68
68 -
 69
69 -
 70
70 -
 71
71 -
 72
72 -
 73
73 -
 74
74 -
 75
75 -
 76
76 -
 77
77 -
78
-
79
-
80
-
81
-
82
-
83
-
84
-
85
-
86
-
87
-
88
-
89
-
90
-
91
-
92
-
93
-
94
-
95
-
96
-
97
-
98
 |
 |