Canon MultiPASS C3000 User guide for the MPC3000. - Page 199
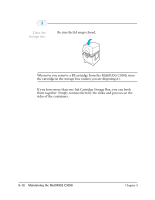
Before you unplug the MultiPASS C3000, make sure the BJ cartridge
 |
View all Canon MultiPASS C3000 manuals
Add to My Manuals
Save this manual to your list of manuals |
Page 199 highlights
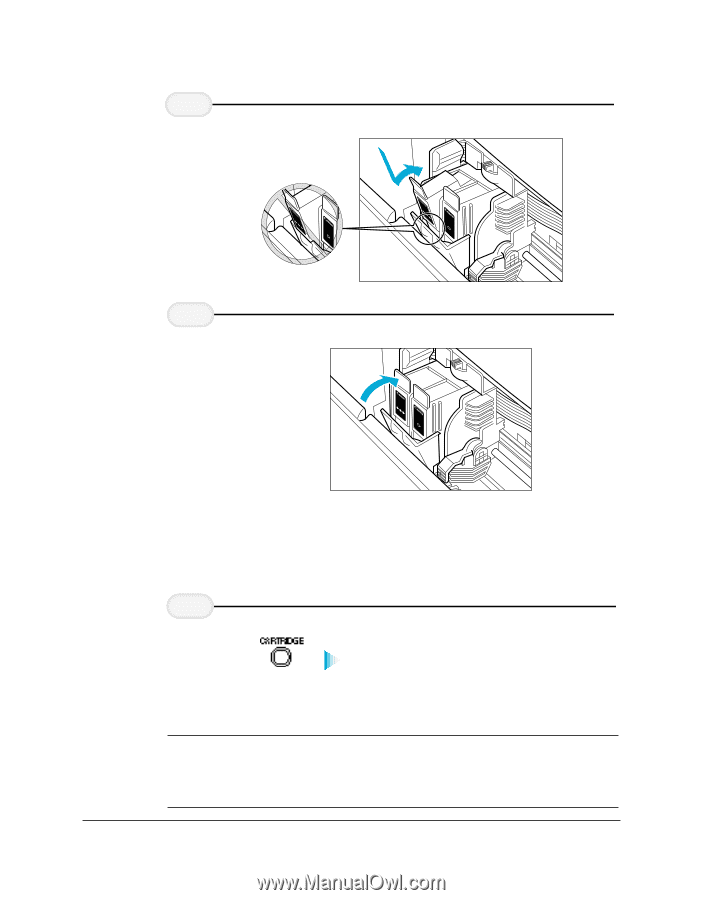
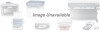
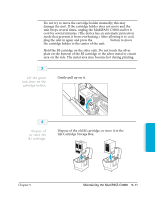
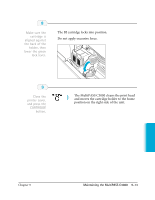
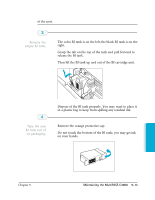
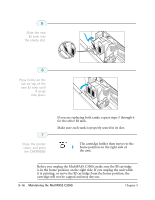
5 Slide the new BJ tank into the empty slot. 6 Press firmly on the tab on top of the new BJ tank until it snaps into place. CBaIrnCCtkriolMd-gal2Jodea1eprainn CBBMaCJralaItadnprleik-acd2nikgn1e CBaIrnCCtkriolMd-gal2Jodea1eprainn CBBMaCJralaItadnprleik-acd2nikgn1e CBCMaCJraoaItdnprlelki-aod2nignr1e CBBMaCJralaItadnprleik-acd2nigkn1e r If you are replacing both tanks, repeat steps 3 through 6 for the other BJ tank. r Make sure each tank is properly seated in its slot. 7 Close the printer cover, and press the CARTRIDGE The cartridge holder then moves to the home position on the right side of the unit. N Before you unplug the MultiPASS C3000, make sure the BJ cartridge is in the home position on the right side. If you unplug the unit while it is printing, or move the BJ cartridge from the home position, the cartridge will not be capped and may dry out. 9-16 Maintaining the MultiPASS C3000 Chapter 9
-
 1
1 -
2
-
3
-
4
-
5
-
6
-
7
-
8
-
9
-
10
-
11
-
12
-
13
-
14
-
15
-
16
-
17
-
18
-
19
-
20
-
21
-
22
-
23
-
24
-
25
-
26
-
27
-
28
-
29
-
30
-
31
-
32
-
33
-
34
-
35
-
36
-
37
-
38
-
39
-
40
-
41
-
42
-
43
-
44
-
45
-
46
-
47
-
48
-
49
-
50
-
51
-
52
-
53
-
54
-
55
-
56
-
57
-
58
-
59
-
60
-
61
-
62
-
63
-
64
-
65
-
66
-
67
-
68
-
69
-
70
-
71
-
72
-
73
-
74
-
75
-
76
-
77
-
78
-
79
-
80
-
81
-
82
-
83
-
84
-
85
-
86
-
87
-
88
-
89
-
90
-
91
-
92
-
93
-
94
-
95
-
96
-
97
-
98
-
99
-
100
-
101
-
102
-
103
-
104
-
105
-
106
-
107
-
108
-
109
-
110
-
111
-
112
-
113
-
114
-
115
-
116
-
117
-
118
-
119
-
120
-
121
-
122
-
123
-
124
-
125
-
126
-
127
-
128
-
129
-
130
-
131
-
132
-
133
-
134
-
135
-
136
-
137
-
138
-
139
-
140
-
141
-
142
-
143
-
144
-
145
-
146
-
147
-
148
-
149
-
150
-
151
-
152
-
153
-
154
-
155
-
156
-
157
-
158
-
159
-
160
-
161
-
162
-
163
-
164
-
165
-
166
-
167
-
168
-
169
-
170
-
171
-
172
-
173
-
174
-
175
-
176
-
177
-
178
-
179
-
180
-
181
-
182
-
183
-
184
-
185
-
186
-
187
-
188
-
189
-
190
-
191
-
192
-
193
-
 194
194 -
 195
195 -
 196
196 -
 197
197 -
 198
198 -
 199
199 -
 200
200 -
 201
201 -
 202
202 -
 203
203 -
 204
204 -
205
-
206
-
207
-
208
-
209
-
210
-
211
-
212
-
213
-
214
-
215
-
216
-
217
-
218
-
219
-
220
-
221
-
222
-
223
-
224
-
225
-
226
-
227
-
228
-
229
-
230
-
231
-
232
-
233
-
234
-
235
-
236
-
237
-
238
-
239
-
240
-
241
-
242
-
243
-
244
-
245
-
246
-
247
-
248
-
249
-
250
-
251
-
252
-
253
-
254
-
255
-
256
-
257
-
258
-
259
-
260
 |
 |