Canon PowerShot G16 User Guide - Page 153
Access the [Format] screen., Choose [OK]., Format the memory card.
 |
View all Canon PowerShot G16 manuals
Add to My Manuals
Save this manual to your list of manuals |
Page 153 highlights
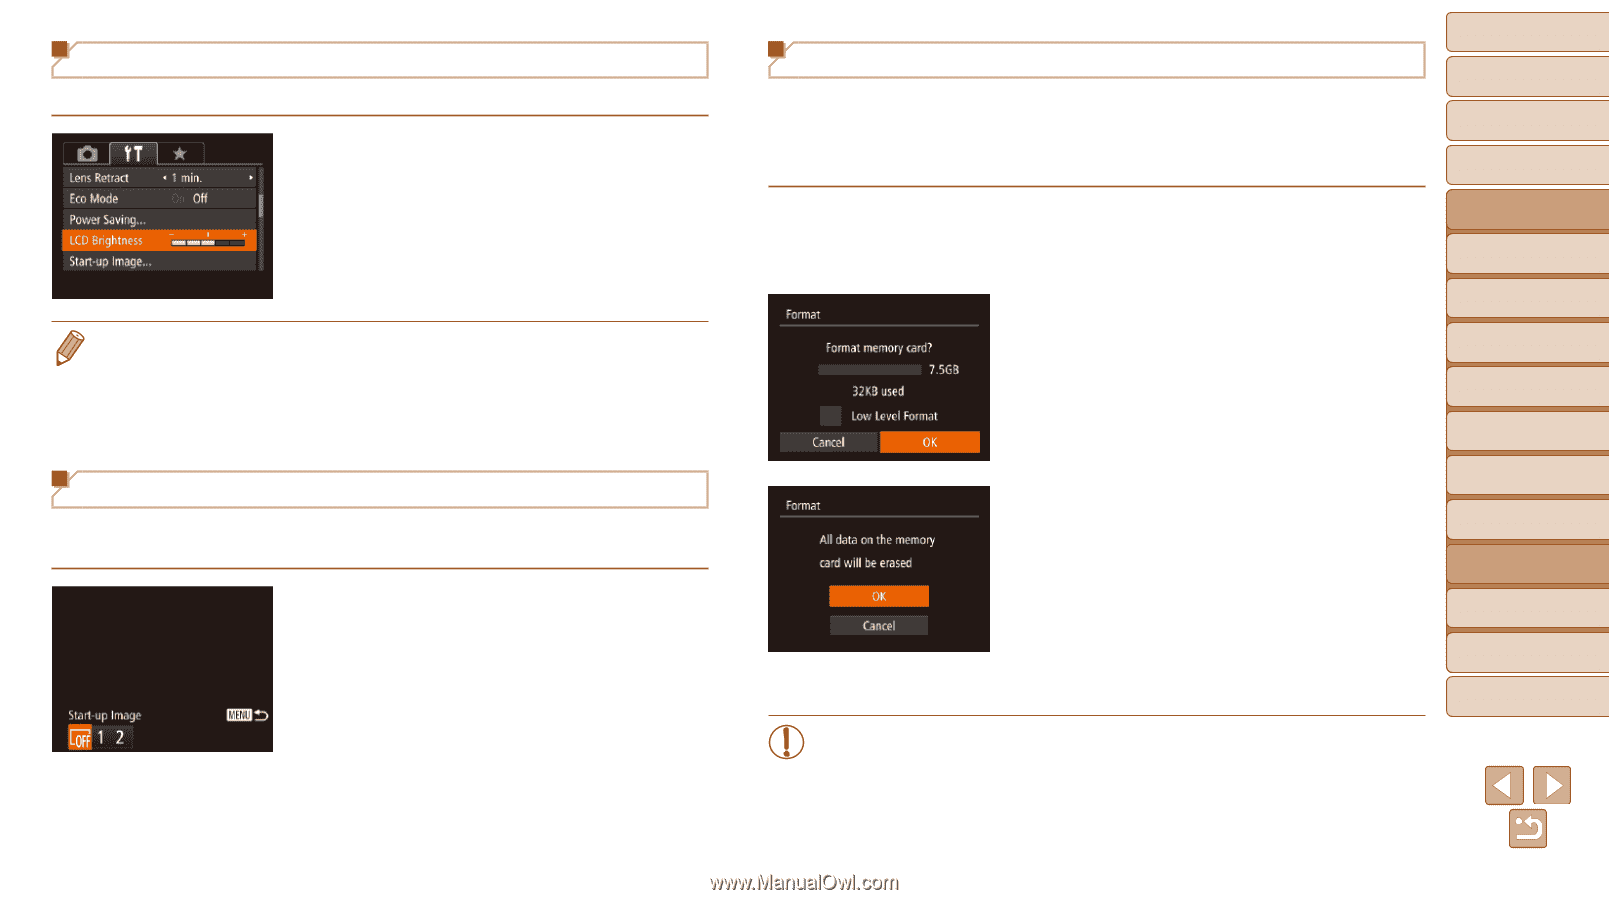
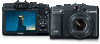
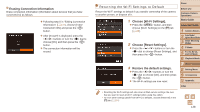
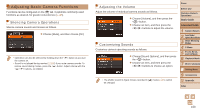
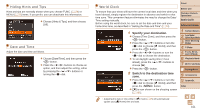
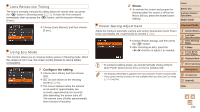
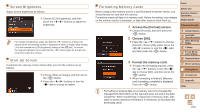
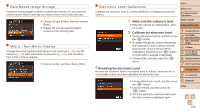
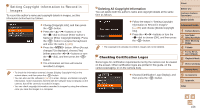
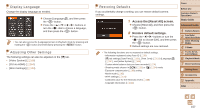
Screen Brightness Adjust screen brightness as follows. zzChoose [LCD Brightness], and then press the buttons to adjust the brightness. • For maximum brightness, press and hold the button for at least one second when the shooting screen is displayed or when in single-image display. (This will override the [LCD Brightness] setting on the [3] tab.) To restore the original brightness, press and hold the button again for at least one second or restart the camera. Start-Up Screen Customize the start-up screen shown after you turn the camera on as follows. zzChoose [Start-up Image], and then press the button. zzPress the buttons or turn the dial to choose an option. Formatting Memory Cards Before using a new memory card or a card formatted in another device, you should format the card with this camera. Formatting erases all data on a memory card. Before formatting, copy images on the memory card to a computer, or take other steps to back them up. Cover Before Use Common Camera Operations Basic Guide 1 Access the [Format] screen. zzChoose [Format], and then press the button. 2 Choose [OK]. zzPress the buttons to choose [Cancel], choose [OK] (either press the buttons or turn the dial), and then press the button. 3 Format the memory card. zzTo begin the formatting process, press the buttons or turn the dial to choose [OK], and then press the button. zzWhen formatting is finished, [Memory card formatting complete] is displayed. Press the button. Advanced Guide 1 Camera Basics 2 Auto Mode / Hybrid Auto Mode 3 Other Shooting Modes 4 P Mode 5 Tv, Av, M, C1, and C2 Mode 6 Playback Mode 7 Wi-Fi Functions 8 Setting Menu 9 Accessories 10 Appendix Index • Formatting or erasing data on a memory card only changes file management information on the card and does not erase the data completely. When transferring or disposing of memory cards, take steps to protect personal information if necessary, as by physically destroying cards. 153
-
 1
1 -
2
-
3
-
4
-
5
-
6
-
7
-
8
-
9
-
10
-
11
-
12
-
13
-
14
-
15
-
16
-
17
-
18
-
19
-
20
-
21
-
22
-
23
-
24
-
25
-
26
-
27
-
28
-
29
-
30
-
31
-
32
-
33
-
34
-
35
-
36
-
37
-
38
-
39
-
40
-
41
-
42
-
43
-
44
-
45
-
46
-
47
-
48
-
49
-
50
-
51
-
52
-
53
-
54
-
55
-
56
-
57
-
58
-
59
-
60
-
61
-
62
-
63
-
64
-
65
-
66
-
67
-
68
-
69
-
70
-
71
-
72
-
73
-
74
-
75
-
76
-
77
-
78
-
79
-
80
-
81
-
82
-
83
-
84
-
85
-
86
-
87
-
88
-
89
-
90
-
91
-
92
-
93
-
94
-
95
-
96
-
97
-
98
-
99
-
100
-
101
-
102
-
103
-
104
-
105
-
106
-
107
-
108
-
109
-
110
-
111
-
112
-
113
-
114
-
115
-
116
-
117
-
118
-
119
-
120
-
121
-
122
-
123
-
124
-
125
-
126
-
127
-
128
-
129
-
130
-
131
-
132
-
133
-
134
-
135
-
136
-
137
-
138
-
139
-
140
-
141
-
142
-
143
-
144
-
145
-
146
-
147
-
 148
148 -
 149
149 -
 150
150 -
 151
151 -
 152
152 -
 153
153 -
 154
154 -
 155
155 -
 156
156 -
 157
157 -
 158
158 -
159
-
160
-
161
-
162
-
163
-
164
-
165
-
166
-
167
-
168
-
169
-
170
-
171
-
172
-
173
-
174
-
175
-
176
-
177
-
178
-
179
-
180
-
181
-
182
-
183
-
184
-
185
-
186
-
187
-
188
-
189
-
190
-
191
-
192
-
193
-
194
-
195
-
196
-
197
-
198
-
199
-
200
-
201
-
202
-
203
-
204
-
205
-
206
-
207
-
208
-
209
-
210
-
211
-
212
-
213
-
214
 |
 |