Canon ZR-850 ZR850 ZR830 Manuals - Page 66
Locate the scene you wish to start, audio dubbing., Press - instructions
 |
UPC - 013803078152
View all Canon ZR-850 manuals
Add to My Manuals
Save this manual to your list of manuals |
Page 66 highlights
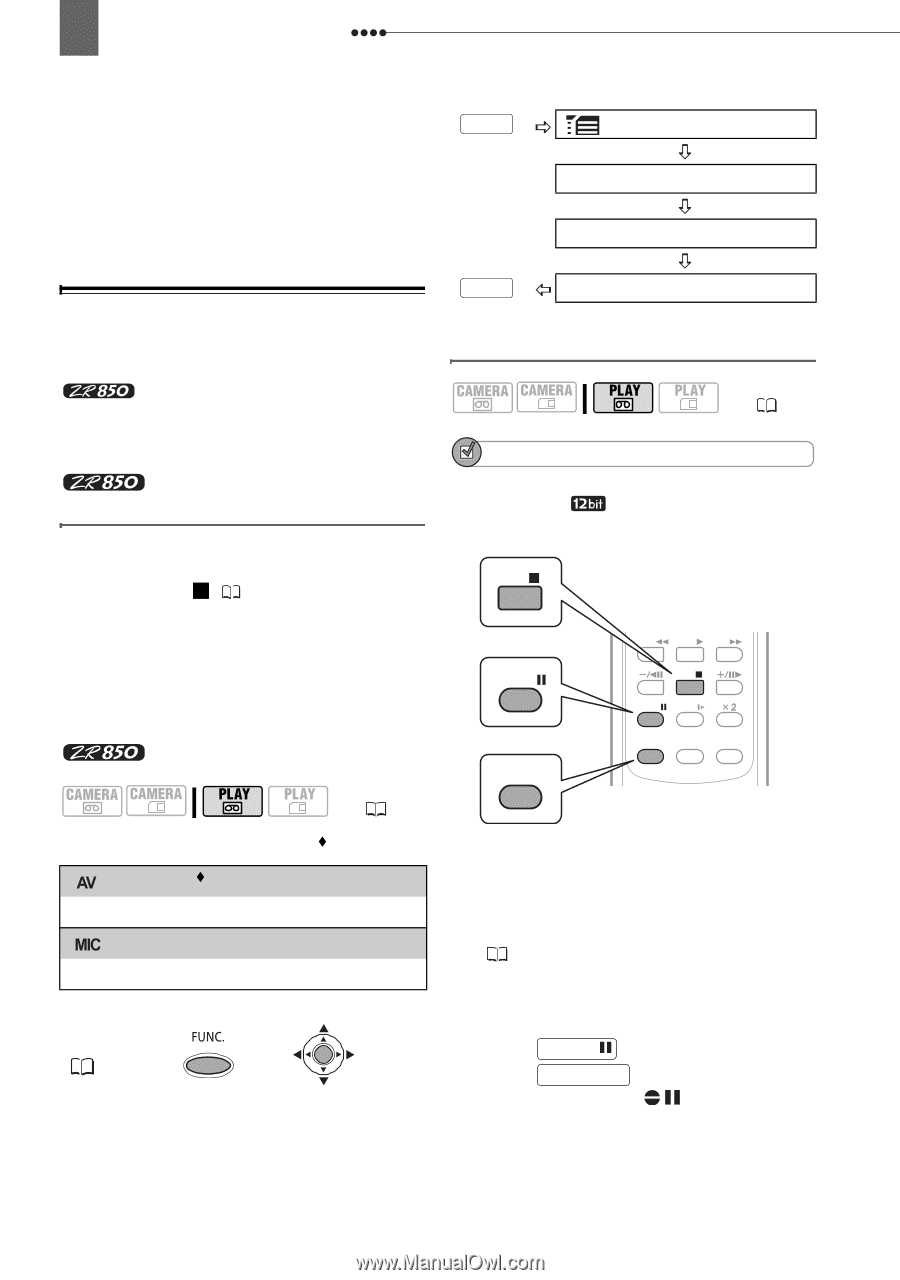
66 Connecting to a TV or VCR the tape. If you attempt to record from such tape via the HDV/DV terminal, "COPYRIGHT PROTECTED DUBBING RESTRICTED" appears and you will not be able to record the contents of the tape. FUNC. MENU AUDIO SETUP AUDIO DUB. Audio Dubbing You can add sound to a recording using the built-in microphone. only: You can also record additional sound from external audio devices. Connecting an External Audio Device Connect the external audio device (CD player, etc.) to the camcorder using connection type 1 ( 63). Connect only the audio plugs (red and white) of the STV-250N Stereo Video Cable and leave the yellow video plug unconnected. Refer also to the instruction manual of the connected device. TO SELECT THE AUDIO SOURCE ( 10) Options [ AUDIO IN] Default value Dub audio from an external analog device. [ MIC.IN] Dub audio using the built-in microphone. FUNC. ( 24) FUNC. Desired option Dubbing ( 10) POINTS TO CHECK You can only dub audio on tapes recorded in SD mode with [ 12bit] audio. This function is operated with the wireless controller. STOP PAUSE AUDIO DUB. REW PLAY FF STOP PAUSE SLOW ZERO SET AUDIO DUB. MEMORY TV SCREEN 1 Locate the scene you wish to start audio dubbing. Before locating the starting point, you can also set the zero set memory ( 33) at the point where you want the audio dubbing to end. The camcorder will automatically stop audio dubbing at that point. 2 Press PAUSE . 3 Press AUDIO DUB. . "AUDIO DUB." and appear.
-
 1
1 -
2
-
3
-
4
-
5
-
6
-
7
-
8
-
9
-
10
-
11
-
12
-
13
-
14
-
15
-
16
-
17
-
18
-
19
-
20
-
21
-
22
-
23
-
24
-
25
-
26
-
27
-
28
-
29
-
30
-
31
-
32
-
33
-
34
-
35
-
36
-
37
-
38
-
39
-
40
-
41
-
42
-
43
-
44
-
45
-
46
-
47
-
48
-
49
-
50
-
51
-
52
-
53
-
54
-
55
-
56
-
57
-
58
-
59
-
60
-
 61
61 -
 62
62 -
 63
63 -
 64
64 -
 65
65 -
 66
66 -
 67
67 -
 68
68 -
 69
69 -
 70
70 -
 71
71 -
72
-
73
-
74
-
75
-
76
-
77
-
78
-
79
-
80
-
81
-
82
-
83
-
84
-
85
-
86
-
87
-
88
-
89
-
90
-
91
-
92
-
93
-
94
-
95
-
96
-
97
-
98
 |
 |