Cisco 1230AG Configuration Guide - Page 34
Tx Power Level
 |
View all Cisco 1230AG manuals
Add to My Manuals
Save this manual to your list of manuals |
Page 34 highlights
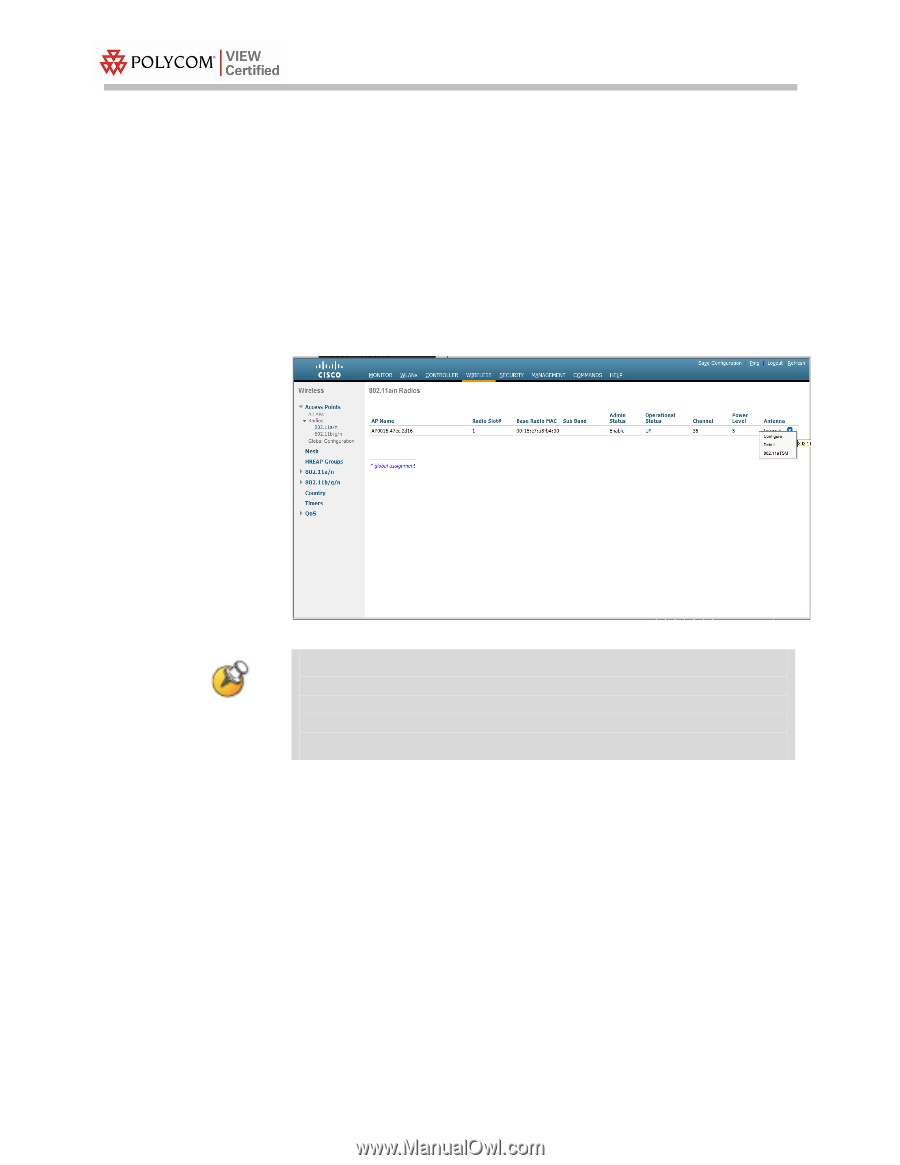
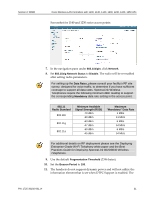
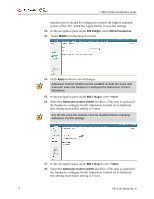
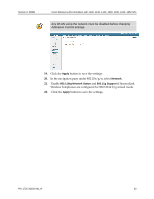
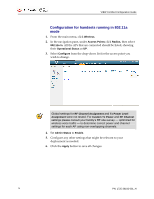
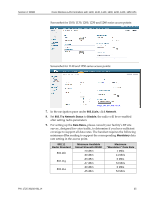
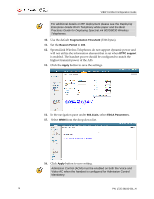
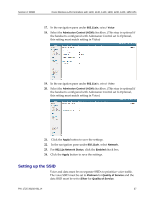
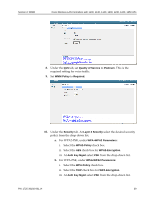
VIEW Certified Configuration Guide Configuration for handsets running in 802.11a mode 1. From the main menu, click Wireless. 2. In the navigation pane, under Access Points click Radios, then select 802.11a /n. All the APs that are connected should be listed, showing their Operational Status as UP. 3. Select Configure from the drop-down list for the access point you wish to change. Global settings for RF Channel Assignment and Tx Power Level Assignment were not tested. For Custom Tx Power and RF Channel settings please consult your facility's RF site survey - optimized for wireless voice traffic - to determine correct power and channel settings for each AP using non-overlapping channels. 4. Set Admin Status to Enable. 5. Configure any other settings that might be relevant to your deployment as needed. 6. Click the Apply button to save all changes. 34 PN: 1725-36192-001_H
-
 1
1 -
2
-
3
-
4
-
5
-
6
-
7
-
8
-
9
-
10
-
11
-
12
-
13
-
14
-
15
-
16
-
17
-
18
-
19
-
20
-
21
-
22
-
23
-
24
-
25
-
26
-
27
-
28
-
 29
29 -
 30
30 -
 31
31 -
 32
32 -
 33
33 -
 34
34 -
 35
35 -
 36
36 -
 37
37 -
 38
38 -
 39
39 -
40
 |
 |