Dell 1130N User Guide - Page 40
Printing on special media - how to open
 |
View all Dell 1130N manuals
Add to My Manuals
Save this manual to your list of manuals |
Page 40 highlights
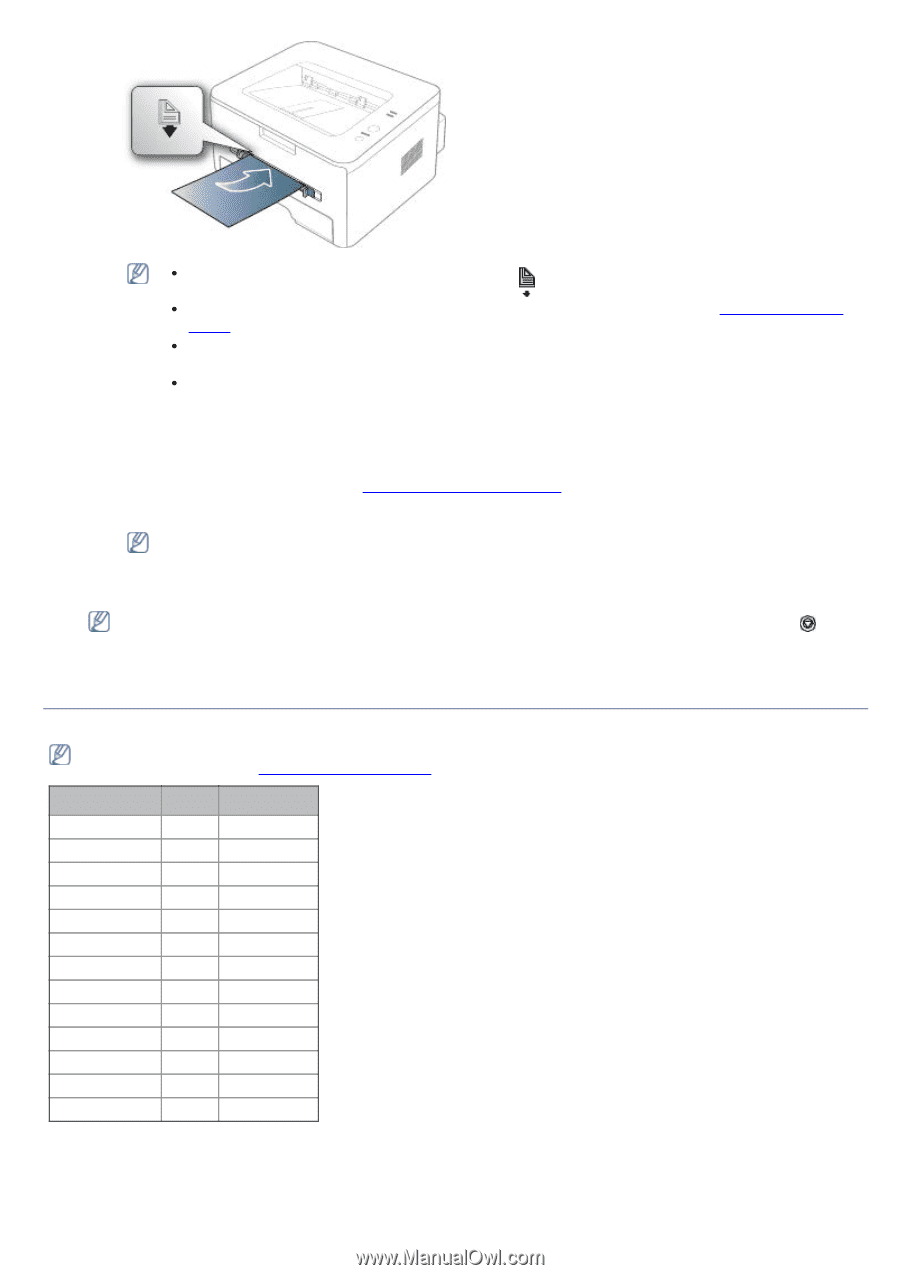
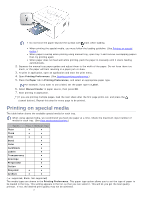
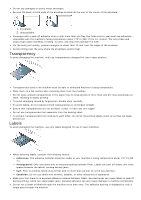
Do not force the paper beyond the surface with mark when loading. When printing the special media, you must follow the loading guideline. (See Printing on special media.) When papers overlap when printing using manual tray, open tray 1 and remove overlapping papers then try printing again. When paper does not feed well while printing, push the paper in manually until it starts feeding automatically. 2. Squeeze the manual tray paper guides and adjust them to the width of the paper. Do not force them too much, or the paper will bent resulting in a paper jam or skew. 3. To print in application, open an application and start the print menu. 4. Open Printing Preferences. (See Opening printing preferences.) 5. Press the Paper tab in Printing Preferences, and select an appropriate paper type. For example, if you want to use a label, set the paper type to Label. 6. Select Manual Feeder in paper source, then press OK. 7. Start printing in application. If you are printing multiple pages, load the next sheet after the first page prints out, and press the (cancel button). Repeat this step for every page to be printed. Printing on special media The table below shows the available special media for each tray. When using special media, we recommend you feed one paper at a time. Check the maximum input number of media for each tray. (See Print media specifications.) Types Tray 1 Manual tray Plain ● ● Thick ● ● Thin ● ● Bond ● Color ● CardStock ● Labels ● Transparency ● Envelope ● Preprinted ● Cotton ● Recycled ● ● Archive ● ● ( ●: supported, Blank: Not supported) The media types are shown in the Printing Preferences. This paper type option allows you to set the type of paper to be loaded in the tray. This setting appears in the list, so that you can select it. This will let you get the best quality printout. If not, the desired print quality may not be achieved. 2
-
 1
1 -
2
-
3
-
4
-
5
-
6
-
7
-
8
-
9
-
10
-
11
-
12
-
13
-
14
-
15
-
16
-
17
-
18
-
19
-
20
-
21
-
22
-
23
-
24
-
25
-
26
-
27
-
28
-
29
-
30
-
31
-
32
-
33
-
34
-
 35
35 -
 36
36 -
 37
37 -
 38
38 -
 39
39 -
 40
40 -
 41
41 -
 42
42 -
 43
43 -
 44
44 -
 45
45 -
46
-
47
-
48
-
49
-
50
-
51
-
52
-
53
-
54
-
55
-
56
-
57
-
58
-
59
-
60
-
61
-
62
-
63
-
64
-
65
-
66
-
67
-
68
-
69
-
70
-
71
-
72
-
73
-
74
-
75
-
76
-
77
-
78
-
79
-
80
-
81
-
82
-
83
-
84
-
85
-
86
-
87
-
88
-
89
-
90
-
91
-
92
-
93
-
94
-
95
-
96
-
97
-
98
-
99
-
100
-
101
 |
 |