Dell Force10 S5000 Getting Started Guide - Page 20
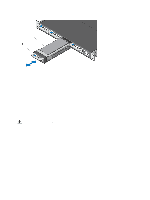
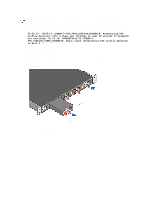
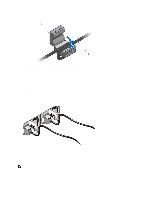
Assembling and Connecting the Safety Ground Wire for DC Power Supply
 |
View all Dell Force10 S5000 manuals
Add to My Manuals
Save this manual to your list of manuals |
Page 20 highlights
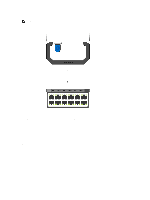
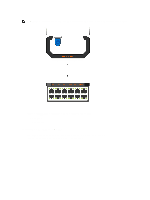
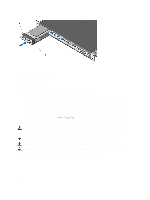
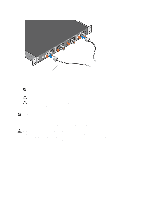
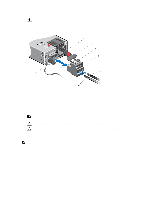
Figure 16. Connecting AC Power Supply Cords 1. AC3 Prong NOTE: The system is powered-up as soon as you connect the power cord between the system and the power source. CAUTION: Always disconnect the power cable before you service the power supply slots. CAUTION: Use the power supply cord as the main disconnect device on the AC system. Ensure that the socket-outlet is located/installed near the equipment and is easily accessible. 4. Repeat steps 1 through 3 above using the second PSU. NOTE: Ensure that the PSU is correctly installed. When you correctly install the PSU, the power connector is on the left side of the PSU. Assembling and Connecting the Safety Ground Wire for DC Power Supply WARNING: For equipment using -(48-60) V DC power supplies, a qualified electrician must perform all connections to DC power and to safety grounds. Do not attempt connecting to DC power or installing grounds yourself. All electrical wiring must comply with applicable local or national codes and practices. Damage due to servicing that Dell Networking did not authorize is not covered by your warranty. 1. Strip the insulation from the end of the green/yellow wire, exposing approximately 4.5 mm (0.175 inch) of copper wire. 2. Using a hand-crimping tool (Tyco Electronics, 58433-3 or equivalent), crimp the ring-tongue terminal (Jeeson Terminals Inc., R5-4SA or equivalent) to the green/yellow wire (safety ground wire). 3. Connect the safety ground wire to the grounding post on the back of the system using a #6-32 nut equipped with a locking washer. 20
-
 1
1 -
2
-
3
-
4
-
5
-
6
-
7
-
8
-
9
-
10
-
11
-
12
-
13
-
14
-
 15
15 -
 16
16 -
 17
17 -
 18
18 -
 19
19 -
 20
20 -
 21
21 -
 22
22 -
 23
23 -
 24
24 -
 25
25 -
26
-
27
-
28
-
29
-
30
-
31
-
32
-
33
-
34
-
35
-
36
 |
 |
