Dell Latitude Z Service Manual - Page 15
Keyboard and Palm-Rest Assembly - hard drive removal
 |
View all Dell Latitude Z manuals
Add to My Manuals
Save this manual to your list of manuals |
Page 15 highlights
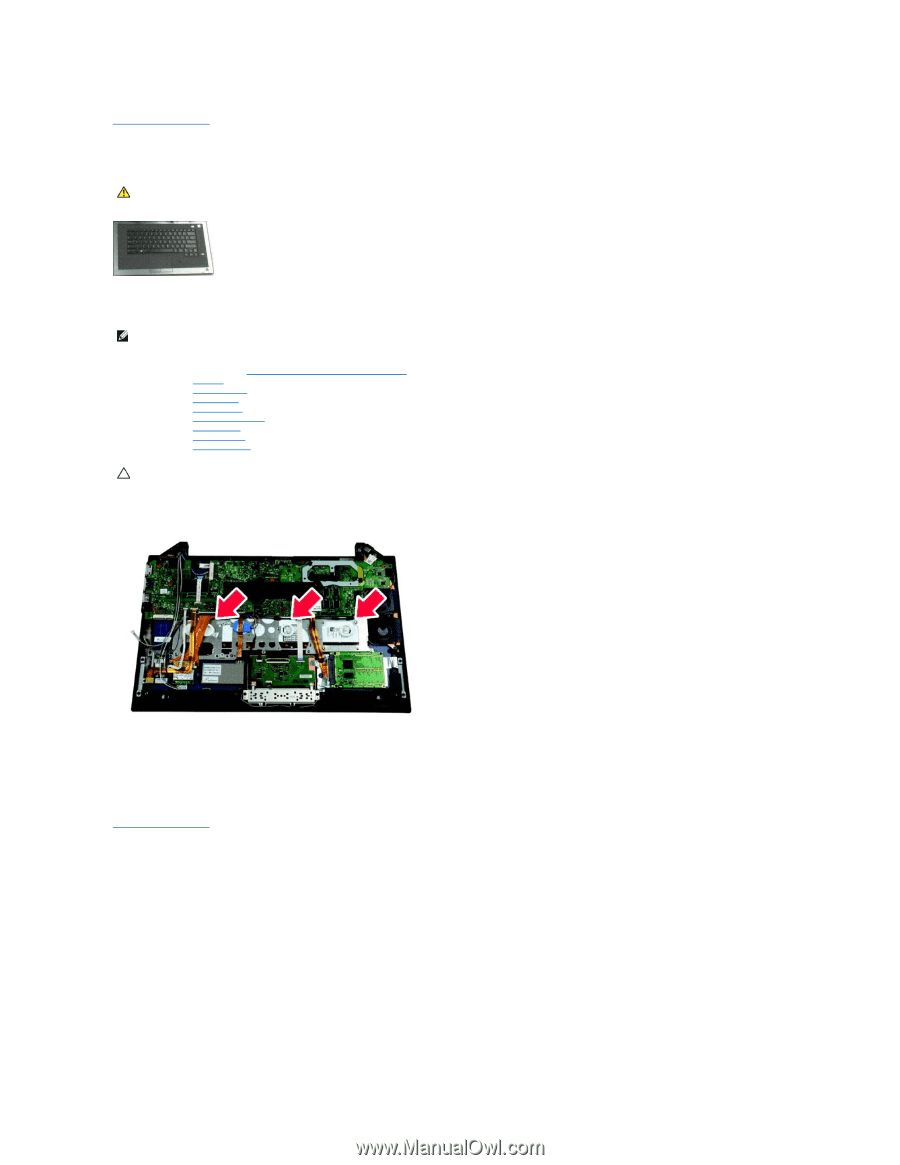
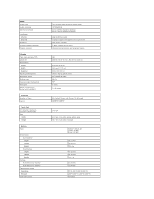
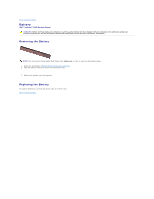
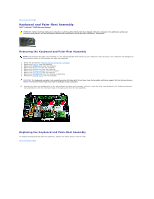
Back to Contents Page Keyboard and Palm-Rest Assembly Dell™ Latitude™ Z600 Service Manual WARNING: Before working inside your computer, read the safety information that shipped with your computer. For additional safety best practices information, see the Regulatory Compliance Homepage at www.dell.com/regulatory_compliance. Removing the Keyboard and Palm-Rest Assembly NOTE: The keyboard and palm-rest assembly is a one-piece assembly which serves as your computer's main structure. Your computer was designed to have all parts mount to the keyboard and palm-rest assembly. 1. Follow the procedures in Before Working Inside Your Computer. 2. Remove the battery from the computer. 3. Remove the access panel from the computer. 4. Remove the WLAN card from the computer. 5. Remove the WWAN card from the computer. 6. Remove the display assembly from the computer. 7. Remove the hard drives from the computer. 8. Remove the charging coil from the computer if applicable. 9. Remove the system board from the computer. CAUTION: The keyboard and palm-rest assembly service kit ships with three foam rings that provide additional support for the internal chassis. Failure to install the foam rings may result in damage to your computer. 10. Examine the foam ring configuration on the old keyboard and palm-rest assembly, and then, using the foam rings included in the keyboard and palm- rest assembly kit, affix the new foam rings in the same pattern on the new assembly. Replacing the Keyboard and Palm-Rest Assembly To replace the keyboard and palm-rest assembly, perform the above steps in reverse order. Back to Contents Page
-
 1
1 -
2
-
3
-
4
-
5
-
6
-
7
-
8
-
9
-
 10
10 -
 11
11 -
 12
12 -
 13
13 -
 14
14 -
 15
15 -
 16
16 -
 17
17 -
 18
18 -
 19
19 -
 20
20 -
21
-
22
-
23
-
24
-
25
-
26
-
27
-
28
-
29
-
30
-
31
-
32
-
33
-
34
-
35
-
36
-
37
 |
 |