Dell Latitude Z Service Manual - Page 33
Display Assembly
 |
View all Dell Latitude Z manuals
Add to My Manuals
Save this manual to your list of manuals |
Page 33 highlights
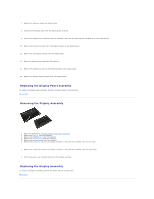
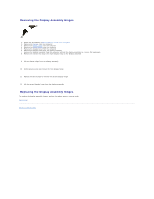
Back to Contents Page Display Assembly Dell™ Latitude™ Z600 Service Manual WARNING: Before working inside your computer, read the safety information that shipped with your computer. For additional safety best practices information, see the Regulatory Compliance Homepage at www.dell.com/regulatory_compliance. NOTE: You may need to install Adobe Flash Player from Adobe.com in order to view the illustrations below. Removing the Display Bezel Removing the Display Panel Removing the Display Assembly Removing the Display Hinges Replacing the Display Bezel Replacing the Display Panel Replacing the Display Assembly Replacing the Display Hinges Removing the Display Bezel 1. Follow the procedures in Before Working Inside Your Computer. 2. Remove the battery from the computer. 3. Remove the bezel from the display assembly by using your fingertips carefully to pry the bezel at the inside edges. 4. Flip over the display bezel to reveal the edge touch sensor ribbon cable. 5. Release the ribbon cable from its connector by drawing the gray tabs at either side away from the white connector. 6. Disconnect the ribbon cable from its connector on the system board by pulling on the plastic tab. 7. Remove the display bezel from the computer. Replacing the Display Bezel To replace the display bezel, perform the above steps in reverse order. Back to top Removing the Display Panel Assembly 1. Follow the procedures in Before Working Inside Your Computer. 2. Remove the battery from the computer. 3. Remove the display bezel from the computer. 4. Remove the screws that secure the display panel assembly to the computer. 5. Carefully flip over the display panel assembly and rest it on top of the palmrest. 6. From the back of the display panel, remove the tape covering the display cable connector.
-
 1
1 -
2
-
3
-
4
-
5
-
6
-
7
-
8
-
9
-
10
-
11
-
12
-
13
-
14
-
15
-
16
-
17
-
18
-
19
-
20
-
21
-
22
-
23
-
24
-
25
-
26
-
27
-
 28
28 -
 29
29 -
 30
30 -
 31
31 -
 32
32 -
 33
33 -
 34
34 -
 35
35 -
 36
36 -
 37
37
 |
 |
