Denon DCM-460 Operating Instructions - Page 8
English, Cord., Connections
 |
View all Denon DCM-460 manuals
Add to My Manuals
Save this manual to your list of manuals |
Page 8 highlights
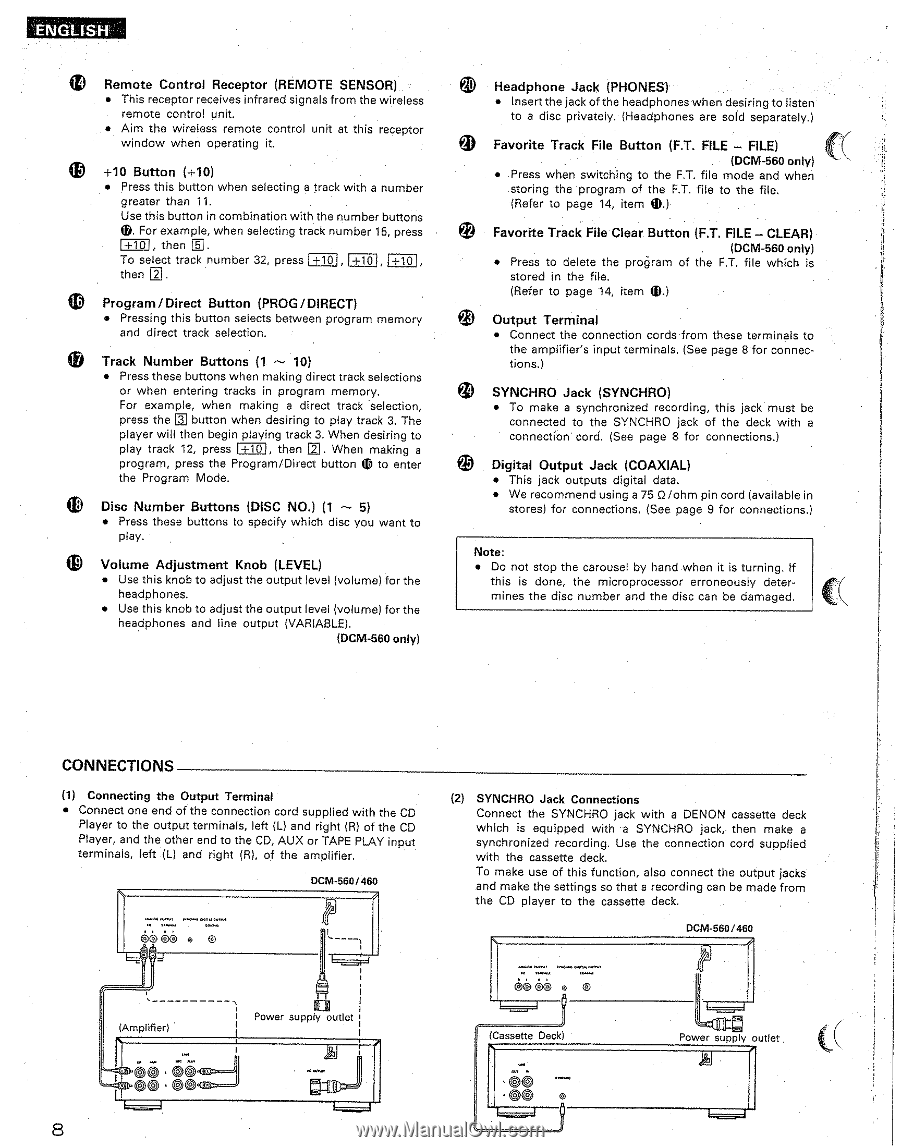
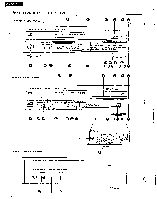
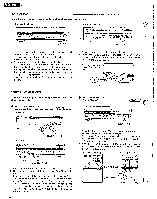
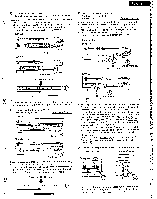
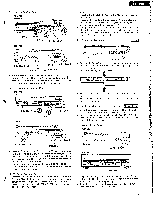
ENGLISH Remote Control Receptor (REMOTE SENSOR) • This receptor receives infrared signals from the wireless remote control unit. • Aim the wireless remote control unit at this receptor window when operating it. +10 Button (+10) • Press this button when selecting a track with a number greater than 11. Use this button in combination with the number buttons 6. For example, when selecting track number 15, press +10 , then El. To select track number 32, press +10 , +10 +10 , then 0, Program / Direct Button (PROG / DIRECT) • Pressing this button selects between program memory and direct track selection. ao Track Number Buttons (1 - 10) • Press these buttons when making direct track selections or when entering tracks in program memory. For example, when making a direct track 'selection, press the button when desiring to play track 3. The player will then begin playing track 3. When desiring to play track 12, press +101 then D. When making a program, press the Program/Direct button tI3 to enter the Program Mode. Disc Number Buttons (DISC NO.) (1 - 5) • Press these buttons to specify which disc you want to play. Volume Adjustment Knob (LEVEL) • Use this knob to adjust the output level (volume) for the headphones. • Use this knob to adjust the output level (volume) for the headphones and line output (VARIABLE). (DCM-560 only) Headphone Jack (PHONES) • Insert the jack of the headphones when desiring to listen to a disc privately. (Headphones are sold separately.) Favorite Track File Button (F.T. FILE - FILE) (DCM-560 only) • Press when switching to the F.T. file mode and when storing the program of the F.T. file to the file. (Refer to page 14, item (D.) Favorite Track File Clear Button (F.T. FILE - CLEAR) (DCM-560 only) • Press to delete the program of the F.T. file which is W.) stored in the file. (Refer to page 14, item Output Terminal • Connect the connection cords from these terminals to the amplifier's input terminals. (See page 8 for connections.) SYNCHRO Jack (SYNCHRO) • To make a synchronized recording, this jack must be connected to the SYNCHRO jack of the deck with a connection' cord. (See page 8 for connections.) Digital Output Jack (COAXIAL) • This jack outputs digital data. • We recommend using a 75 O /ohm pin cord (available in stores) for connections, (See page 9 for connections.) Note: • Do not stop the carousel by hand when it is turning. If this is done, the microprocessor erroneously determines the disc number and the disc can be damaged. CONNECTIONS (1) Connecting the Output Terminal • Connect one end of the connection cord supplied with the CD Player to the output terminals, left (L) and right (R) of the CD Player, and the other end to the CD, AUX or TAPE PLAY input terminals, left {L) and right (R), of the amplifier. DCM-560/460 mramalsomo put......0wl 6666 • (2) SYNCHRO Jack Connections Connect the SYNCHRO jack with a DENON cassette deck which is equipped with a SYNCHRO jack, then make a synchronized recording. Use the connection cord supplied with the cassette deck. To make use of this function, also connect the output jacks and make the settings so that a recording can be made from the CD player to the cassette deck. DCM-560/460 (Amplifier) 06.0E 8 Power supply outlet U - 666 • (Cassette Deck) •io s Power supply outlet
-
 1
1 -
2
-
 3
3 -
 4
4 -
 5
5 -
 6
6 -
 7
7 -
 8
8 -
 9
9 -
 10
10 -
 11
11 -
 12
12 -
 13
13 -
14
-
15
-
16
-
17
-
18
-
19
-
20
 |
 |