Epson 2165W Users Guide - Page 176
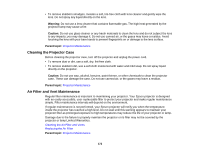
Replacing the Lamp, Projector Light Status, Projector Information Display - Info Menu
 |
View all Epson 2165W manuals
Add to My Manuals
Save this manual to your list of manuals |
Page 176 highlights
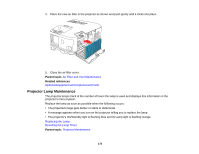
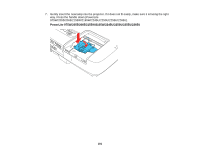
Related references Projector Light Status Projector Information Display - Info Menu Replacing the Lamp Before you replace the lamp, let the projector cool down for at least one hour so the lamp will not be hot. Warning: Let the lamp fully cool before replacing it to avoid injury. You can replace the lamp while the projector is mounted to the ceiling, if necessary. 1. Turn off the projector and unplug the power cord. 2. Allow the projector lamp to cool down for at least one hour. 3. Use the screwdriver included with the replacement lamp to loosen the screw securing the lamp cover. Warning: If the lamp is broken, glass fragments may be loose inside the lamp chamber. Be careful removing any broken glass to avoid injury. 176
-
 1
1 -
2
-
3
-
4
-
5
-
6
-
7
-
8
-
9
-
10
-
11
-
12
-
13
-
14
-
15
-
16
-
17
-
18
-
19
-
20
-
21
-
22
-
23
-
24
-
25
-
26
-
27
-
28
-
29
-
30
-
31
-
32
-
33
-
34
-
35
-
36
-
37
-
38
-
39
-
40
-
41
-
42
-
43
-
44
-
45
-
46
-
47
-
48
-
49
-
50
-
51
-
52
-
53
-
54
-
55
-
56
-
57
-
58
-
59
-
60
-
61
-
62
-
63
-
64
-
65
-
66
-
67
-
68
-
69
-
70
-
71
-
72
-
73
-
74
-
75
-
76
-
77
-
78
-
79
-
80
-
81
-
82
-
83
-
84
-
85
-
86
-
87
-
88
-
89
-
90
-
91
-
92
-
93
-
94
-
95
-
96
-
97
-
98
-
99
-
100
-
101
-
102
-
103
-
104
-
105
-
106
-
107
-
108
-
109
-
110
-
111
-
112
-
113
-
114
-
115
-
116
-
117
-
118
-
119
-
120
-
121
-
122
-
123
-
124
-
125
-
126
-
127
-
128
-
129
-
130
-
131
-
132
-
133
-
134
-
135
-
136
-
137
-
138
-
139
-
140
-
141
-
142
-
143
-
144
-
145
-
146
-
147
-
148
-
149
-
150
-
151
-
152
-
153
-
154
-
155
-
156
-
157
-
158
-
159
-
160
-
161
-
162
-
163
-
164
-
165
-
166
-
167
-
168
-
169
-
170
-
 171
171 -
 172
172 -
 173
173 -
 174
174 -
 175
175 -
 176
176 -
 177
177 -
 178
178 -
 179
179 -
 180
180 -
 181
181 -
182
-
183
-
184
-
185
-
186
-
187
-
188
-
189
-
190
-
191
-
192
-
193
-
194
-
195
-
196
-
197
-
198
-
199
-
200
-
201
-
202
-
203
-
204
-
205
-
206
-
207
-
208
-
209
-
210
-
211
-
212
-
213
-
214
-
215
-
216
-
217
-
218
-
219
-
220
-
221
-
222
-
223
-
224
-
225
-
226
-
227
-
228
-
229
-
230
-
231
-
232
-
233
-
234
-
235
-
236
-
237
-
238
-
239
-
240
-
241
-
242
-
243
-
244
-
245
-
246
-
247
-
248
-
249
-
250
-
251
-
252
-
253
-
254
-
255
-
256
-
257
-
258
-
259
-
260
-
261
-
262
-
263
-
264
-
265
-
266
-
267
-
268
-
269
-
270
-
271
-
272
-
273
-
274
-
275
-
276
-
277
-
278
-
279
-
280
-
281
-
282
-
283
-
284
-
285
-
286
-
287
-
288
 |
 |
176
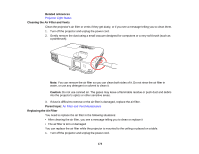
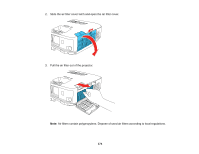
Related references
Projector Light Status
Projector Information Display - Info Menu
Replacing the Lamp
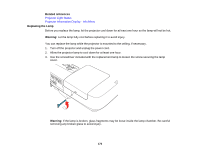
Before you replace the lamp, let the projector cool down for at least one hour so the lamp will not be hot.
Warning:
Let the lamp fully cool before replacing it to avoid injury.
You can replace the lamp while the projector is mounted to the ceiling, if necessary.
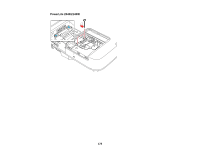
1.
Turn off the projector and unplug the power cord.
2.
Allow the projector lamp to cool down for at least one hour.
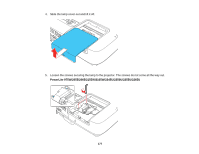
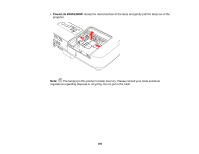
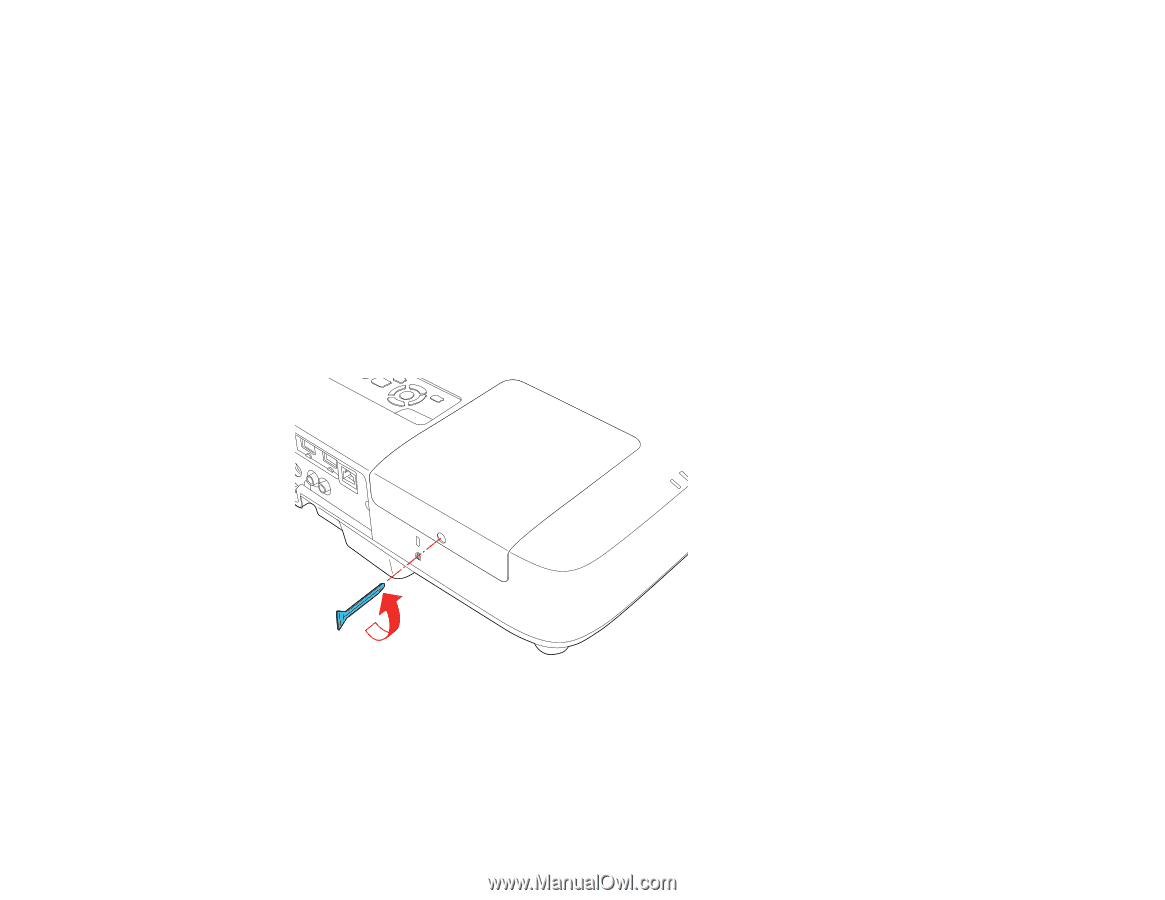
3.
Use the screwdriver included with the replacement lamp to loosen the screw securing the lamp
cover.
Warning:
If the lamp is broken, glass fragments may be loose inside the lamp chamber. Be careful
removing any broken glass to avoid injury.