Epson 2165W Users Guide - Page 76
Notifications, Enter, Mail Notification, SMTP Server, Port Number, Address, Notified IP Address
 |
View all Epson 2165W manuals
Add to My Manuals
Save this manual to your list of manuals |
Page 76 highlights
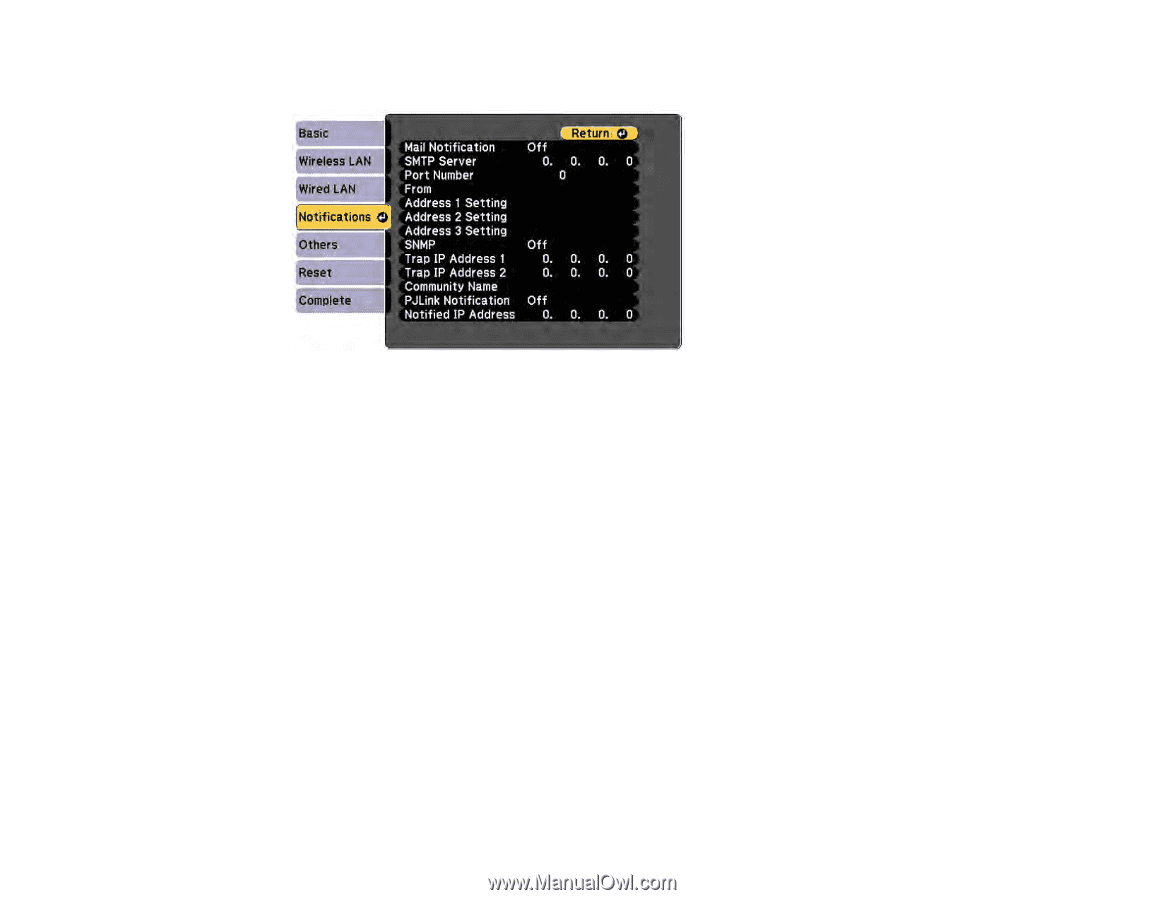
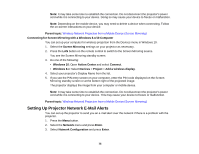
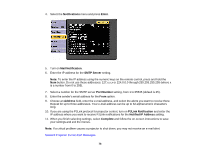
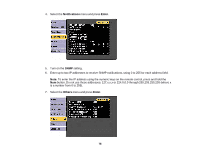
4. Select the Notifications menu and press Enter. 5. Turn on Mail Notification. 6. Enter the IP address for the SMTP Server setting. Note: To enter the IP address using the numeric keys on the remote control, press and hold the Num button. Do not use these addresses: 127.x.x.x or 224.0.0.0 through 255.255.255.255 (where x is a number from 0 to 255). 7. Select a number for the SMTP server Port Number setting, from 1 to 65535 (default is 25). 8. Enter the sender's email address for the From option. 9. Choose an Address field, enter the e-mail address, and select the alerts you want to receive there. Repeat for up to three addresses. Your e-mail address can be up to 32 alphanumeric characters long. 10. If you are using the PJLink protocol for projector control, turn on PJLink Notification and enter the IP address where you want to receive PJLink notifications for the Notified IP Address setting. 11. When you finish selecting settings, select Complete and follow the on-screen instructions to save your settings and exit the menus. Note: If a critical problem causes a projector to shut down, you may not receive an e-mail alert. Network Projector E-mail Alert Messages 76
-
 1
1 -
2
-
3
-
4
-
5
-
6
-
7
-
8
-
9
-
10
-
11
-
12
-
13
-
14
-
15
-
16
-
17
-
18
-
19
-
20
-
21
-
22
-
23
-
24
-
25
-
26
-
27
-
28
-
29
-
30
-
31
-
32
-
33
-
34
-
35
-
36
-
37
-
38
-
39
-
40
-
41
-
42
-
43
-
44
-
45
-
46
-
47
-
48
-
49
-
50
-
51
-
52
-
53
-
54
-
55
-
56
-
57
-
58
-
59
-
60
-
61
-
62
-
63
-
64
-
65
-
66
-
67
-
68
-
69
-
70
-
 71
71 -
 72
72 -
 73
73 -
 74
74 -
 75
75 -
 76
76 -
 77
77 -
 78
78 -
 79
79 -
 80
80 -
 81
81 -
82
-
83
-
84
-
85
-
86
-
87
-
88
-
89
-
90
-
91
-
92
-
93
-
94
-
95
-
96
-
97
-
98
-
99
-
100
-
101
-
102
-
103
-
104
-
105
-
106
-
107
-
108
-
109
-
110
-
111
-
112
-
113
-
114
-
115
-
116
-
117
-
118
-
119
-
120
-
121
-
122
-
123
-
124
-
125
-
126
-
127
-
128
-
129
-
130
-
131
-
132
-
133
-
134
-
135
-
136
-
137
-
138
-
139
-
140
-
141
-
142
-
143
-
144
-
145
-
146
-
147
-
148
-
149
-
150
-
151
-
152
-
153
-
154
-
155
-
156
-
157
-
158
-
159
-
160
-
161
-
162
-
163
-
164
-
165
-
166
-
167
-
168
-
169
-
170
-
171
-
172
-
173
-
174
-
175
-
176
-
177
-
178
-
179
-
180
-
181
-
182
-
183
-
184
-
185
-
186
-
187
-
188
-
189
-
190
-
191
-
192
-
193
-
194
-
195
-
196
-
197
-
198
-
199
-
200
-
201
-
202
-
203
-
204
-
205
-
206
-
207
-
208
-
209
-
210
-
211
-
212
-
213
-
214
-
215
-
216
-
217
-
218
-
219
-
220
-
221
-
222
-
223
-
224
-
225
-
226
-
227
-
228
-
229
-
230
-
231
-
232
-
233
-
234
-
235
-
236
-
237
-
238
-
239
-
240
-
241
-
242
-
243
-
244
-
245
-
246
-
247
-
248
-
249
-
250
-
251
-
252
-
253
-
254
-
255
-
256
-
257
-
258
-
259
-
260
-
261
-
262
-
263
-
264
-
265
-
266
-
267
-
268
-
269
-
270
-
271
-
272
-
273
-
274
-
275
-
276
-
277
-
278
-
279
-
280
-
281
-
282
-
283
-
284
-
285
-
286
-
287
-
288
 |
 |