Epson 7850p Product Information Guide - Page 6
Starting Up the Projector, Selecting the Image Source, Previewing Image Sources, Warning - powerlite lamp
 |
UPC - 010343845992
View all Epson 7850p manuals
Add to My Manuals
Save this manual to your list of manuals |
Page 6 highlights
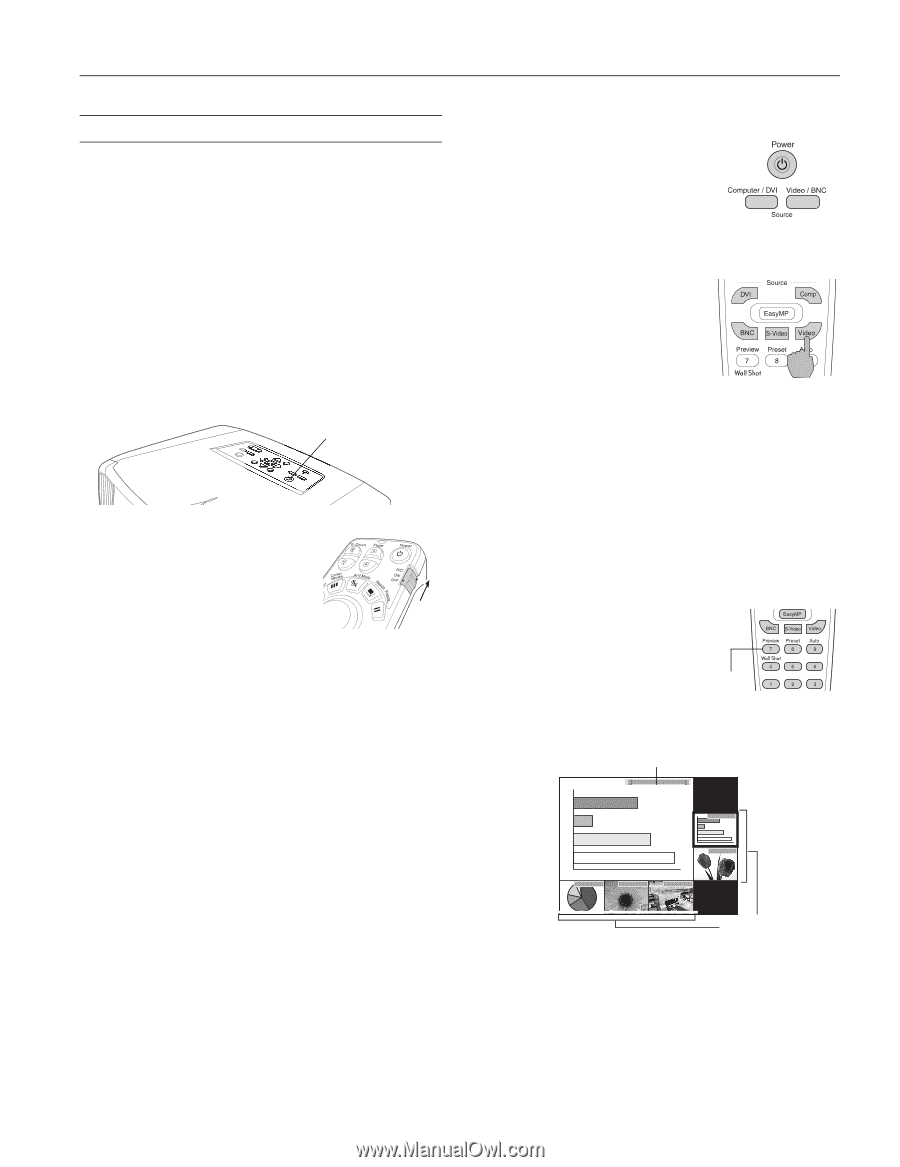
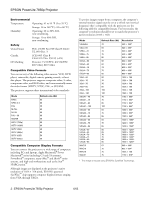
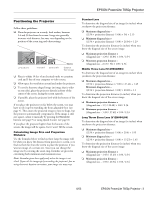
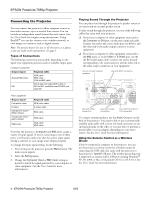
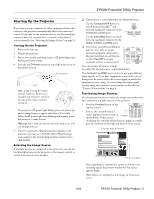
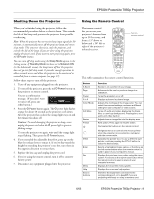
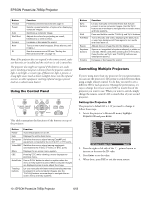
EPSON PowerLite 7850p Projector Starting Up the Projector If you turn on your computer or video equipment before the projector, the projector automatically selects the connected source. If you turn on the projector first or you have multiple sources connected, you may have to switch to the desired source manually (see "Selecting the Image Source" on page 5). Turning On the Projector 1. Remove the lens cap. 2. Plug in the projector. 3. Wait a few seconds until the projector's P power light stops flashing and turns orange. 4. Press the red P Power button on top of the projector or on the remote control. Power button Note: If you're using the remote control, make sure batteries are installed and the power switch on the side of the remote control is turned on. The projector's P power light flashes green as it warms up, and an image begins to appear after about 30 seconds. When the P power light stops flashing and remains green, the projector is ready for use. Warning: Never look into the lens when the lamp is on. This can damage your eyes. 5. If you've connected a Windows-based computer to the projector, you may see a New Hardware Wizard saying your computer has found a plug-and-play monitor; if so, click Cancel. Selecting the Image Source If multiple devices are connected to the projector, you can use the Source buttons on the projector or the remote control to switch from one source to another: ❏ The projector's control panel has two Source buttons. Use the Computer/DVI button to switch between EasyMP™ , and between equipment connected to the Computer and DVI ports. Use the Video/BNC button to switch between equipment connected to the Video, S-Video, and BNC ports. ❏ The remote control has six Source buttons. Use them to switch between equipment connected to the port identified on each button, or select EasyMP to project wirelessly or from a memory card. You can preview all sources to help you select the desired source, as described below. The Computer and BNC ports can be set up to use different input signals, so if you have equipment connected to one of these ports, be sure to select the correct signal to match the equipment you're using. You can change the input signal settings using the projector's menu system as described in "Types of Connections" on page 4. Previewing Image Sources Use the preview function to select the image source when you have connected multiple sources to the projector. 1. Press the Preview button on the remote control. You see the currently selected source displayed on the screen, as Preview shown below. Other sources (including the currently selected source) appear in smaller preview windows on the right and bottom of the screen. . Currently selected source Computer (Analog-RGB) Computer DVI BNC Video S-Video Preview windows If no equipment is connected to a port, or if there is no incoming signal, the preview window for that source appears blank. Note: Movies are displayed as still images on the preview screen. 6/03 EPSON PowerLite 7850p Projector - 5
-
 1
1 -
 2
2 -
 3
3 -
 4
4 -
 5
5 -
 6
6 -
 7
7 -
 8
8 -
 9
9 -
 10
10 -
 11
11 -
 12
12 -
13
-
14
-
15
-
16
-
17
-
18
-
19
-
20
-
21
-
22
-
23
-
24
-
25
 |
 |