Epson 9600 Product Support Bulletin(s) - Page 80
Naming The Custom Paper Configuration, Custom Name
 |
UPC - 010343841888
View all Epson 9600 manuals
Add to My Manuals
Save this manual to your list of manuals |
Page 80 highlights
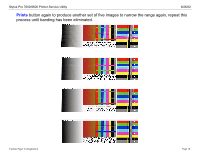
Stylus Pro 7600/9600 Printer Service Utility 8/26/02 2. Click Print to produce a test print to verify your density selection and repeat the process as required to achieve the proper density. 3. Click Next to confirm your selection and continue with other configuration choices. NAMING THE CUSTOM PAPER CONFIGURATION You can assign a name and save your new custom paper configuration for future use. 1. Custom Name - Type a name for your new custom paper configuration in the value box. 2. Check the custom paper configuration values you have chosen. Custom Paper Configuration Page 23.
-
 1
1 -
2
-
3
-
4
-
5
-
6
-
7
-
8
-
9
-
10
-
11
-
12
-
13
-
14
-
15
-
16
-
17
-
18
-
19
-
20
-
21
-
22
-
23
-
24
-
25
-
26
-
27
-
28
-
29
-
30
-
31
-
32
-
33
-
34
-
35
-
36
-
37
-
38
-
39
-
40
-
41
-
42
-
43
-
44
-
45
-
46
-
47
-
48
-
49
-
50
-
51
-
52
-
53
-
54
-
55
-
56
-
57
-
58
-
59
-
60
-
61
-
62
-
63
-
64
-
65
-
66
-
67
-
68
-
69
-
70
-
71
-
72
-
73
-
74
-
 75
75 -
 76
76 -
 77
77 -
 78
78 -
 79
79 -
 80
80 -
 81
81 -
 82
82 -
 83
83 -
 84
84 -
 85
85 -
86
-
87
-
88
-
89
-
90
-
91
-
92
-
93
-
94
-
95
-
96
-
97
-
98
-
99
-
100
-
101
-
102
-
103
-
104
 |
 |
Stylus Pro 7600/9600 Printer Service Utility
8/26/02
Custom Paper Configuration
Page 23.
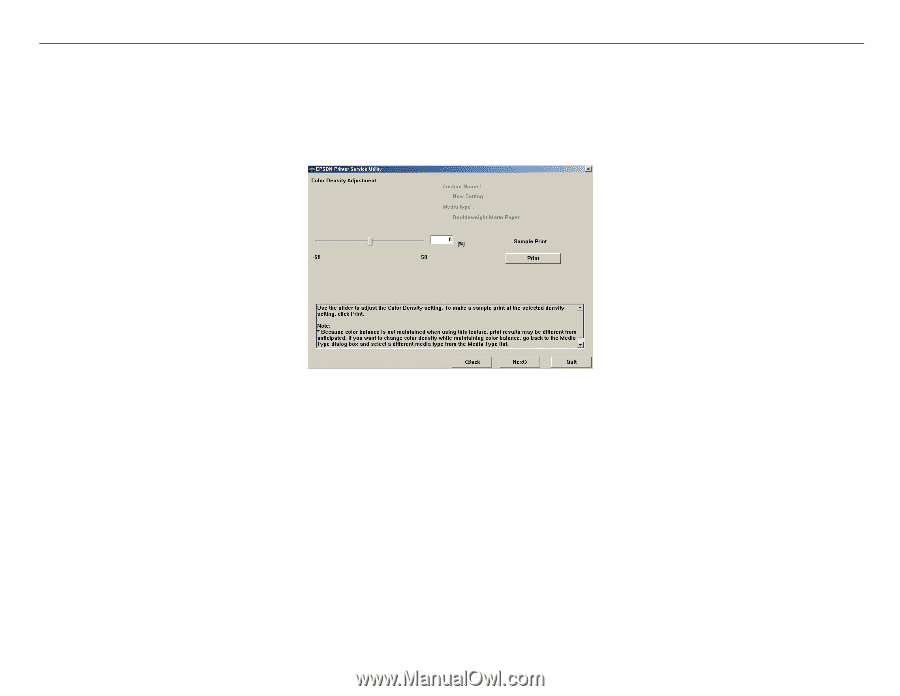
2.
Click
Print
to produce a test print to verify your density selection and repeat the process as
required to achieve the proper density.
3.
Click
Next
to confirm your selection and continue with other configuration choices.
NAMING THE CUSTOM PAPER CONFIGURATION
You can assign a name and save your new custom paper configuration for future use.
1.
Custom Name
- Type a name for your new custom paper configuration in the value box.
2.
Check the custom paper configuration values you have chosen.