Epson PictureMate Snap - PM 240 Product Information Guide - Page 8
Viewing a Slideshow of Your Photos, Choosing a Layout, For the US Passport, ID portrait package
 |
View all Epson PictureMate Snap - PM 240 manuals
Add to My Manuals
Save this manual to your list of manuals |
Page 8 highlights
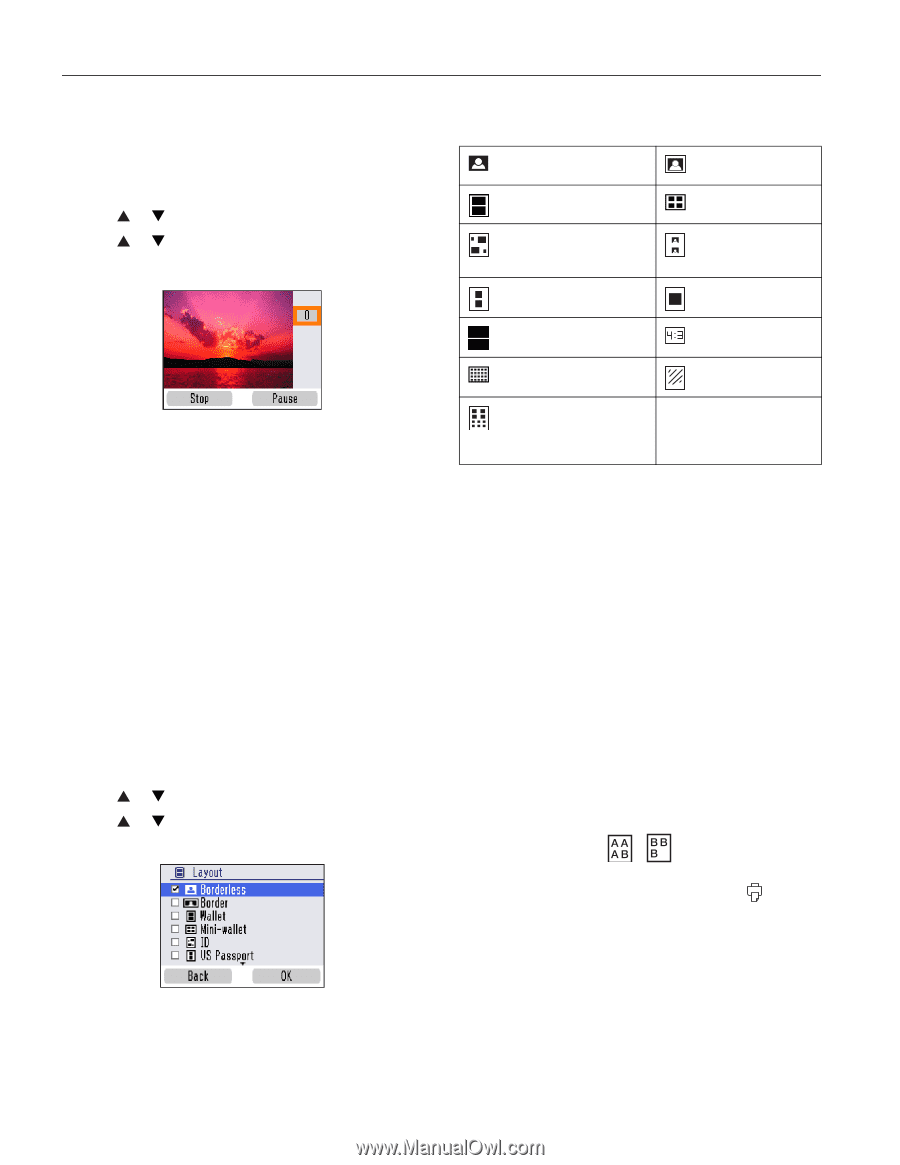
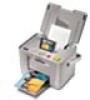
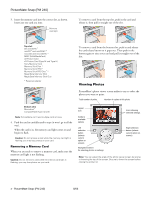
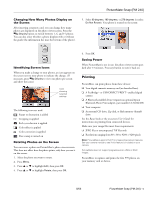
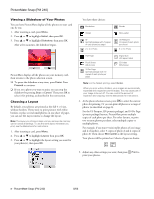
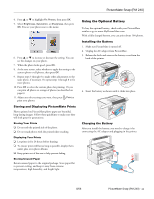
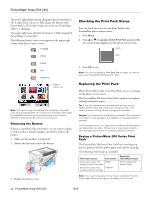
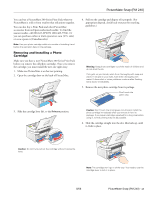
PictureMate Snap (PM 240) Viewing a Slideshow of Your Photos You can have PictureMate display all the photos on your card one by one. 1. After inserting a card, press Menu. 2. Press or to highlight Select, then press OK. 3. Press or to highlight Slideshow, then press OK. After a few moments, the slideshow begins. PictureMate displays all the photos on your memory card, then returns to the photo selection screen. ❏ To pause the slideshow at any time, press Pause. Press Proceed to continue. ❏ If you see a photo you want to print, you can stop the slideshow by pressing Stop or Cancel. Then press OK to select it for printing, as described in the next section. Choosing a Layout By default, your photos are printed at the full 4 × 6 size, without borders. If you want to print pictures with white borders or place several small photos on one sheet of paper, you can use the Layout menu to change the layout. Note: The layout you choose is kept until you remove the memory card or cancel all settings. To use the same layout whenever you print, see the Basics book for instructions. 1. After inserting a card, press Menu. 2. Press or to highlight Layout, then press OK. 3. Press or to highlight the layout setting you want for your photo(s), then press OK. You have these choices: Borderless Border Wallet Mini-wallet ID (portrait package with 4 copies of each photo per page) 2 × 2 in Photo US Passport (2 copies of each photo per sheet) 3 × 3 in Photo Half Page Proof Sheet (20 photos) 10 Per Page (portrait package with 10 copies of each photo per page) Digital Size (4:3 aspect ratio) CD Index (56 photos) Note: For the fastest printing, select Border. When you print without borders, your images are automatically expanded and cropped around the edges. This may cause part of your image to be cut off. You can control the amount of expansion and cropping; see the Basics book for instructions. 4. At the photo selection screen, press OK to select the current photo for printing. Or you can print all photos or a range of photos (as described on page 6). For the US Passport, ID (portrait package), and 10 Per Page (portrait package) layouts, PictureMate prints multiple copies of each photo per sheet. For other layouts, to print two or more photos per sheet, select multiple copies or multiple photos. For example, if you want 3 mini-wallet photos of one image and 4 of another, select 3 copies of photo A and 4 copies of photo B. Then choose Mini-wallet as the layout setting. Your photos will be printed on 2 sheets of paper as shown: 5. Adjust any other settings you want, then press Print to print your photos. 8 - PictureMate Snap (PM 240) 8/06
-
 1
1 -
2
-
 3
3 -
 4
4 -
 5
5 -
 6
6 -
 7
7 -
 8
8 -
 9
9 -
 10
10 -
 11
11 -
 12
12 -
 13
13 -
14
-
15
-
16
 |
 |