Epson RX595 Product Information Guide - Page 10
Restoring, Cropping, and Copying Multiple Photos, Reprint/Restore Print Settings - stylus photo scan
 |
UPC - 010343866157
View all Epson RX595 manuals
Add to My Manuals
Save this manual to your list of manuals |
Page 10 highlights
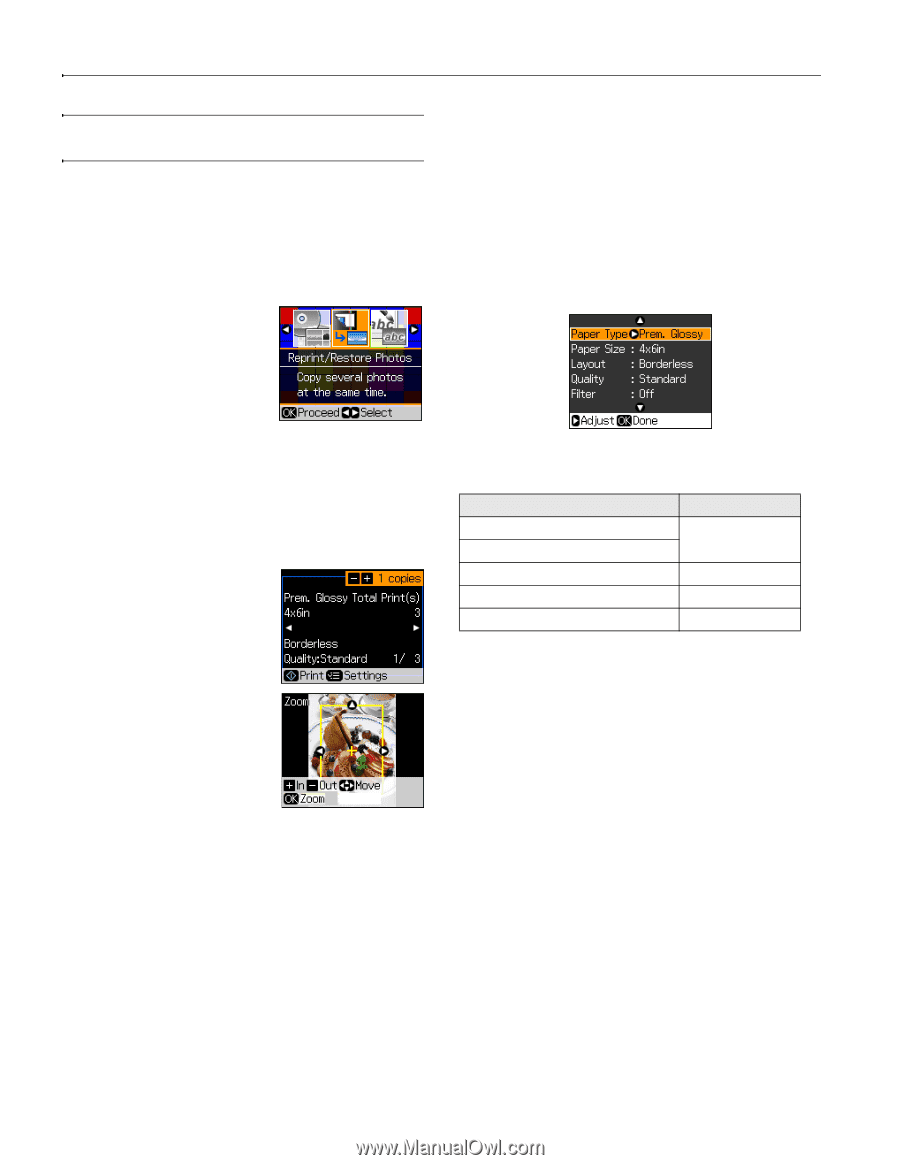
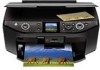
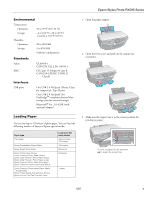
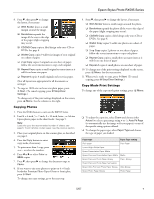
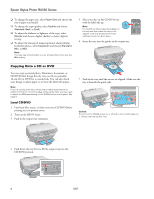
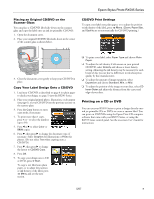
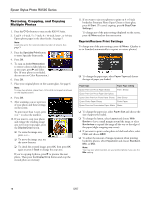
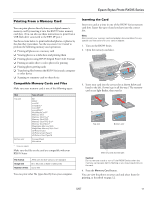
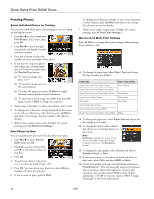
Epson Stylus Photo RX595 Series Restoring, Cropping, and Copying Multiple Photos 1. Press the P On button to turn on the RX595 Series. 2. Load 4 × 6-inch, 5 × 7-inch, 8 × 10-inch, letter-, or A4-size Epson photo paper in the sheet feeder. See page 5. Note: Load only up to the recommended number of sheets. See page 5. 3. Press the Specialty Print button to enter Specialty Print mode. 4. Press OK. 5. To turn on Color Restoration to restore colors in faded photos as you copy, press r and select On. (If your photo is not faded, do not turn on Color Restoration.) 6. Press OK. 7. Place your original photo on the scanner glass. See page 6. Note: To copy two photos, place them 1/4 inch (5 mm) apart as shown on the display screen. 8. Press OK. 9. After scanning, you see a preview of your photo and these settings on the screen: To print more than 1 copy, press + or - to select the number. 10. If you want to crop your photo and enlarge the resulting image area to fit onto your paper, press the Display/Crop button. ❏ To resize the image area, press + or -. ❏ To move the image area, use the arrow buttons. ❏ To check the zoomed image, press OK, then press OK again or press y Back to change the crop area. If you're copying 2 photos, press r to preview the next photo. Then press the Display/Crop button and crop the second photo as necessary. 11. If you want to size your photos to print on 4 × 6-inch borderless Premium Photo Paper Glossy or Semi-gloss, press x Start. (To cancel copying, press y Stop/Clear Settings.) To change any of the print settings displayed on the screen, press x Menu and see the next section. Reprint/Restore Print Settings To change any of the print settings, press x Menu. (Quality is set to Standard automatically to reprint or restore photos.) ❏ To change the paper type, select Paper Type and choose the type of paper you loaded. Paper type Paper Type setting Epson Premium Photo Paper Glossy Prem. Glossy Epson Premium Photo Paper Semi-gloss Epson Ultra Premium Photo Paper Glossy Ultra Glossy Epson Photo Paper Glossy Photo Paper Epson Premium Presentation Paper Matte Matte ❏ To change the paper size, select Paper Size and choose the size of paper you loaded. ❏ To change the layout, select Layout and choose With Border to leave a small margin around the image or select Borderless to expand the image all the way to the edge of the paper (slight cropping may occur). ❏ If you want to print a color photo in black and white, select Filter and choose B&W. ❏ To adjust the amount of image expansion when printing borderless photos, select Expansion and choose Standard, Min, or Mid. Note: You may see white borders on your printed photo if you use the Min setting. 10 5/07
-
 1
1 -
2
-
3
-
4
-
 5
5 -
 6
6 -
 7
7 -
 8
8 -
 9
9 -
 10
10 -
 11
11 -
 12
12 -
 13
13 -
 14
14 -
 15
15 -
16
 |
 |