Epson RX595 Product Information Guide - Page 7
Copying Photos, Copy Mode Print Settings, borderless Premium Photo Paper Glossy or Semi-gloss - stylus photo
 |
UPC - 010343866157
View all Epson RX595 manuals
Add to My Manuals
Save this manual to your list of manuals |
Page 7 highlights
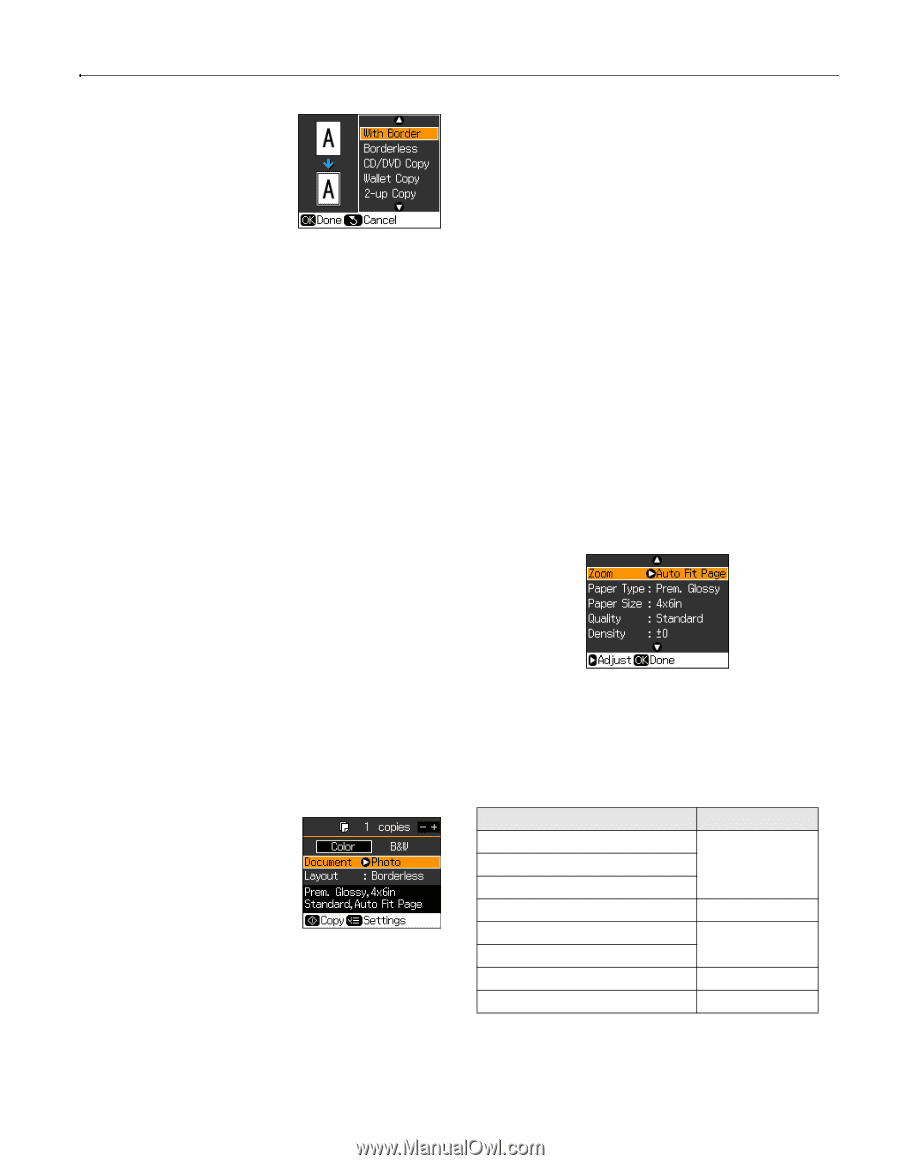
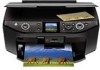
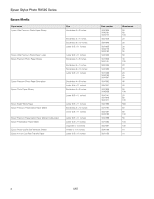
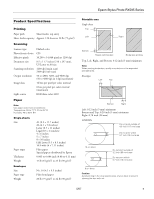
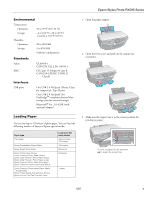
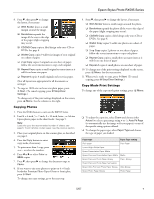
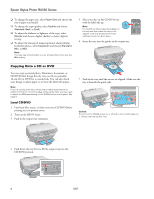
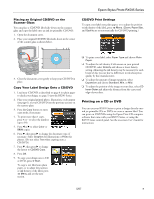
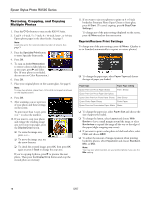
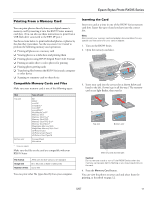
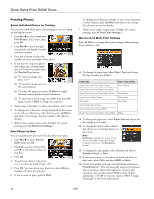
Epson Stylus Photo RX595 Series 8. Press d, then press r to change the layout, if necessary. ❏ With Border leaves a small margin around the image. ❏ Borderless expands the image all the way to the edge of the paper (slight cropping may occur). ❏ CD/DVD Copy copies a label design only onto CDs or DVDs. See page 8. ❏ Wallet Copy copies 9 wallet-size images of your original on a sheet of paper. ❏ 2-up Copy copies 2 originals on one sheet of paper; follow the screen instructions to copy each original. ❏ Repeat Copy copies a small original as many times as it will fit on letter-size paper ❏ Repeat-4 copies 4 small originals on letter-size paper. (Not all layouts are appropriate for all documents or settings.) 9. To copy at 100% size on letter-size plain paper, press x Start. (To cancel copying, press y Stop/Clear Settings.) To change any of the print settings displayed on the screen, press x Menu. See the column to the right. Copying Photos 1. Press the P On button to turn on the RX595 Series. 2. Load 4 × 6-inch, 5 × 7-inch, 8 × 10-inch, letter-, or A4-size Epson photo paper in the sheet feeder. See page 5. Note: Load only up to the recommended number of sheets; see page 5. To print photos on plain paper, see the previous section. 3. Place your original photo on the scanner glass, as described on page 6. 4. Press the Copy button to enter copy mode, if necessary. 5. To print more than 1 copy, press + or - to select the number. 6. Press l or r to select Color or B&W copies. 7. Press d, then press r to change the document type to Photo. 8. If you want to size your photos to print on 4 × 6-inch borderless Premium Photo Paper Glossy or Semi-gloss, press x Start. To change any copy settings, go to the next step. 9. Press d, then press r to change the layout, if necessary. ❏ With Border leaves a small margin around the photo. ❏ Borderless expands the photo all the way to the edge of the paper (slight cropping may occur). ❏ CD/DVD Copy copies a label design only onto CDs or DVDs. See page 8. ❏ Wallet Copy copies 9 wallet-size photos on a sheet of paper. ❏ 2-up Copy copies 2 photos on one sheet of paper; follow the screen instructions to copy each photo. ❏ Repeat Copy copies a small photo as many times as it will fit on one sheet of paper ❏ Repeat-4 copies 4 small photos on one sheet of paper. 10. To change any of the print settings displayed on the screen, press x Menu. See the next section. 11. When you're ready to copy, press x Start. (To cancel copying, press y Stop/Clear Settings.) Copy Mode Print Settings To change any of the copy mode print settings, press x Menu. ❏ To adjust the copy size, select Zoom and choose either Actual (to select a percentage using + or -), Auto Fit Page (to automatically size the image to fit your paper), or any of the specific sizing options offered. ❏ To change the paper type, select Paper Type and choose the type of paper you loaded. Paper type Paper Type setting Plain paper Plain Paper Epson Bright White Paper Epson Presentation Paper Matte Epson Premium Presentation Paper Matte Matte Epson Premium Photo Paper Glossy Prem. Glossy Epson Premium Photo Paper Semi-gloss Epson Ultra Premium Photo Paper Glossy Ultra Glossy Epson Photo Paper Glossy Photo Paper 5/07 7
-
 1
1 -
 2
2 -
 3
3 -
 4
4 -
 5
5 -
 6
6 -
 7
7 -
 8
8 -
 9
9 -
 10
10 -
 11
11 -
 12
12 -
13
-
14
-
15
-
16
 |
 |