Epson XP-630 User Manual - Page 242
Aligning the Print Head Using a Computer Utility, Print Head Alignment, Parent topic, Related topics
 |
View all Epson XP-630 manuals
Add to My Manuals
Save this manual to your list of manuals |
Page 242 highlights
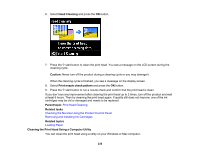
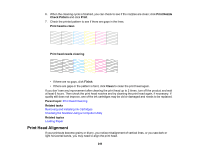
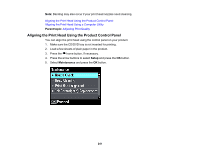
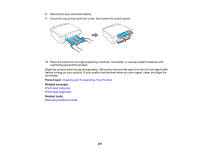
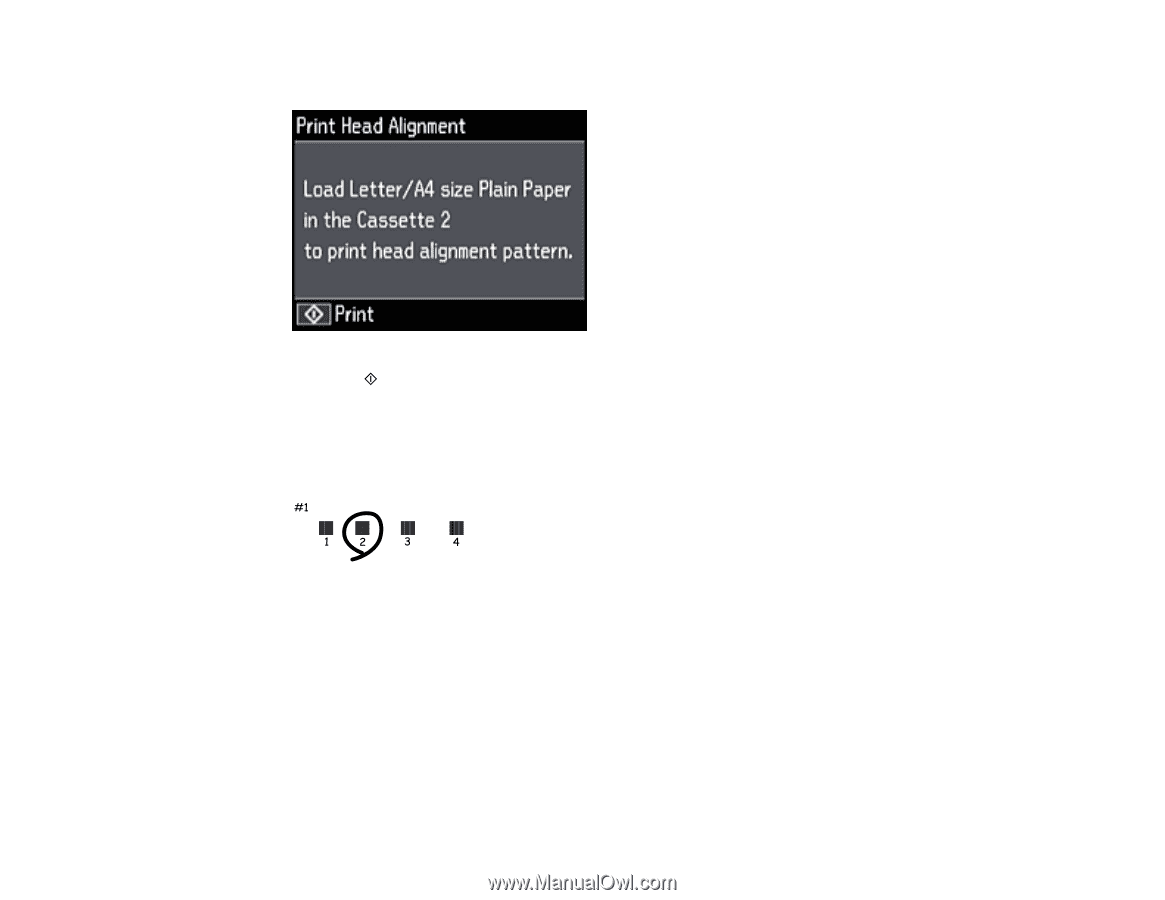
6. Select Print Head Alignment and press the OK button. 7. Press the start button to print an alignment sheet. Note: Do not cancel printing while you are printing a head alignment pattern. 8. Check the printed pattern and select the number representing the most solid printed pattern for each set on the LCD screen. 9. Press the OK button when you are finished. Parent topic: Print Head Alignment Related topics Loading Paper Aligning the Print Head Using a Computer Utility You can align the print head using a utility on your Windows or Mac computer. 1. Make sure the CD/DVD tray is not inserted for printing. Make sure there are no errors on the LCD screen, the CD/DVD tray is not inserted for printing, and the output tray is extended. 242
-
 1
1 -
2
-
3
-
4
-
5
-
6
-
7
-
8
-
9
-
10
-
11
-
12
-
13
-
14
-
15
-
16
-
17
-
18
-
19
-
20
-
21
-
22
-
23
-
24
-
25
-
26
-
27
-
28
-
29
-
30
-
31
-
32
-
33
-
34
-
35
-
36
-
37
-
38
-
39
-
40
-
41
-
42
-
43
-
44
-
45
-
46
-
47
-
48
-
49
-
50
-
51
-
52
-
53
-
54
-
55
-
56
-
57
-
58
-
59
-
60
-
61
-
62
-
63
-
64
-
65
-
66
-
67
-
68
-
69
-
70
-
71
-
72
-
73
-
74
-
75
-
76
-
77
-
78
-
79
-
80
-
81
-
82
-
83
-
84
-
85
-
86
-
87
-
88
-
89
-
90
-
91
-
92
-
93
-
94
-
95
-
96
-
97
-
98
-
99
-
100
-
101
-
102
-
103
-
104
-
105
-
106
-
107
-
108
-
109
-
110
-
111
-
112
-
113
-
114
-
115
-
116
-
117
-
118
-
119
-
120
-
121
-
122
-
123
-
124
-
125
-
126
-
127
-
128
-
129
-
130
-
131
-
132
-
133
-
134
-
135
-
136
-
137
-
138
-
139
-
140
-
141
-
142
-
143
-
144
-
145
-
146
-
147
-
148
-
149
-
150
-
151
-
152
-
153
-
154
-
155
-
156
-
157
-
158
-
159
-
160
-
161
-
162
-
163
-
164
-
165
-
166
-
167
-
168
-
169
-
170
-
171
-
172
-
173
-
174
-
175
-
176
-
177
-
178
-
179
-
180
-
181
-
182
-
183
-
184
-
185
-
186
-
187
-
188
-
189
-
190
-
191
-
192
-
193
-
194
-
195
-
196
-
197
-
198
-
199
-
200
-
201
-
202
-
203
-
204
-
205
-
206
-
207
-
208
-
209
-
210
-
211
-
212
-
213
-
214
-
215
-
216
-
217
-
218
-
219
-
220
-
221
-
222
-
223
-
224
-
225
-
226
-
227
-
228
-
229
-
230
-
231
-
232
-
233
-
234
-
235
-
236
-
 237
237 -
 238
238 -
 239
239 -
 240
240 -
 241
241 -
 242
242 -
 243
243 -
 244
244 -
 245
245 -
 246
246 -
 247
247 -
248
-
249
-
250
-
251
-
252
-
253
-
254
-
255
-
256
-
257
-
258
-
259
-
260
-
261
-
262
-
263
-
264
-
265
-
266
-
267
-
268
-
269
-
270
-
271
-
272
-
273
-
274
-
275
-
276
-
277
-
278
-
279
-
280
-
281
-
282
-
283
-
284
-
285
-
286
-
287
-
288
-
289
-
290
-
291
-
292
-
293
-
294
-
295
-
296
-
297
-
298
-
299
-
300
-
301
-
302
-
303
-
304
-
305
-
306
-
307
-
308
 |
 |
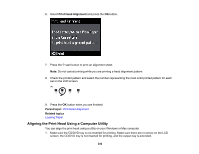
6.
Select
Print Head Alignment
and press the
OK
button.
7.
Press the
start button to print an alignment sheet.
Note:
Do not cancel printing while you are printing a head alignment pattern.
8.
Check the printed pattern and select the number representing the most solid printed pattern for each
set on the LCD screen.
9.
Press the
OK
button when you are finished.
Parent topic:
Print Head Alignment
Related topics
Loading Paper
Aligning the Print Head Using a Computer Utility
You can align the print head using a utility on your Windows or Mac computer.
1.
Make sure the CD/DVD tray is not inserted for printing. Make sure there are no errors on the LCD
screen, the CD/DVD tray is not inserted for printing, and the output tray is extended.
242