HP Cluster Platform Introduction v2010 HP Cluster Platform Workgroup System To - Page 23
Unpacking and Removing a Workgroup System Tower from a Pallet
 |
View all HP Cluster Platform Introduction v2010 manuals
Add to My Manuals
Save this manual to your list of manuals |
Page 23 highlights
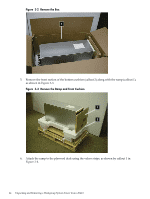
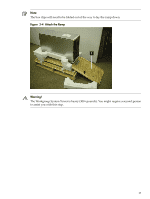
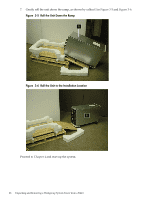
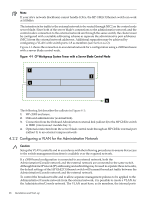
3 Unpacking and Removing a Workgroup System Tower from a Pallet This chapter describes how to unpack and remove the Workgroup System Tower from a pallet. To unpack and remove the Workgroup System Tower from a pallet, follow these steps: 1. Move the pallet to the installation location and leave several feet of space to move around the pallet. Note: Carton graphics provide the instructions on how to unpack the Workgroup System Tower and to open the top of the box first. 2. Open the top of the cardboard box, as shown by callout 1 in Figure 3-1. Figure 3-1 Open the Top of the Cardboard Box 1 3 2 3 3. Remove the two boxes containing the security bezel, power cords, and other accessories, as shown by callout 2 in Figure 3-1. 4. Remove the cushions from the top of the unit, as shown by callout 3 in Figure 3-1 and the cardboard box, as shown by callout 1 in Figure 3-2. 23
-
 1
1 -
2
-
3
-
4
-
5
-
6
-
7
-
8
-
9
-
10
-
11
-
12
-
13
-
14
-
15
-
16
-
17
-
 18
18 -
 19
19 -
 20
20 -
 21
21 -
 22
22 -
 23
23 -
 24
24 -
 25
25 -
 26
26 -
 27
27 -
 28
28 -
29
-
30
-
31
-
32
-
33
-
34
-
35
-
36
-
37
-
38
-
39
-
40
-
41
-
42
-
43
-
44
 |
 |
