HP K850 Getting Started Guide - Page 12
Informationen zum Freigeben des Druckers im Netzwerk finden Sie
 |
UPC - 882780027831
View all HP K850 manuals
Add to My Manuals
Save this manual to your list of manuals |
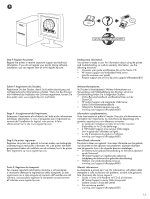
Page 12 highlights
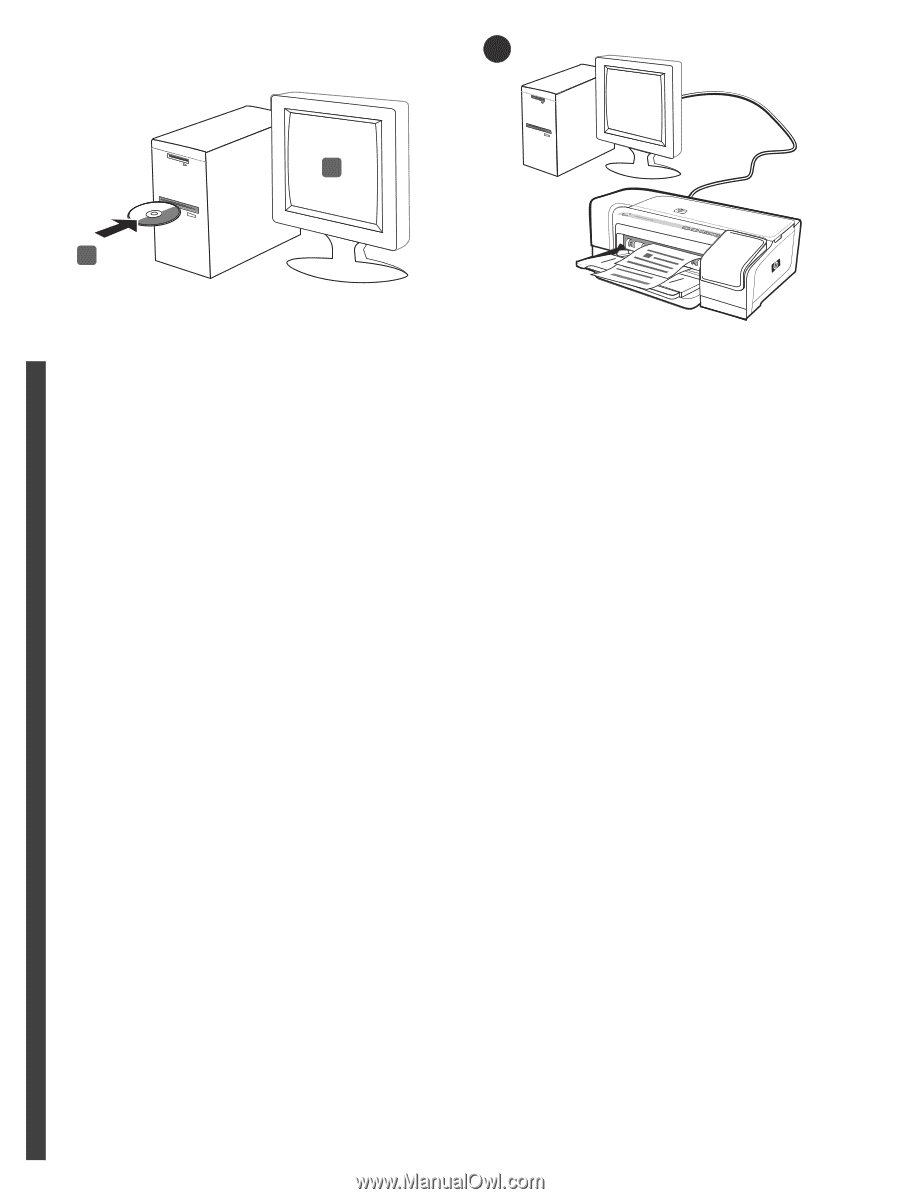
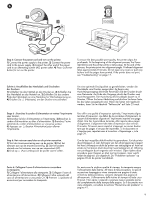
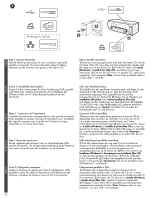
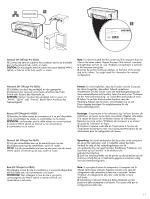
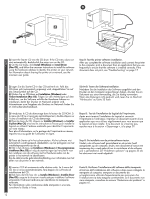
8 4 3 English 3) Insert the Starter CD into the CD drive. If the CD menu does not start automatically, double-click the setup icon on the CD. 4) On the CD menu, click Install (Windows) or Install Driver (Mac OS), and follow the onscreen instructions to install the software using the hardware address to identify the printer on your network. For information about sharing the printer on a network, see the onscreen user guide. Step 8: Test the printer software installation. After you complete the software installation and connect the printer to the computer, print a document from an application that you use frequently to ensure that the software is installed correctly. If the document does not print, see "Troubleshooting" on page 17. Deutsch Français 3) Legen Sie die Starter-CD in das CD-Laufwerk ein. Falls das CD-Menü nicht automatisch angezeigt wird, doppelklicken Sie auf das Setup-Symbol auf der CD. 4) Klicken Sie im CD-Menü auf Installation (Windows) oder Treiber-Installation (Mac OS). Folgen Sie den Anleitungen auf dem Bildschirm, um die Software mithilfe der Hardware-Adresse zu installieren, damit der Drucker im Netzwerk erkannt wird. Informationen zum Freigeben des Druckers im Netzwerk finden Sie im Online-Benutzerhandbuch. Schritt 8: Testen der Softwareinstallation. Nachdem Sie die Installation der Software ausgeführt und den Drucker an den Computer angeschlossen haben, drucken Sie ein Dokument aus einer Anwendung, die Sie häufig verwenden. Wenn das Dokument nicht gedruckt wird, lesen Sie im Abschnitt "Fehlersuche" auf Seite 23 nach. 3) Introduisez le CD de démarrage dans le lecteur de CD-ROM. Si le menu du CD ne s'ouvre pas automatiquement, double-cliquez sur l'icône d'installation du CD de démarrage. 4) Dans le menu du CD, cliquez sur Installer (Windows) ou Installer le pilote (Mac OS) et suivez les instructions à l'écran pour installer le logiciel en utilisant l'adresse matérielle pour identifier l'imprimante sur votre réseau. Pour plus d'informations sur le partage de l'imprimante en réseau, reportez-vous au guide de l'utilisateur en ligne. Étape 8 : Test de l'installation du logiciel de l'imprimante. Après avoir terminé l'installation du logiciel et connecté l'imprimante à l'ordinateur, imprimez un document à partir d'une application que vous utilisez régulièrement pour vous assurer que le logiciel est bien installé. Si le document ne s'imprime pas, reportez-vous à la section « Dépannage », à la page 29. 3) Plaats de Starter-cd in het cd-rom-station. Als het cd-menu niet automatisch wordt geopend, dubbelklikt u op het pictogram van het installatieprogramma op de cd. 4) Klik in het cd-menu op Installeren (Windows) of Stuurprogramma installeren (Mac OS) en volg de aanwijzingen op het scherm voor het installeren van de software met het hardware-adres om de printer in het netwerk te identificeren. Zie de elektronische gebruikershandleiding voor informatie over het delen van de printer in een netwerk. Stap 8: De installatie van de printersoftware testen. Nadat u de software heeft geïnstalleerd en de printer heeft aangesloten op de computer, drukt u een document af vanuit een toepassing die u vaak gebruikt om te controleren of de software juist is geïnstalleerd. Zie "Problemen oplossen" op pagina 35 als het document niet wordt afgedrukt. 3) Inserire il CD di avviamento nella relativa unità. Se il menu del CD non si avvia automaticamente, fare doppio clic sull'icona di installazione del CD. 4) Dal menu del CD, fare clic su Installa (Windows) o Installa driver (Mac OS) e seguire le istruzioni visualizzate per installare il software utilizzando l'indirizzo hardware per identificare la stampante nella rete. Per informazioni sulla condivisione della stampante in una rete, consultare la Guida in linea. Punto 8: Verificare l'installazione del software della stampante. Al termine dell'installazione del software e dopo avere collegato la stampante al computer, stampare un documento da un'applicazione utilizzata frequentemente per assicurarsi che l'installazione sia stata eseguita correttamente. Se il documento non viene stampato, consultare la sezione "Risoluzione dei problemi" a pagina 41. Nederlands Italiano 12
-
 1
1 -
2
-
3
-
4
-
5
-
6
-
 7
7 -
 8
8 -
 9
9 -
 10
10 -
 11
11 -
 12
12 -
 13
13 -
 14
14 -
 15
15 -
 16
16 -
 17
17 -
18
-
19
-
20
-
21
-
22
-
23
-
24
-
25
-
26
-
27
-
28
-
29
-
30
-
31
-
32
-
33
-
34
-
35
-
36
-
37
-
38
-
39
-
40
-
41
-
42
-
43
-
44
-
45
-
46
-
47
-
48
-
49
-
50
-
51
-
52
-
53
-
54
-
55
-
56
 |
 |