HP Photosmart 6510 User Guide - Page 38
Wireless with a router (infrastructure network), Use PIN method, Wireless, WiFi Protected Setup, Start - wireless setup
 |
View all HP Photosmart 6510 manuals
Add to My Manuals
Save this manual to your list of manuals |
Page 38 highlights
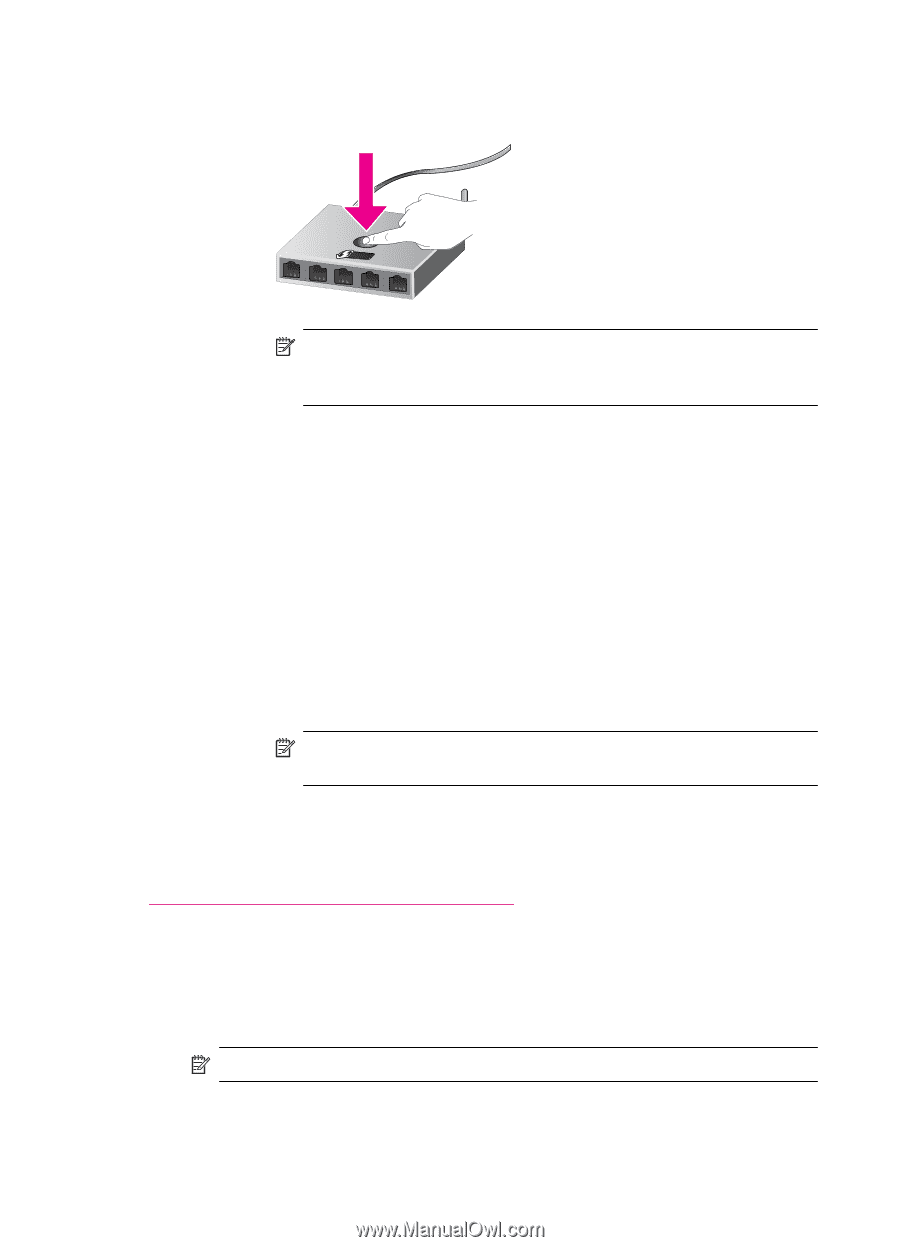
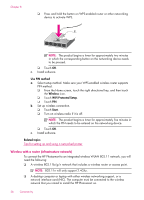
Chapter 8 ❑ Press and hold the button on WPS-enabled router or other networking device to activate WPS. NOTE: The product begins a timer for approximately two minutes in which the corresponding button on the networking device needs to be pressed. ❑ Touch OK. c. Install software. Use PIN method a. Select setup method. Make sure your WPS-enabled wireless router supports PIN method. ❑ From the Home screen, touch the right directional key, and then touch the Wireless icon. ❑ Touch WiFi Protected Setup. ❑ Touch PIN. b. Set up wireless connection. ❑ Touch Start. ❑ Turn on wireless radio if it is off. NOTE: The product begins a timer for approximately five minutes in which the PIN needs to be entered on the networking device. ❑ Touch OK. c. Install software. Related topics Tips for setting up and using a networked printer Wireless with a router (infrastructure network) To connect the HP Photosmart to an integrated wireless WLAN 802.11 network, you will need the following: ❑ A wireless 802.11b/g/n network that includes a wireless router or access point. NOTE: 802.11n will only support 2.4Ghz. ❑ A desktop computer or laptop with either wireless networking support, or a network interface card (NIC). The computer must be connected to the wireless network that you intend to install the HP Photosmart on. 36 Connectivity
-
 1
1 -
2
-
3
-
4
-
5
-
6
-
7
-
8
-
9
-
10
-
11
-
12
-
13
-
14
-
15
-
16
-
17
-
18
-
19
-
20
-
21
-
22
-
23
-
24
-
25
-
26
-
27
-
28
-
29
-
30
-
31
-
32
-
 33
33 -
 34
34 -
 35
35 -
 36
36 -
 37
37 -
 38
38 -
 39
39 -
 40
40 -
 41
41 -
 42
42 -
 43
43 -
44
-
45
-
46
-
47
-
48
-
49
-
50
-
51
-
52
-
53
-
54
-
55
-
56
-
57
-
58
-
59
-
60
-
61
-
62
-
63
-
64
 |
 |