HP Vectra XU 6/XXX HP Vectra XU 6/XXX - Installing an Operating System, D3538- - Page 14
Changing Display, Settings, Configuring the Network
 |
View all HP Vectra XU 6/XXX manuals
Add to My Manuals
Save this manual to your list of manuals |
Page 14 highlights
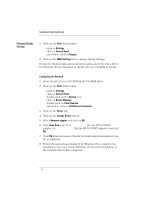
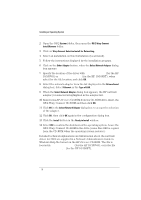
Installing an Operating System Changing Display Settings 1 Click on the Start button then: point to Settings, click on Control Panel, and double-click on Display. 2 Click on the MGA Settings tab to change display settings. Detailed technical explanations and information about the video driver for Windows 95 are contained on the HP Drivers CD-ROM in the file \VIDEO\DISK6\README. Configuring the Network 1 Insert the HP Drivers CD-ROM in the CD-ROM drive. 2 Click on the Start button then: point to Settings, click on Control Panel, double-click on the System icon, click on Device Manager, double-click on Other Devices, and double-click on PCI Ethernet Controller. 3 Click on the Driver tab. 4 Click on the Change Driver button. 5 Select Network adapter and click on OK. 6 Click Have Disk and select D:\LAN\W95 (for the HP 10/100VG adapter) or D:\LANBT\W95 (for the HP 10/100BT adapter) and click OK. 7 Click OK when the name of the HP network adapter installed in your PC is displayed. 8 Follow the instructions displayed by Windows 95 to complete the installation. You must restart Windows 95 when the installation of the network drivers has completed. 14
-
 1
1 -
2
-
3
-
4
-
5
-
6
-
7
-
8
-
 9
9 -
 10
10 -
 11
11 -
 12
12 -
 13
13 -
 14
14 -
 15
15 -
 16
16 -
 17
17 -
 18
18 -
 19
19 -
20
 |
 |
