HP Vectra XU 6/XXX HP Vectra XU 6/XXX - Installing an Operating System, D3538- - Page 7
Install Network Now, Continue, Do Not Detect, Other, Restart, Computer, Display, Change Display Type
 |
View all HP Vectra XU 6/XXX manuals
Add to My Manuals
Save this manual to your list of manuals |
Page 7 highlights
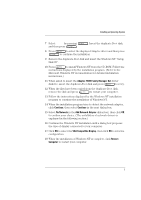
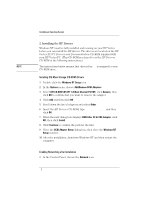
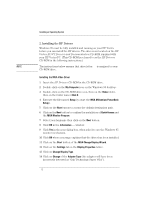
Installing an Operating System 2 Click Yes when the Install Network Now message appears. 3 Confirm the proposed setup path, which is the source of the Windows NT installation files on the Windows NT CD-ROM (for example, D:\i386). 4 Click Continue to install the HP network driver for Windows NT. To install the driver: a Choose Do Not Detect to manually select an adapter. b Click Continue to choose a network adapter. c In the list box, choose Other and then select Continue. d Insert the HP Drivers CD-ROM and specify the location of the drivers with: D:\LAN\WINNT (for the HP 10/100VG) or D:\LANBT\WINNT (for the HP 10/100BT). e Select the network adapter from the displayed list of adapters. 5 The system will continue with the installation. Follow the instructions displayed by Windows NT to complete the network driver installation process. 6 When prompted by the installation program, click on Restart Computer. Detailed technical explanations and information about the network driver for Windows NT are supplied in a Network Administrator's Guide in Windows Help file format on the HP Drivers CD-ROM. The file is located in \LAN\DOC\NAG.HLP (for the HP 10/100VG), or in the file \LANBT\DOC\NAG.HLP (for the HP 10/100BT). Changing the Video Driver after Installation Windows NT starts in VGA mode by default. To install the HP qualified video driver for Windows NT: 1 In the Control Panel, choose the Display icon. 2 Choose Change Display Type. 3 Click Change. 7
-
 1
1 -
 2
2 -
 3
3 -
 4
4 -
 5
5 -
 6
6 -
 7
7 -
 8
8 -
 9
9 -
 10
10 -
 11
11 -
 12
12 -
13
-
14
-
15
-
16
-
17
-
18
-
19
-
20
 |
 |