HP Vectra XU 6/XXX HP Vectra XU 6/XXX - Installing an Operating System, D3538- - Page 4
Installing Windows NT
 |
View all HP Vectra XU 6/XXX manuals
Add to My Manuals
Save this manual to your list of manuals |
Page 4 highlights
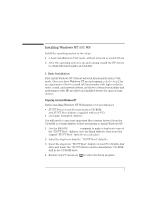
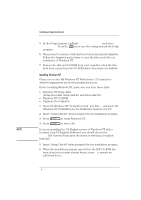
NOTE Installing an Operating System 5 In the Setup program, highlight Operating System and select Windows NT. Press the key to save the setting and exit the Setup program. 6 When your PC restarts, it will start (boot) from the inserted diskette. Follow the displayed instructions to copy the files needed for an installation of Windows NT. 7 Remove the disk and CD-ROM from your computer when the files have been copied from the CD-ROM disk to the duplicate diskette. Installing Windows NT Please refer to the MS Windows NT Workstation 3.51 manual for detailed explanations about the installation process. Before installing Windows NT, make sure you have these disks: • Windows NT Setup disks (Setup Boot disk, Setup disk #2, and Setup disk #3) • Windows NT CD-ROM • Duplicate Boot diskette. 1 Insert the Windows NT "Setup Boot Disk" into drive A and insert the Windows NT CD-ROM in the CD-ROM drive. Restart your PC. 2 Insert "Setup Disk #2" when prompted by the installation program. 3 Press to setup Windows NT. 4 Press to select the Express Setup. If you are installing the US English version of Windows NT with a localized (non-US English) keyboard, you should choose the Custom Setup. The Custom Setup gives the option of selecting a localized keyboard. 5 Insert "Setup Disk #3" when prompted by the installation program. 6 When the installation program reports that the IDE CD-ROM has been detected as a mass storage device, press S to specify an additional device. 4
-
 1
1 -
 2
2 -
 3
3 -
 4
4 -
 5
5 -
 6
6 -
 7
7 -
 8
8 -
 9
9 -
 10
10 -
11
-
12
-
13
-
14
-
15
-
16
-
17
-
18
-
19
-
20
 |
 |