HP d3000 HP d3000 Digital Camera - User Manual - Page 43
Setting the Date Stamp, Setting Auto Review, Setting Stabilizer - camera review
 |
View all HP d3000 manuals
Add to My Manuals
Save this manual to your list of manuals |
Page 43 highlights
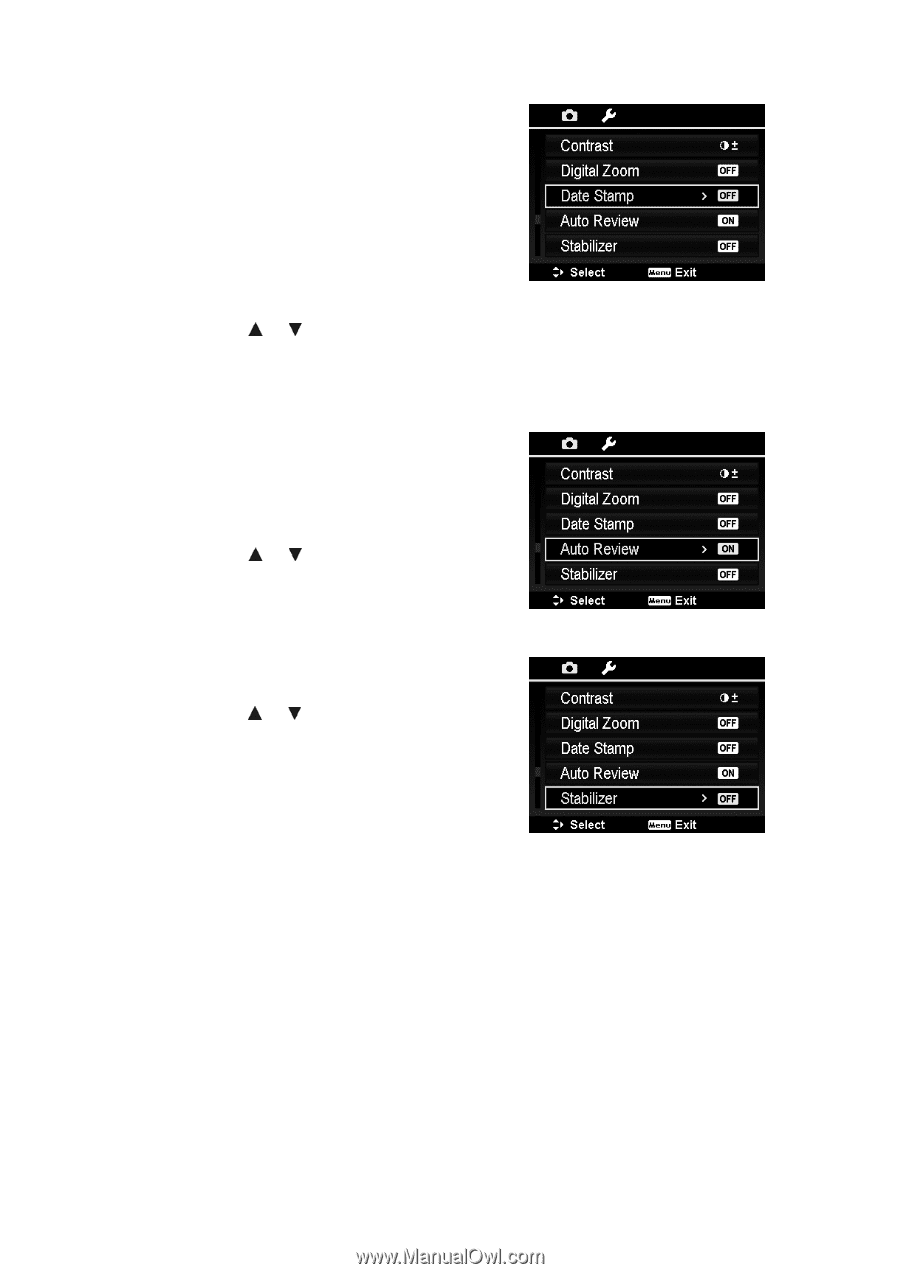
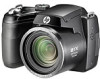
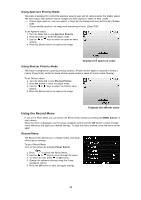
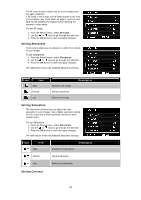
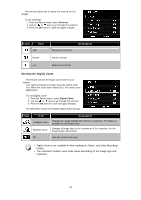
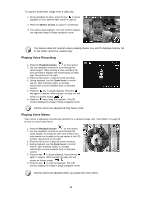
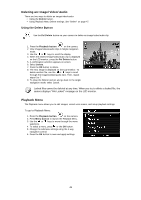
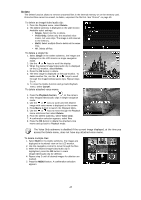
Setting the Date Stamp The date of recording can be printed directly on the still images. This function must be activated before the image is captured. Once date and time are stamped on an image, they can no longer be edited or deleted. Limitations of Date Stamp functions are as follows: • Available for still images only. • May slow down AEB/ Burst mode when Date Stamp is enabled in AEB/ Burst mode. • In vertical or rotated images, the date and time on your images still appear horizontally. To set Date Stamp 1. From the Record menu, select Date Stamp. 2. Use the or keys to go through the selection. 3. Press the OK button to save and apply changes. Setting Auto Review The Auto Review function lets you view the captured image right after shooting it. If Auto review is On, the camera will display the captured image for 1 second on the LCD monitor. To set Auto Review 1. From the Record menu, select Auto Review. 2. Use the or keys to go through the selection. 3. Press the OK button to save and apply changes. Setting Stabilizer This function allows you to prevent blurred images caused by shaking. 1. Enable the Stabilizer under the Record Menu. 2. Use the or keys to go through the selection. 3. Press the OK button to save and apply changes. 42
-
 1
1 -
2
-
3
-
4
-
5
-
6
-
7
-
8
-
9
-
10
-
11
-
12
-
13
-
14
-
15
-
16
-
17
-
18
-
19
-
20
-
21
-
22
-
23
-
24
-
25
-
26
-
27
-
28
-
29
-
30
-
31
-
32
-
33
-
34
-
35
-
36
-
37
-
 38
38 -
 39
39 -
 40
40 -
 41
41 -
 42
42 -
 43
43 -
 44
44 -
 45
45 -
 46
46 -
 47
47 -
 48
48 -
49
-
50
-
51
-
52
-
53
-
54
-
55
-
56
-
57
-
58
-
59
-
60
-
61
-
62
-
63
-
64
-
65
-
66
 |
 |