Honeywell S7350B Owner's Manual - Page 24
Owner Setup, Password Setup, Power Management Setup, Regional Settings Setup
 |
View all Honeywell S7350B manuals
Add to My Manuals
Save this manual to your list of manuals |
Page 24 highlights
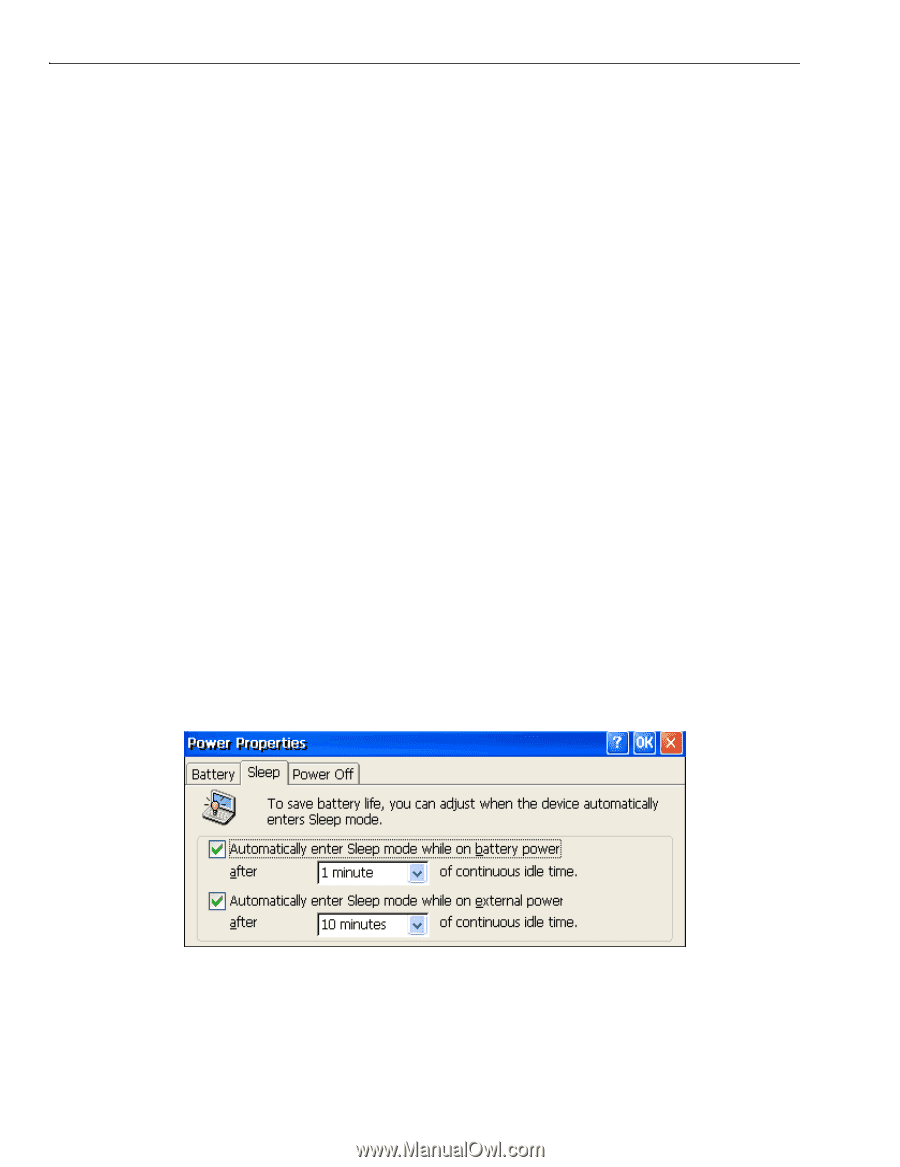
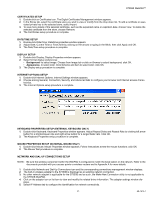
S7350B WebPAD™ (a) Check Obtain an IP Address via DHCP to have an address automatically assigned to this device. (b) Check Specify an IP Address to provide an address manually and type in your address (IP Address, subnet Mask, and Default Gateway.) Specify WINS or DNS by selecting Name Servers tab. Click OK. 6. In the case of the S7350B with a wireless network adapter, select the Wireless Networks tab to identify and select wireless networks and to configure the wireless parameters. See Appendix A for more information. 7. The Network and Dial-Up Connections configuration procedure is complete. OWNER SETUP 1. Double-click Owner; the Owner Properties screen appears. 2. Select Identification to set up your name, company, address and phone number. 3. Check Display Owner Information box in the At Power On field to display owner's information when the device is turned on. Click OK for confirmation. 4. To add any additional owner information, select Notes and add information. Click OK for confirmation. 5. Select Network ID tab to enter information to gain access to network resources. 6. The Owner setup procedure is complete. PASSWORD SETUP NOTE: Password, if enabled, is needed for owner information changes, software updates and system defaults. IMPORTANT: - All customized data including Password will be cleared when updating properties to system defaults. - If you forget your Password, you may be prevented from performing password-protected functions, and this may include accessing the device beyond Power On if item "3." is elected below. You may have to contact your support organization to resolve the matter if this happens to you. 1. Double-click Password; the Password Properties screen appears. 2. Type Password and retype to confirm it. Do not forget your password. 3. Check Enable Password Protection At Power On box if desired. Click OK. 4. The Password setup procedure is complete. POWER MANAGEMENT SETUP 1. Double-click Power; the Power Properties screen appears. 2. Select Battery to view the approximate status of the battery pack capacity. 3. Select Sleep to configure the timed entry into energy-saving Sleep mode when powered by the battery pack or by the external AC-DC adapter. 4. Select Power Off to configure the timed entry into battery-saving Power Off mode while the device is being powered by the battery pack. 5. The Power Management setup procedure is complete. REGIONAL SETTINGS SETUP 1. Double-click Regional Settings; Regional Settings Properties window displays five functions: a. Regional Settings. Select Regions in the right bottom of Regional Settings Properties window. Click OK. b. Number. Select difference symbol and number. Click OK. c. Currency. Set up difference currency. Click OK. d. Time. Set up time style and symbol. Click OK. e. Date. Set up date format. Click OK. 69-1514-1 22
-
 1
1 -
2
-
3
-
4
-
5
-
6
-
7
-
8
-
9
-
10
-
11
-
12
-
13
-
14
-
15
-
16
-
17
-
18
-
 19
19 -
 20
20 -
 21
21 -
 22
22 -
 23
23 -
 24
24 -
 25
25 -
 26
26 -
 27
27 -
 28
28 -
 29
29 -
30
-
31
-
32
-
33
-
34
-
35
-
36
-
37
-
38
-
39
-
40
-
41
-
42
-
43
-
44
-
45
-
46
-
47
-
48
 |
 |