Hoover FH51000 Product Manual
Hoover FH51000 Manual
 |
View all Hoover FH51000 manuals
Add to My Manuals
Save this manual to your list of manuals |
Hoover FH51000 manual content summary:
- Hoover FH51000 | Product Manual - Page 1
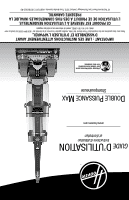
GUIDE D'UTILISATION Instructions d'utilisation et d'entretien www.hoover.com double puissance max Shampouineuse Please visit Hoover.com for video instructions for this cleaner. IMPORTANT : LIRE CES INSTRUCTIONS ATTENTIVEMENT AVANT D'ASSEMBLER ET D'UTILISER L'APPAREIL. Vous avez des questions ou des - Hoover FH51000 | Product Manual - Page 2
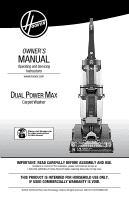
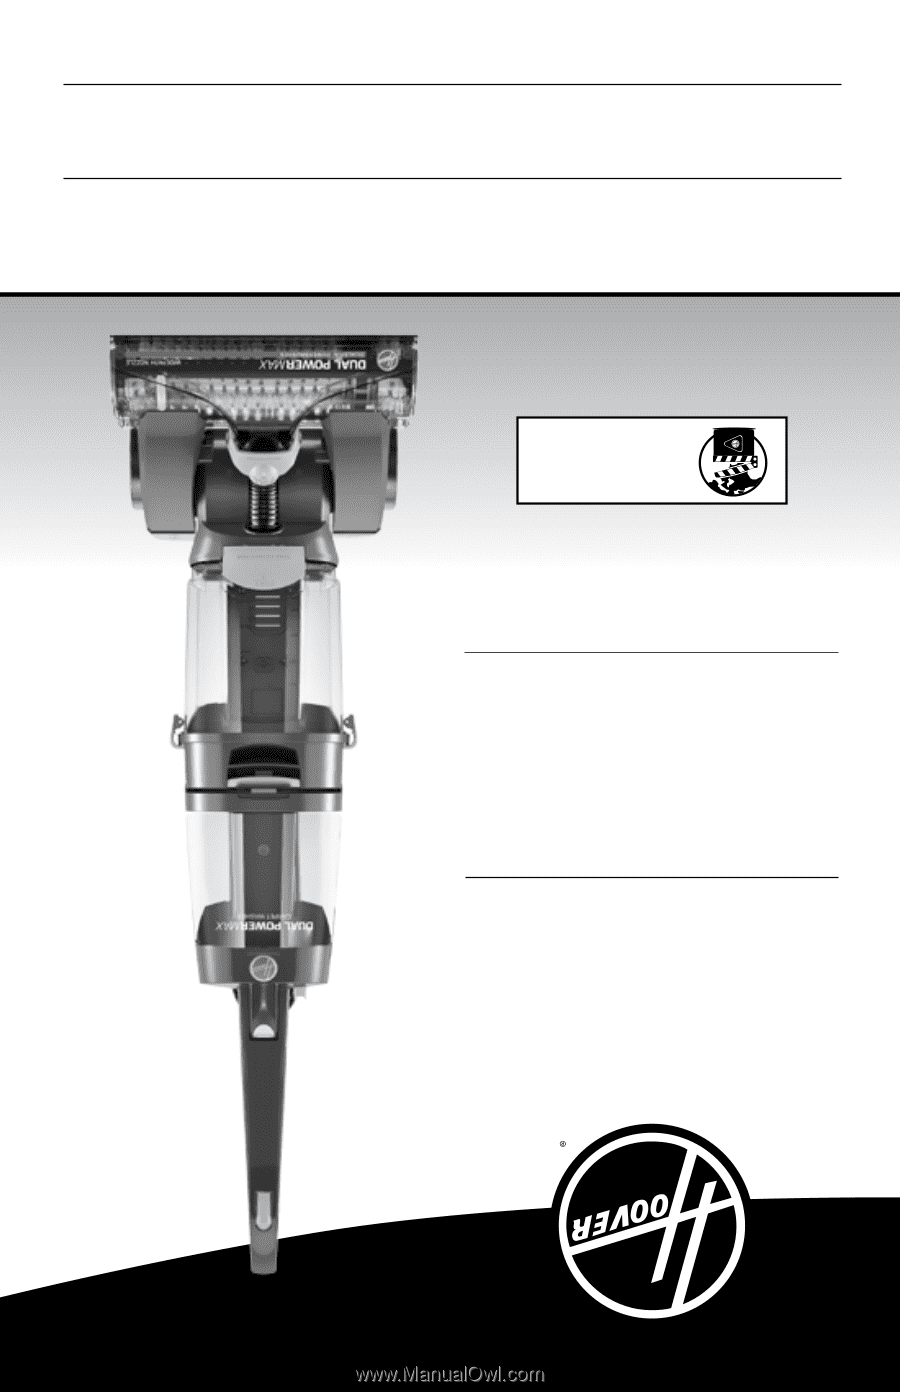
OWNER'S Manual Operating and Servicing Instructions www.hoover.com DUAL POWER MAX Carpet Washer Please visit Hoover.com for video instructions for this cleaner. IMPORTANT: READ CAREFULLY BEFORE ASSEMBLY AND USE. Questions or concerns? For assistance, please call Customer Service at 1-800-944-9200 - Hoover FH51000 | Product Manual - Page 3
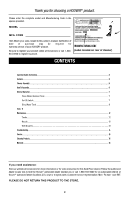
9 Maintenance...12 Tanks...12 Nozzle...12 Belt/Brushes...13 Troubleshooting...14 Service...15 Cleaning Products...15 Warranty...16 If you need assistance: Visit our website at hoover.com for more information or for video instruction for this Hard Floor Cleaner. Follow the authorized dealer locator - Hoover FH51000 | Product Manual - Page 4
DE FABRICATION Conseil : Joindre le reçu d'achat au guide d'utilisation. La date d'achat peut devoir être vérifi Service...15 Solutions nettoyantes 15 Garantie...16 Pour obtenir de l'assistance : Visiter notre site Web à hoover.com pour obtenir de plus amples renseignements ou des instructions - Hoover FH51000 | Product Manual - Page 5
INSTRUCTIONS AVANT D'UTILISER CET APPAREIL. AVERTISSEMENT: POUR RÉDUIRE LES RISQUES D'INCENDIE, DE CHOC ÉLECTRIQUE OU DE BLESSURES: • Assembler complètement avant l'utilisation. • N'utiliser l'appareil qu'à la tension ésent guide.) • troubles de la reproduction. SE LAVER LES MAINS APRÈS L'UTILISATION. - Hoover FH51000 | Product Manual - Page 6
when not in use and before cleaning or servicing. • Use indoors only. • Do Not immerse. Use only on carpet moistened by cleaning process. • Use only HOOVER® cleaning products intended for use with this machine. (See the "Cleaning Products" section of this manual.) • Do not allow to be used as a toy - Hoover FH51000 | Product Manual - Page 7
be certain the area is well ventilated when using detergents and other cleaners with this machine. • To help prevent matting and resoiling, avoid contact with carpets until they are dry. Keep children and pets away from carpets until they are completely dry. • Do not store extractor with solution in - Hoover FH51000 | Product Manual - Page 8
pas compatible avec la prise murale, demander à un électricien qualifié d'installer une prise appropriée. Cet appareil doit être utilisé sur un circuit à tension nominale de 120 volts, et est équipé d'une fiche de mise à la terre semblable à celle illustrée à la Fig. 1. Un adaptateur temporaire - Hoover FH51000 | Product Manual - Page 9
CARACTÉRISTIQUES 3 1 17 2 4 13 5 6 7 14 15 8 9 10 12 12 16 11 FRONT BACK CARACTÉRISTIQUES 1. Poignée du manche 2. Gâchette d'application de solution nettoyante 3. Gâchette Clean BoostMC 4. Réservoir à eau propre/à solution 5. Poignée de transport 6. Réservoir à eau propre/à - Hoover FH51000 | Product Manual - Page 10
Handle 6. Clean Water/Solution Tank 7. Dirty Water Tank Release Latch 8. Dirty Water Tank 9. Accessory Hose Connection Port 10. Solution Tube Connection Port 11. Removable Nozzle 12. ON/OFF Pedal 13. Cord Clip 14. Cord Storage Hook 15. Handle Lock 16. Handle Release Pedal 17. Mesh Tool Storage Bag - Hoover FH51000 | Product Manual - Page 11
CONTENTS A. Carpet Cleaner Base B. Handle C. Clean Water/Solution Tank D. Upholstery Tool E. Carpet Cleaning Detergent F. Hose 1.1 A B C D Remove all parts from carton and identify each item shown. Make sure all parts are located before disposing of packing materials. E F *Select models only - Hoover FH51000 | Product Manual - Page 12
, et le manche devrait être bien fixé. 2.3 Bien fixer le réservoir à eau propre au manche au-dessus du réservoir à eau sale. 2.3 stockage de corde Enrouler le cordon autour des crochets pour le ranger facilement. Fixer l'extrémité de la fiche au cordon. Avant de commencer le nettoyage 1. Passer - Hoover FH51000 | Product Manual - Page 13
3. Utilisation normale retrait et remise en place du réservoir d'eau propre/de solution 3.1 A 3.2 ! MISE EN GARDE ! Ne pas remplir d'eau plus chaude que 140 °F (60 °C). 3.1 Appuyer sur le bouton du réservoir à eau propre/à solution sur le manche (A). Incliner le réservoir à eau propre/à solution - Hoover FH51000 | Product Manual - Page 14
water solution tank and replace measuring cap. 3.3 3.5 Carpet Cleaning 3.6 Plug cord into electrical outlet. Step on handle release pedal, to put unit in cleaning position. 3.7 Step on power switch to turn machine ON (I=ON). 3.8 Squeeze trigger (C) to apply cleaning solution and slowly push cleaner - Hoover FH51000 | Product Manual - Page 15
cord. IMPORTANT To avoid saturating carpet, do not use more than 4 wet strokes over one area. Always end with dry strokes. IMPORTANT If the sound of the motor turn the power switch off and use only Hoover® brand cleaning empty. 3.12 Replace tank lid with both back into the cleaner until it snaps into - Hoover FH51000 | Product Manual - Page 16
voir « Arrêt automatique »). Pour optimiser les résultats de nettoyage, Hoover recommande de rincer la moquette avec de l'eau seulement. Cela éliminera le haut du réservoir et le vider. 3.12 Après le nettoyage, replacer le capuchon-verseur et le couvercle du réservoir en verrouillant les deux loquets - Hoover FH51000 | Product Manual - Page 17
avant d'insérer l'accessoire portatif SpinScrubMD. Ne pas utiliser pour toiletter un animal. 4.5 4.4 Mettre le manche en position verticale, puis retirer le tuyau du support. Éteindre l'appareil et le débrancher de la prise de courant. NOTE: Tous les accessoires se fixent au tuyau de la même façon - Hoover FH51000 | Product Manual - Page 18
before connecting Hand tool. Not to be used for grooming pets. 4.4 To ensure maximum performance and to protect your carpet, be sure to place the handle in the upright position while using the accessory hose. Placing handle in the upright position shuts off the brushes. NOTE: All tools attach to the - Hoover FH51000 | Product Manual - Page 19
Replace Hose and tools in the Mesh Storage Bag. 4.6 Cleaning upholstery Read "Before You Begin Cleaning" instructions. Be sure to check Hoover Cleaning Guide on page 6 and the cleaning code on your upholstery. Use your cleaner Empty Dirty Water Tank when the motor sound becomes higher pitched and - Hoover FH51000 | Product Manual - Page 20
en maille. 4.6 Nettoyage de meubles Lire les instructions de la section « Avant de commencer le nettoyage aux passages initiaux, et chevaucher chaque passage (diagram 4.8). Ne pas faire plus de deux passages humides optimiser les résultats de nettoyage, Hoover recommande de rincer les tissus - Hoover FH51000 | Product Manual - Page 21
et l'entretien appropriés de l'appareil assureront son bon fonctionnement. Toute autre tâche d'entretien doit être confiée à un représentant de service autorisé. Si l'aspirateur ne fonctionne pas adéquatement, s'il est tombé, a été endommagé, a été laissé à l'extérieur ou est tombé dans l'eau - Hoover FH51000 | Product Manual - Page 22
cleaner will ensure continued cleaning effectiveness. Any other servicing should be done by an authorized service back down to lock. Latches will snap when locked. Replace dirty water tank back onto unit until it snaps. . 5.3 5.5 5.4 Lubrication The motor and brushrolls are equipped with bearings - Hoover FH51000 | Product Manual - Page 23
air dry thoroughly before storing carpet cleaner on a carpeted or wood surface. Belt or Brushroll: How to Remove and Replace ! CAUTION ! To reduce the risk of injury from moving parts - Unplug before servicing. 5.11 Belt: What to Buy For replacement belts please order part number 440005536 or to - Hoover FH51000 | Product Manual - Page 24
l'appareil : • Vider le réservoir d'eau et le laisser sécher à l'air. Replacer le réservoir sur l'appareil. • Vider le réservoir de récupération, bien rincer le près, composer le 1 800 944-9200 ou visiter le site Web www.hoover.com. Retrait 5.11 Retourner l'appareil sur le dos pour exposer la base. - Hoover FH51000 | Product Manual - Page 25
5.15 Dégager l'extrémité du rouleau-brosse pour retirer. 5.16 Tirer les deux rouleaux-brosses vers soi pour les retirer de l'appareil. NOTA : La courroie est toujours en place. 5.17 Pour retirer le couvercle supérieur de la courroie, dévisser 7 vis. Des flèches indiquent l'emplacement des vis. 5.18 - Hoover FH51000 | Product Manual - Page 26
(as shown in image 5.22) How to Replace 5.22 Replace belt by placing on shaft. 5.23 Replace pivot clamp and 2 screws over the belt. 5.24 Replace upper belt cover, flip cleaner, and screw in 7 screws. 5.25 Slip brushrolls through belt. NOTE: Place belt on rounded areas of the brushrolls without - Hoover FH51000 | Product Manual - Page 27
injury - Unplug before cleaning or servicing. PROBLEM Cleaner won't run Cleaner won't pick-up or low suction Water escaping from Cleaner Cleaner won't dispense Motor noise becomes high-pitched Brushrolls are not spinning POSSIBLE CAUSE 1. Power cord not firmly plugged into outlet. 2. Blown - Hoover FH51000 | Product Manual - Page 28
liste ci-dessous. Toute autre tâche d'entretien doit être confiée à un représentant de service services. Pour connaître l'adresse du centre de services le plus près, visiter notre site Web au www.hoover eau sale page 11. 1. Consulter les instructions de remplacement de la courroie - page 13. 2. - Hoover FH51000 | Product Manual - Page 29
des retards. Pour obtenir de l'assistance additionnelle : Pour parler à un représentant du service à la clientèle, composer le 1-800-944-9200, du lundi au vendredi, de appareil, tel qu'il est indiqué cidessous. MD Guide de produits nettoyants Hoover Nom du produit Clean Plus 2x 32oz/64oz Pet Pro - Hoover FH51000 | Product Manual - Page 30
To obtain approved Hoover® service and genuine Hoover® parts, locate the nearest Authorized Hoover® Warranty Service Dealer (Depot) by: • Checking the Yellow Pages under "Vacuum Cleaners" or "Household". • Visit our website at hoover.com (U.S. Customers) or hoover.ca (Canadian customers). Follow - Hoover FH51000 | Product Manual - Page 31
a commercial operation (such as maid, janitorial and equipment rental services), brushroll, belt, improper maintenance of the product, damage due to misuse, acts of God, nature, vandalism or other acts beyond the control of Hoover®, owner's acts or omissions, use outside the country in which - Hoover FH51000 | Product Manual - Page 32
comme il est stipulé dans le Guide de l'utilisateur, contre les dé service garanti autorisé Hoover, accompagné de la preuve d'achat. Pour accéder à un service d'aide automatique donnant la liste des centres de service à tout acte ou négligence de la part du propriétaire du produit; toute utilisation
-
 1
1 -
 2
2 -
 3
3 -
 4
4 -
 5
5 -
 6
6 -
 7
7 -
8
-
9
-
10
-
11
-
12
-
13
-
14
-
15
-
16
-
17
-
18
-
19
-
20
-
21
-
22
-
23
-
24
-
25
-
26
-
27
-
28
-
29
-
30
-
31
-
32
 |
 |
www.hoover.com
GUIDE
D’UTILISATION
Instructions d’utilisation
et d’entretien
© Techtronic Floor Care Technology Limited, 2013. Tous droits réservés. #961151113 ID108382-R0
IMPORTANT : LIRE CES INSTRUCTIONS ATTENTIVEMENT AVANT
D’ASSEMBLER ET D’UTILISER L’APPAREIL.
Vous avez des questions ou des inquiétudes? Pour obtenir de l’aide, veuillez appeler le service à la clientèle au 1 800 944-9200 du lundi au ven-
dredi, de 8 h à 19 h (HNE), avant de retourner ce produit au magasin.
CE PRODUIT EST RÉSERVÉ À L’UTILISATION RÉSIDENTIELLE.
L’UTILISATION DE CE PRODUIT À DES FINS COMMERCIALES INVALIDE LA
PRÉSENTE GARANTIE.
Please visit Hoover.com
for video instructions
for this cleaner.
Shampouineuse
D
OUBLE
P
UISSANCE
M
AX