Kyocera ECOSYS P5021cdw Kyocera Command Center RX User Guide Rev-8.2016.3 - Page 55
RX/Forward Rules, Enabling RX/Forward Rules
 |
View all Kyocera ECOSYS P5021cdw manuals
Add to My Manuals
Save this manual to your list of manuals |
Page 55 highlights
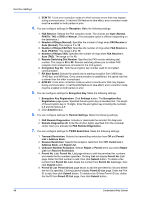
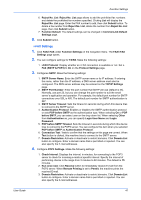
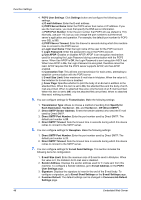
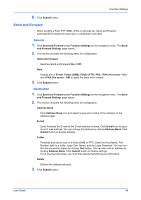
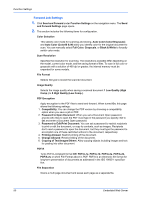
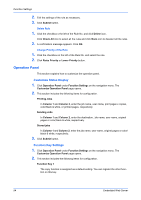
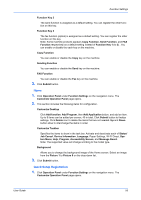
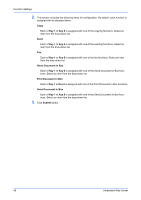
Function Settings E-mail Subject The Subject is entered here. FTP Encryption TX This enables or disables encryption for communication. When turned On, the encryption algorithm that is selected by Network Security Settings page is used. 3. Click Submit button. RX/Forward Rules Conditional reception/forwarding is a function for automatically forwarding documents received by FAX or i-FAX to other FAX machines, sending them as attachments to Email, or saving them into a fax box instead of printing if they satisfy the specified conditions. For example, you can forward faxes from particular customers received during business hours to the E-mail addresses of the people responsible for those customers, print and save them in a fax box if they are received outside business hours, and forward faxes from outside of your business area to the business office nearest to the sender's fax number. For models that do not support RX/Forward Requirements, the documents received are forwarded to a forward destination or printed. Enabling RX/Forward Rules To use the RX/Forward Rules function, enable this setting. 1. Click RX/Forward Rules under Function Settings on the navigation menu. The Settings page opens. 2. Click Settings button. RX/Forward Rules Settings page opens. Select Off, Use Rule for Specific RX, or Rule for All RX from the drop-down list. When you select Rule for All RX, you can configure Schedule, File Name, Forward Settings and Print Settings as rules. For details, refer to Add Rule shown below. 3. Click Submit button. Add Rule 1. Click Add Rule button. The New Rule - Property page appears. 2. This section includes the following items for configuration. Use Rule Select On when you use the new rule. General Configure the general information on the rule. 1. Rule Number: Enter the rule number from 001 to 100. 2. Rule Name: Enter the rule name. 3. Priority: Select the priority of the rule from the drop-down list. User Guide 51
-
 1
1 -
2
-
3
-
4
-
5
-
6
-
7
-
8
-
9
-
10
-
11
-
12
-
13
-
14
-
15
-
16
-
17
-
18
-
19
-
20
-
21
-
22
-
23
-
24
-
25
-
26
-
27
-
28
-
29
-
30
-
31
-
32
-
33
-
34
-
35
-
36
-
37
-
38
-
39
-
40
-
41
-
42
-
43
-
44
-
45
-
46
-
47
-
48
-
49
-
 50
50 -
 51
51 -
 52
52 -
 53
53 -
 54
54 -
 55
55 -
 56
56 -
 57
57 -
 58
58 -
 59
59 -
 60
60 -
61
-
62
-
63
-
64
-
65
-
66
-
67
-
68
-
69
-
70
-
71
-
72
-
73
-
74
-
75
-
76
-
77
-
78
-
79
-
80
-
81
-
82
-
83
-
84
-
85
-
86
-
87
-
88
-
89
-
90
-
91
-
92
-
93
-
94
-
95
-
96
-
97
-
98
-
99
-
100
-
101
-
102
-
103
-
104
-
105
-
106
-
107
-
108
-
109
-
110
-
111
-
112
-
113
-
114
 |
 |