Lexmark MX321 Card for IPDS: IPDS Printer and Host Setup Guide 9th ed. - Page 22
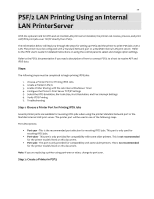
On the PSF/2 Control Panel select Profile and then New. The PSF/2 New Device menu appears.
 |
View all Lexmark MX321 manuals
Add to My Manuals
Save this manual to your list of manuals |
Page 22 highlights
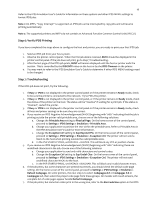
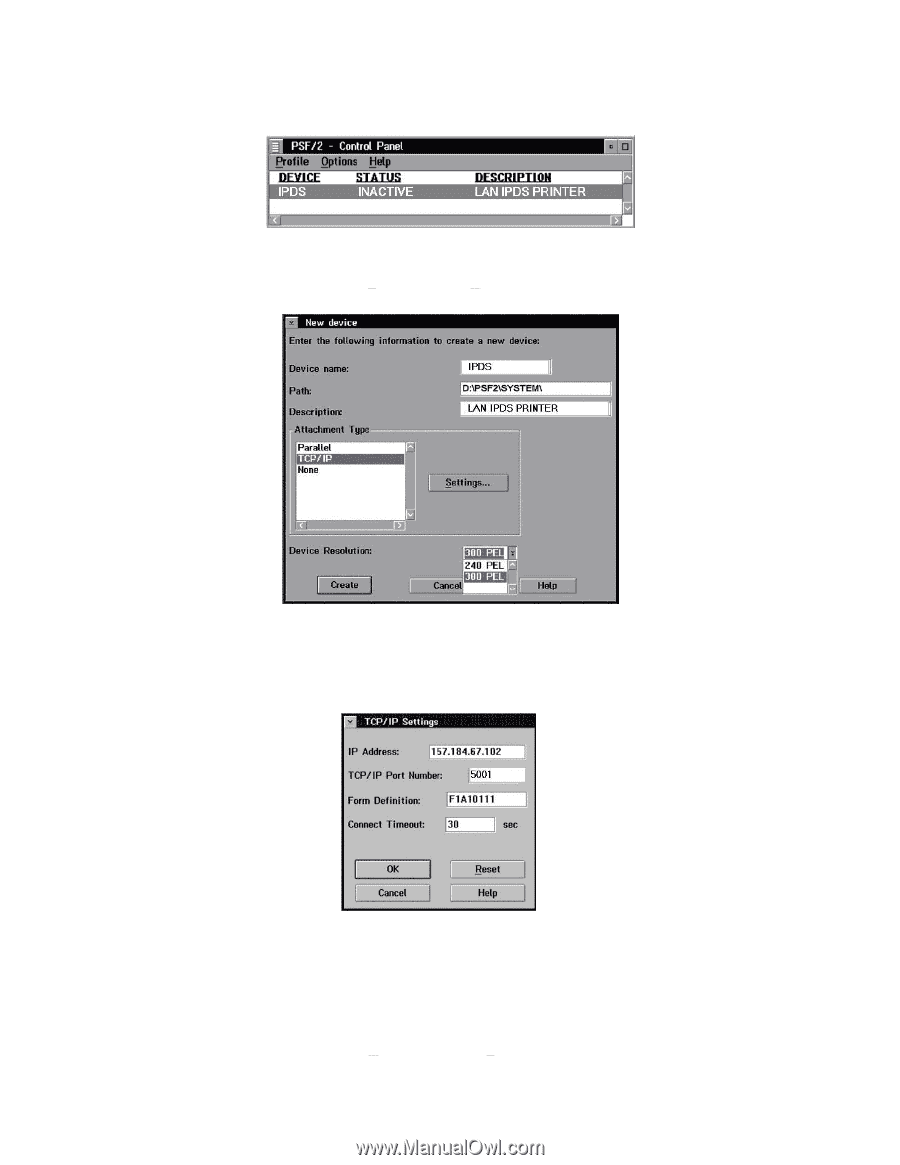
21 a. Start PSF/2 control panel by selecting the PSF/2 Folder and then selecting the PSF/2 Control Panel icon. b. On the PSF/2 Control Panel select Profile and then New. The PSF/2 New Device menu appears. Enter the device name and the device description and select a Device Resolution of 300 pel. c. Select TCP/IP as Attachment Type and select Settings. The TCP/IP Settings menu appears. Enter the IP address of the printer. The IP address should be obtained from your network administrator. Enter the TCP/IP port selected in Step 1. d. Select OK and then Create. The PSF/2 printer device is now created and is ready to print from a PSF/2 connected host. e. On the PSF/2 Control Panel select Options and Setup queues.
-
 1
1 -
2
-
3
-
4
-
5
-
6
-
7
-
8
-
9
-
10
-
11
-
12
-
13
-
14
-
15
-
16
-
 17
17 -
 18
18 -
 19
19 -
 20
20 -
 21
21 -
 22
22 -
 23
23 -
 24
24 -
 25
25 -
 26
26 -
 27
27 -
28
-
29
-
30
-
31
-
32
-
33
-
34
-
35
 |
 |
21
a.
Start PSF/2 control panel by selecting the PSF/2 Folder and then selecting the PSF/2 Control Panel icon.
b.
On the PSF/2 Control Panel select Profile and then New. The PSF/2 New Device menu appears.
Enter the device name and the device description and select a Device Resolution of 300 pel.
c.
Select TCP/IP as Attachment Type and select Settings. The TCP/IP Settings menu appears.
Enter the IP address of the printer. The IP address should be obtained from your network administrator.
Enter the TCP/IP port selected in Step 1.
d.
Select OK and then Create. The PSF/2 printer device is now created and is ready to print from a PSF/2
connected host.
e.
On the PSF/2 Control Panel select Options and Setup queues.