Memorex MIHT5005 User Guide - Page 7
Power Source, Location Of Controls - help
 |
UPC - 749720012299
View all Memorex MIHT5005 manuals
Add to My Manuals
Save this manual to your list of manuals |
Page 7 highlights
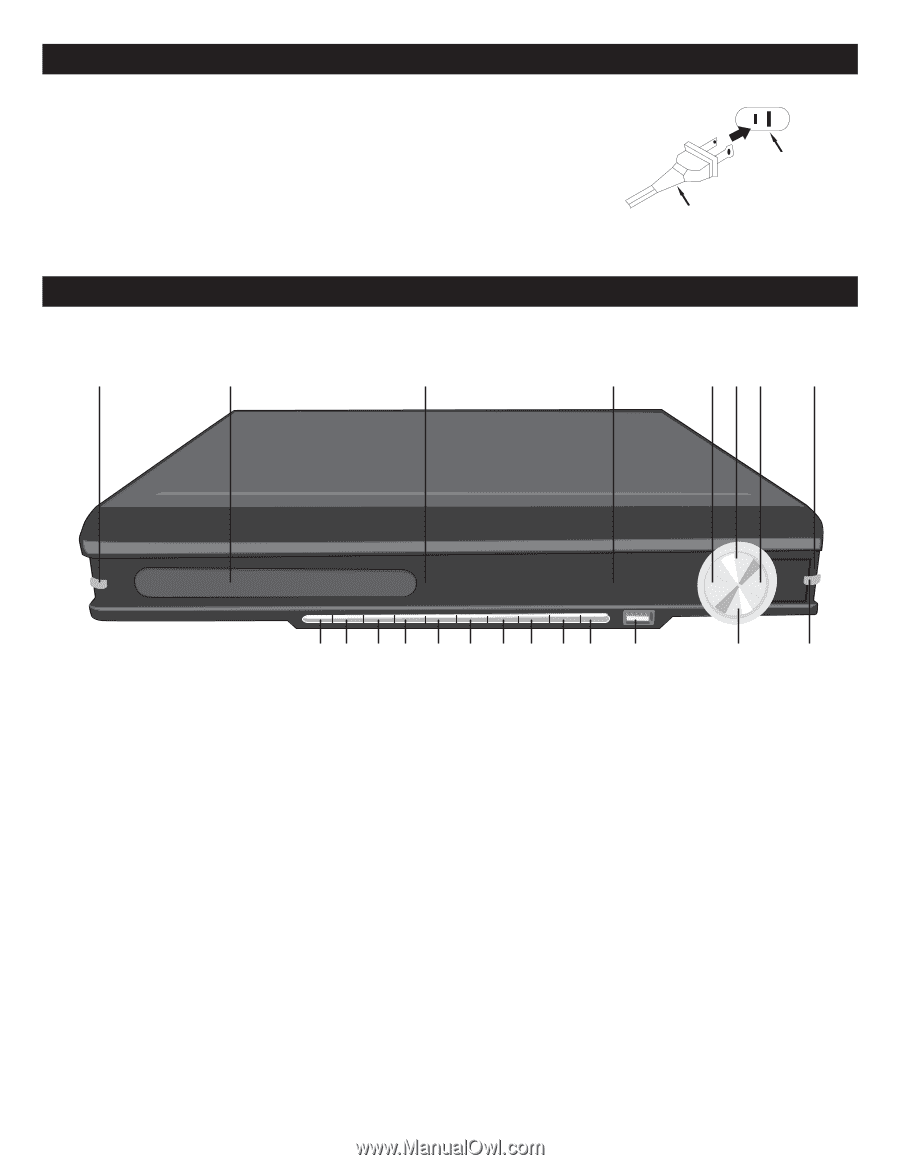
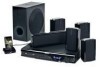
POWER SOURCE Insert the AC plug (with the 2 blades) into a conveniently located AC outlet having 120V, 60Hz. NOTE: The AC plug supplied with the unit is polarized to help minimize the possibility of electric shock. If the AC plug does not fit into a nonpolarized AC outlet, do not file or cut the wide blade. It is the user's responsibility to have an electrician replace the obsolete outlet. FRONT 1 LOCATION OF CONTROLS 2 3 4 AC Outlet AC Plug 567 8 9 10 11 12 13 14 15 16 17 18 19 20 21 1. Open/Close Button 2. Disc Compartment 3. Remote Sensor 4. Display 5. Skip/Search/Tune o Button 6. Play/Pause (®p) Button 7. Skip/Search/Tune n Button 8. STANDBY Indicator 9. SOURCE Button 10. TIMER Button 11. CLOCK Button 12. EQ Button 13. SETUP Button 14. MENU Button 15. PRESET † Button 16. PRESET π Button 17. VOLUME - Button 18. VOLUME + Button 19. USB Jack 20. Stop ( X ) Button 21. Standby/Power Button 6
-
 1
1 -
 2
2 -
 3
3 -
 4
4 -
 5
5 -
 6
6 -
 7
7 -
 8
8 -
 9
9 -
 10
10 -
 11
11 -
 12
12 -
13
-
14
-
15
-
16
-
17
-
18
-
19
-
20
-
21
-
22
-
23
-
24
-
25
-
26
-
27
-
28
-
29
-
30
-
31
-
32
-
33
-
34
-
35
-
36
-
37
-
38
-
39
-
40
-
41
-
42
-
43
-
44
-
45
-
46
-
47
-
48
-
49
-
50
-
51
-
52
-
53
-
54
-
55
-
56
-
57
-
58
-
59
-
60
-
61
-
62
-
63
-
64
-
65
-
66
-
67
-
68
-
69
-
70
-
71
-
72
-
73
-
74
-
75
-
76
-
77
-
78
-
79
-
80
-
81
-
82
-
83
-
84
-
85
-
86
-
87
-
88
-
89
-
90
-
91
-
92
-
93
-
94
-
95
-
96
-
97
-
98
-
99
-
100
 |
 |