Netgear FS518T FS518 Installation Guide - Page 30
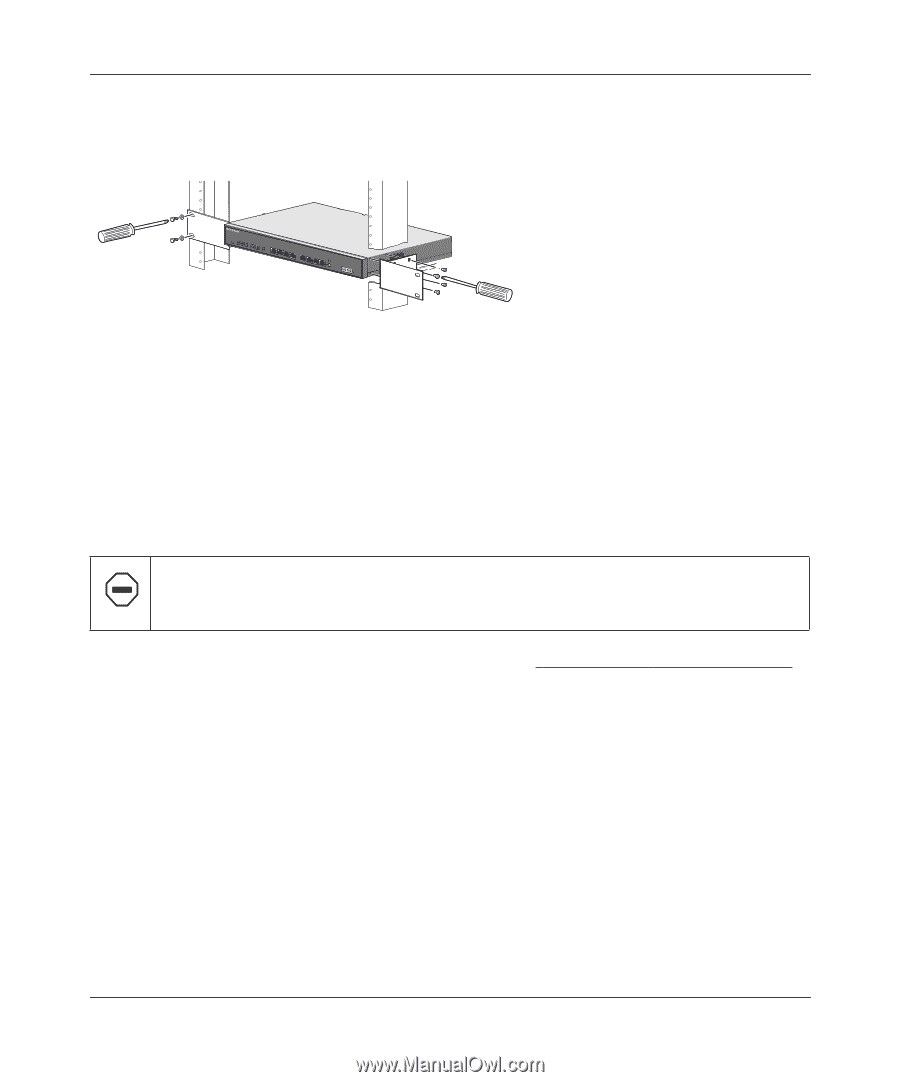
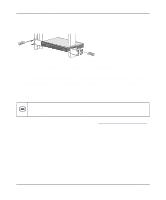
Using a #2 Phillips screwdriver, tighten the screws to secure the switch to the rack.
 |
UPC - 606449020366
View all Netgear FS518T manuals
Add to My Manuals
Save this manual to your list of manuals |
Page 30 highlights
Installation Guide for the Model FS518 Fast Ethernet Switch 4. Hold the switch with the mounting holes in the brackets aligned with the holes in the rack. Figure 4-1. 8945FA Attaching Mounting Brackets to the Model FS518 Switch 5. Insert two pan-head screws with nylon washers through each bracket and into the rack. 6. Using a #2 Phillips screwdriver, tighten the screws to secure the switch to the rack. For proper ventilation, make sure that the switch has at least 2 inches of space on each side and 5 inches of space at the back. It is very important that the fans located in the rear panel are not blocked. Caution: Restricted airflow could cause overheating of the components. To connect additional switches or other devices, refer to "Connecting Devices to the Switch." 4-4 Installation
-
 1
1 -
2
-
3
-
4
-
5
-
6
-
7
-
8
-
9
-
10
-
11
-
12
-
13
-
14
-
15
-
16
-
17
-
18
-
19
-
20
-
21
-
22
-
23
-
24
-
 25
25 -
 26
26 -
 27
27 -
 28
28 -
 29
29 -
 30
30 -
 31
31 -
 32
32 -
 33
33 -
 34
34 -
 35
35 -
36
-
37
-
38
-
39
-
40
-
41
-
42
-
43
-
44
-
45
-
46
-
47
-
48
 |
 |