Netgear WPN824EXT WPN824EXT Setup Manual - Page 25
Cancel, Right-click and Save to Download, Firmware Update, Browse, Upload, WiFi Range Extender Status - software
 |
UPC - 606449055146
View all Netgear WPN824EXT manuals
Add to My Manuals
Save this manual to your list of manuals |
Page 25 highlights
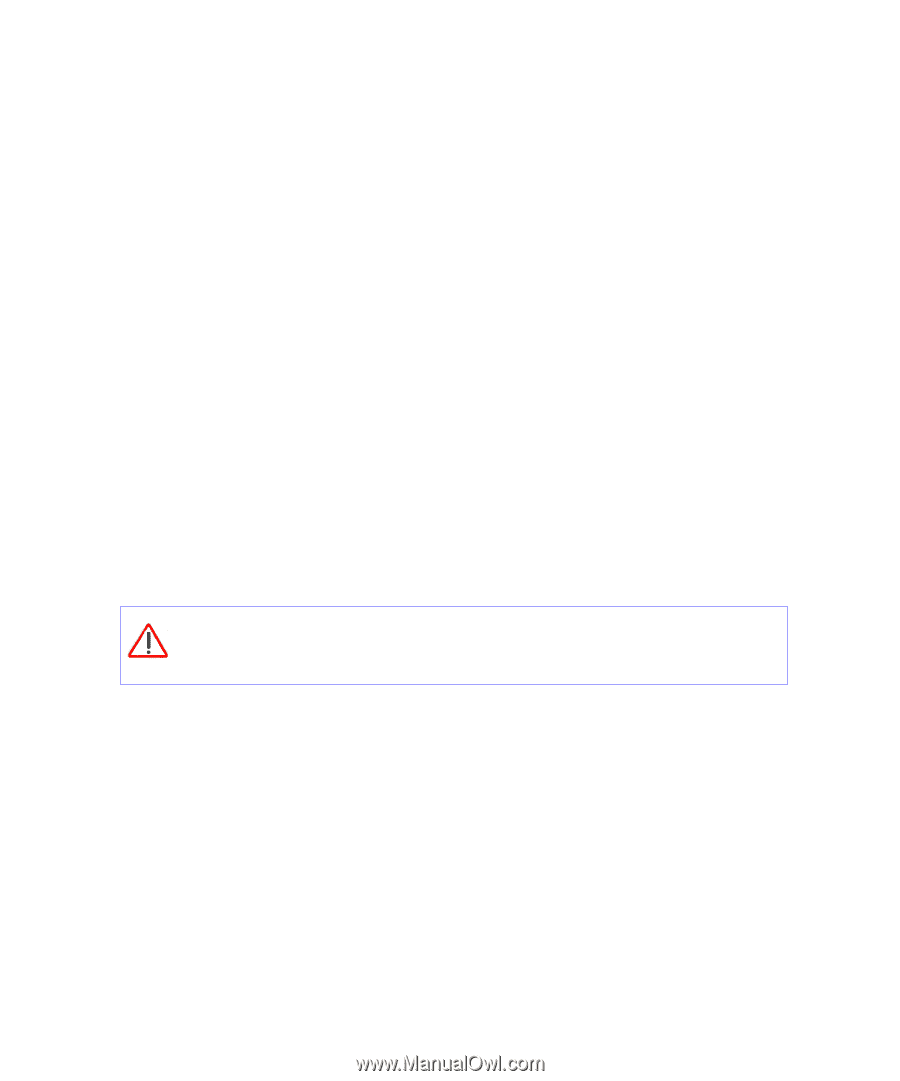
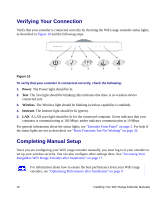
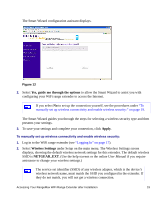
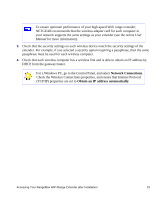
2. The extender automatically checks the NETGEAR database for a new firmware image file. If no new firmware version is available, the message "No New Firmware Version Available" displays. If you select Cancel, you can check for new firmware later; see "To manually check for new extender firmware:" on page 21. 3. If new firmware is available, you are directed to the new firmware version on the NETGEAR website. Click Right-click and Save to Download, and save the file to a location on your hard disk. Usually the firmware image is an .img (or .chk) file and does not need to be decompressed before you can use it to update your extender. If, however, the file is a .zip file, then the image is compressed and must be "unzipped" before you can use the file. On Windows machines, you can use the WinZip utility to unzip the file. To install the updated firmware to your extender: 1. If the Firmware Update screen does not display automatically, select Firmware Update under Management on the main menu. The Firmware Update screen then displays. 2. Click Browse and locate the unzipped firmware image that you downloaded to your PC (the file ends in .img or .chk). 3. Once you have selected the file, click Upload to send the software to the extender. The upload process takes several minutes. When the software upload process is complete, the extender restarts. Do not try to go online, turn off the extender, shut down the computer, or do anything else to the extender until the extender finishes restarting! When the Test light stops blinking, wait a few seconds more before using the extender. 4. After the extender has restarted, select WiFi Range Extender Status under Management on the main menu. Check the firmware version to verify that your extender now has the new software installed. If you selected the No radio button during installation, and want to check for new firmware later, follow the next procedure. NETGEAR recommends that you determine the firmware version currently running on your extender before you check for updates on the NETGEAR website. Then go to the NETGEAR website, and select the model number for this extender. If a later version of the firmware is available, download the firmware to your computer, and update your extender. To manually check for new extender firmware: 1. Log in to the WiFi range extender (see "Logging In" on page 17). Accessing Your RangeMax WiFi Range Extender after Installation 21
-
 1
1 -
2
-
3
-
4
-
5
-
6
-
7
-
8
-
9
-
10
-
11
-
12
-
13
-
14
-
15
-
16
-
17
-
18
-
19
-
 20
20 -
 21
21 -
 22
22 -
 23
23 -
 24
24 -
 25
25 -
 26
26 -
 27
27 -
 28
28 -
 29
29 -
 30
30 -
31
-
32
-
33
-
34
-
35
-
36
-
37
-
38
-
39
-
40
-
41
-
42
-
43
-
44
 |
 |