Pfaff performance 2058 Owner's Manual - Page 65
Twin needle sewing, Cross stitch
 |
View all Pfaff performance 2058 manuals
Add to My Manuals
Save this manual to your list of manuals |
Page 65 highlights
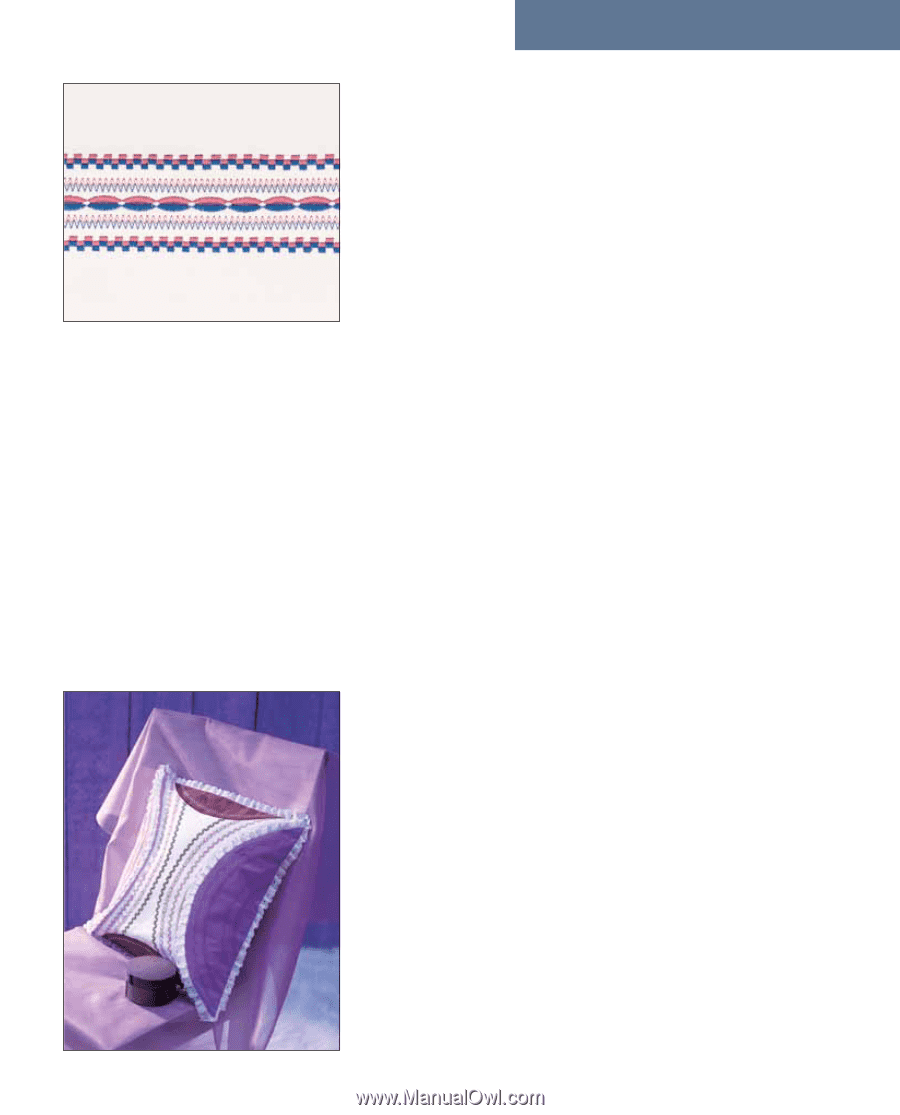
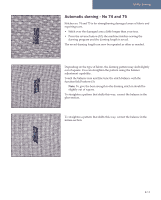
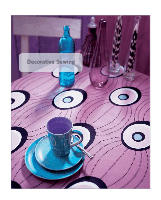
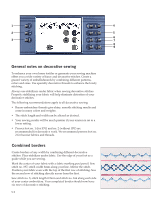
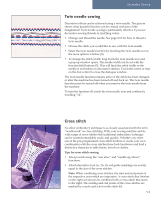
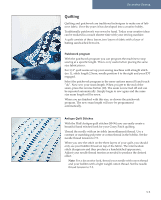
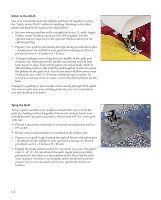
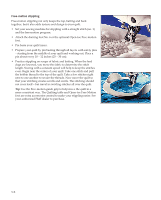
Decorative Sewing Twin needle sewing Decorative effects can be achieved using a twin needle. The picture shows what beautiful borders can be created with just a little imagination! Twin needle sewing is particularly effective if you use decorative sewing threads in matching colors. • Change and thread the needle. See page 2:13 for how to thread a twin needle. • Choose the stitch you would like to sew with the twin needle. • Select the twin needle function by touching the twin needle icon in the more options window (8). • To change the stitch width, long touch the twin needle icon and a pop-up window opens. The needle width can be set with the function field buttons (5). This will limit the stitch width so the needle is not broken on decorative stitches. Touch the screen or step on the foot control to close the dialogue window. The twin needle function remains active if the stitch has been changed, or after the machine has been turned off and back on. The twin needle function must be turned off when you remove the twin needle from the machine. To turn the function off, touch the twin needle icon and confirm by touching "ok". Cross stitch No other embroidery technique is as closely associated with the term "needlework" as cross stitching. With your sewing machine and its wide range of cross stitches this traditional embroidery technique can be created remarkably easily and quickly. Whether you select one of the pre-programmed cross stitch borders or create your own combination with the cross stitches these look handsewn and lend a distinctive character to table linens, towels or clothes. Tips for cross stitch sewing: • Always work using the "sew slow" and "needle up/down" functions. • Attach decorative foot no. 2A. Its red guide-markings are exactly equal to the size of the cross stitches. Note: When combining cross stitches, the start and end points of the respective cross-stitch are important. A cross stitch that finishes on the right can always be combined with a cross-stitch that starts to the right. The starting and end points of the cross stitches are marked by a circle and a dot on the stitch lid. 5:3
-
 1
1 -
2
-
3
-
4
-
5
-
6
-
7
-
8
-
9
-
10
-
11
-
12
-
13
-
14
-
15
-
16
-
17
-
18
-
19
-
20
-
21
-
22
-
23
-
24
-
25
-
26
-
27
-
28
-
29
-
30
-
31
-
32
-
33
-
34
-
35
-
36
-
37
-
38
-
39
-
40
-
41
-
42
-
43
-
44
-
45
-
46
-
47
-
48
-
49
-
50
-
51
-
52
-
53
-
54
-
55
-
56
-
57
-
58
-
59
-
 60
60 -
 61
61 -
 62
62 -
 63
63 -
 64
64 -
 65
65 -
 66
66 -
 67
67 -
 68
68 -
 69
69 -
 70
70 -
71
-
72
-
73
-
74
-
75
-
76
-
77
-
78
-
79
-
80
-
81
-
82
-
83
-
84
-
85
-
86
-
87
-
88
-
89
-
90
-
91
-
92
-
93
-
94
-
95
-
96
-
97
-
98
 |
 |