Pfaff varimatic 6087 Owner's Manual - Page 34
Pfaff varimatic 6087 Manual
 |
View all Pfaff varimatic 6087 manuals
Add to My Manuals
Save this manual to your list of manuals |
Page 34 highlights
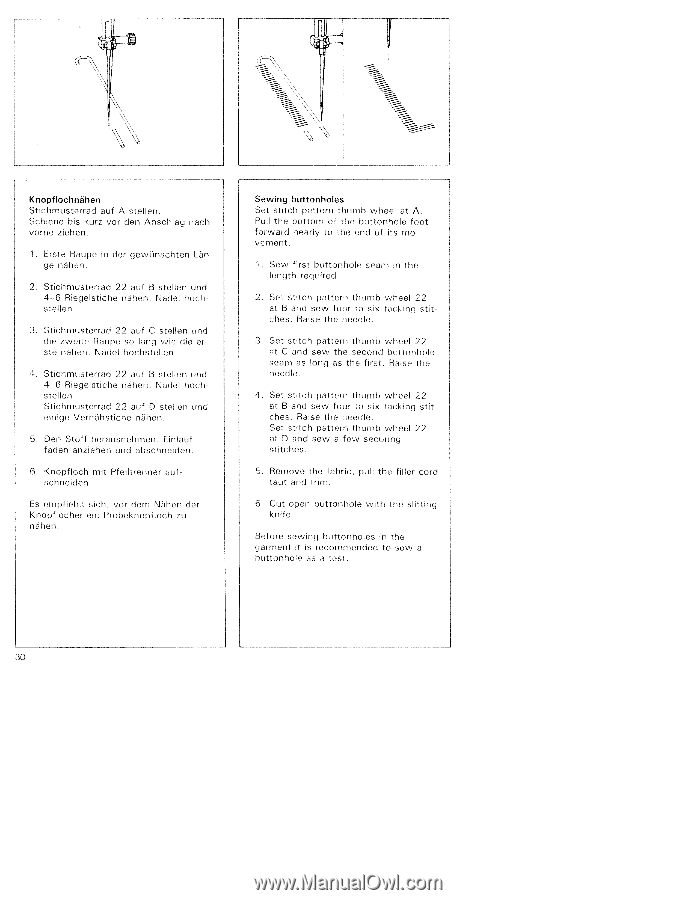
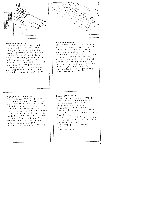
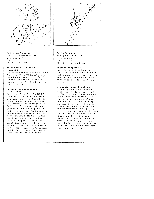
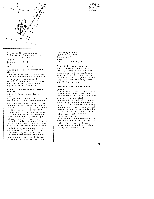
*1 - -- - 1 r L__ Knopflochnáhen Stichmusterrad auf A steferi Schiene bis kurz vor den Aiischlag nach vorne ziehen. 1 Erste Raupe in der gewunschten Lan ge ndhen. 2. Stichmusterrad 22 auf B stellen und 4 6 Riegelstiche ndhen Nadel hoch stellen, 3. Stichmusterrad 22 ant C ste len und die zwe te Ranpo so l'iriq wie die or Ste nahen. Nade hochstellen. 4. Stichmnsterrad 22 nut B stellen nnd 4 6 Riegelstiche ndhen. Nadel hoch steten Stichmusterrad 22 nf D stellen nod einge Verndhstiche nihen. 5 Den Stoff herausnehiiinn Einlanf faden anziehen und ahschneiden. 6 K nopfloch mit Pfeill renner ant sc hn oid en Es eniphehit sich vor dmn Nah€m der Knopfldcher eir Proheknopfloch / U n a hen Sewing buttonholes Set stitch pattern thunib wheel at A. Pull the bottom of the buttonhole toot forward nearly to the end of its no vement 1 Sew hrst buttonhole seam in the length required. 2. Set stitch pattern thumb wheel 22 at B and sew four to six tacking ste ches. Raise the needle. 3 Set stitch pattern thumb whcel 22 at C and sew the second buttonhole seam as long is the first. Raise the needle. 4 Set stitch pattern thumb wheel 22 at B and sew four to six tacking stO ches. Raise the needle Set stitch pattern thumb wheel 22 at D and sew a few securing Stitches. 5. Remove the fabric pull the filler curd taut and tr m. 6 Cut open hittonhole w,th the slitting k rofe Before seeing buttonholes in the o.Irment it is recommended to sew a buttonhole as a test. 30
-
 1
1 -
2
-
3
-
4
-
5
-
6
-
7
-
8
-
9
-
10
-
11
-
12
-
13
-
14
-
15
-
16
-
17
-
18
-
19
-
20
-
21
-
22
-
23
-
24
-
25
-
26
-
27
-
28
-
 29
29 -
 30
30 -
 31
31 -
 32
32 -
 33
33 -
 34
34 -
 35
35 -
 36
36 -
 37
37 -
 38
38 -
 39
39 -
40
-
41
-
42
-
43
-
44
-
45
-
46
-
47
-
48
-
49
-
50
-
51
-
52
-
53
-
54
-
55
-
56
-
57
-
58
-
59
-
60
-
61
-
62
-
63
-
64
-
65
-
66
-
67
-
68
-
69
-
70
-
71
-
72
-
73
 |
 |