Philips SPF3400 User manual (English) - Page 40
Deleting, album, Using, other, options, PHOTO, ALBUMS
 |
View all Philips SPF3400 manuals
Add to My Manuals
Save this manual to your list of manuals |
Page 40 highlights
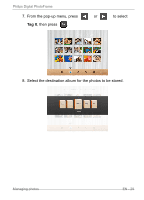
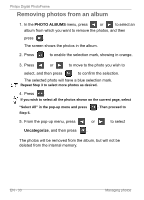
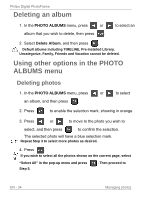
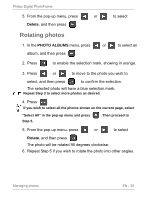
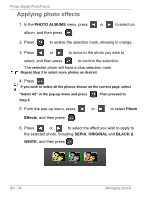
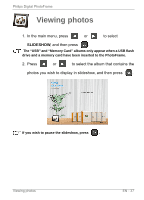
Philips Digital PhotoFrame Deleting an album 1. In the PHOTO ALBUMS menu, press or album that you wish to delete, then press . to select an 2. Select Delete Album, and then press . Default albums including TIMELINE, Pre-installed Library, Uncategorize, Family, Friends and Vacation cannot be deleted. Using other options in the PHOTO ALBUMS menu Deleting photos 1. In the PHOTO ALBUMS menu, press or to select an album, and then press . 2. Press to enable the selection mark, showing in orange. 3. Press or to move to the photo you wish to select, and then press to confirm the selection. The selected photo will have a blue selection mark. Repeat Step 3 to select more photos as desired. 4. Press . If you wish to select all the photos shown on the current page, select "Select All" in the pop-up menu and press Step 5. . Then proceed to EN - 34 Managing photos
-
 1
1 -
2
-
3
-
4
-
5
-
6
-
7
-
8
-
9
-
10
-
11
-
12
-
13
-
14
-
15
-
16
-
17
-
18
-
19
-
20
-
21
-
22
-
23
-
24
-
25
-
26
-
27
-
28
-
29
-
30
-
31
-
32
-
33
-
34
-
 35
35 -
 36
36 -
 37
37 -
 38
38 -
 39
39 -
 40
40 -
 41
41 -
 42
42 -
 43
43 -
 44
44 -
 45
45 -
46
-
47
-
48
-
49
-
50
-
51
-
52
-
53
-
54
-
55
-
56
-
57
-
58
-
59
-
60
-
61
-
62
-
63
-
64
-
65
-
66
 |
 |
