Pioneer DEQ 9200 Owners Manual - Page 10
Installation
 |
UPC - 012562290973
View all Pioneer DEQ 9200 manuals
Add to My Manuals
Save this manual to your list of manuals |
Page 10 highlights
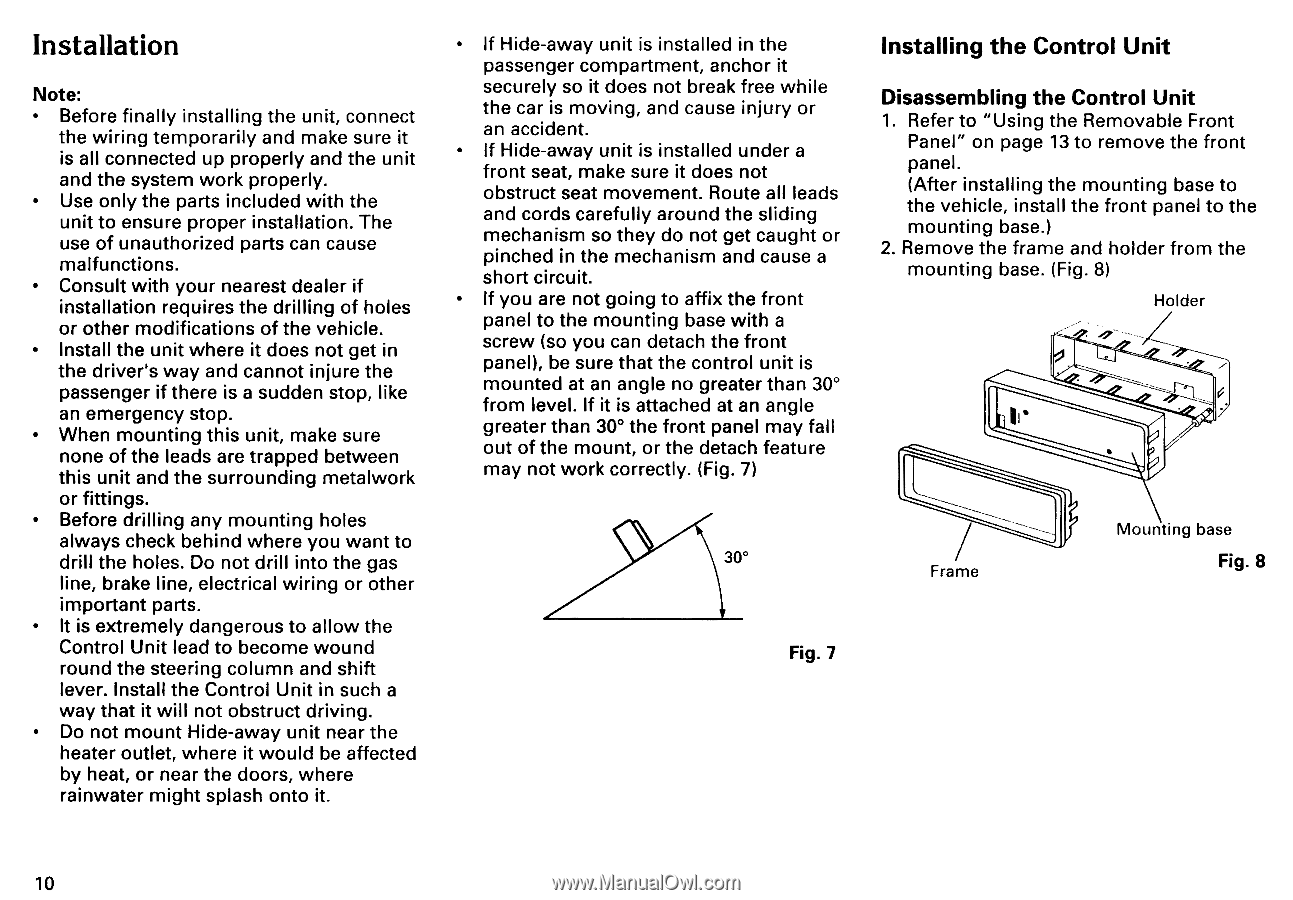
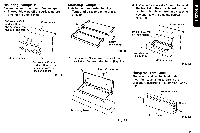
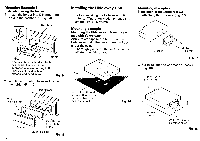
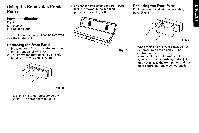
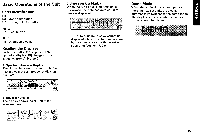
Installation Note: • Before finally installing the unit, connect the wiring temporarily and make sure it is all connected up properly and the unit and the system work properly. • Use only the parts included with the unit to ensure proper installation. The use of unauthorized parts can cause malfunctions. • Consult with your nearest dealer if installation requires the drilling of holes or other modifications of the vehicle. • Install the unit where it does not get in the driver's way and cannot injure the passenger if there is a sudden stop, like an emergency stop. • When mounting this unit, make sure none of the leads are trapped between this unit and the surrounding metalwork or fittings. • Before drilling any mounting holes always check behind where you want to drill the holes. Do not drill into the gas line, brake line, electrical wiring or other important parts. • It is extremely dangerous to allow the Control Unit lead to become wound round the steering column and shift lever. Install the Control Unit in such a way that it will not obstruct driving. • Do not mount Hide-away unit near the heater outlet, where it would be affected by heat, or near the doors, where rainwater might splash onto it. • If Hide-away unit is installed in the passenger compartment, anchor it securely so it does not break free while the car is moving, and cause injury or an accident. • If Hide-away unit is installed under a front seat, make sure it does not obstruct seat movement. Route all leads and cords carefully around the sliding mechanism so they do not get caught or pinched in the mechanism and cause a short circuit. • If you are not going to affix the front panel to the mounting base with a screw (so you can detach the front panel), be sure that the control unit is mounted at an angle no greater than 30° from level. If it is attached at an angle greater than 30° the front panel may fall out of the mount, or the detach feature may not work correctly. (Fig. 7) 30° Fig. 7 Installing the Control Unit Disassembling the Control Unit 1. Refer to "Using the Removable Front Panel" on page 13 to remove the front panel. (After installing the mounting base to the vehicle, install the front panel to the mounting base.) 2. Remove the frame and holder from the mounting base. (Fig. 8) Holder Iv• Frame Mounting base Fig. 8 10
-
 1
1 -
2
-
3
-
4
-
 5
5 -
 6
6 -
 7
7 -
 8
8 -
 9
9 -
 10
10 -
 11
11 -
 12
12 -
 13
13 -
 14
14 -
 15
15 -
16
-
17
-
18
-
19
-
20
-
21
-
22
-
23
-
24
-
25
-
26
-
27
-
28
-
29
-
30
-
31
-
32
-
33
-
34
-
35
-
36
-
37
-
38
 |
 |