Pioneer DEQ 9200 Owners Manual - Page 26
Pioneer DEQ 9200 - Equalizer / Crossover Manual
 |
UPC - 012562290973
View all Pioneer DEQ 9200 manuals
Add to My Manuals
Save this manual to your list of manuals |
Page 26 highlights
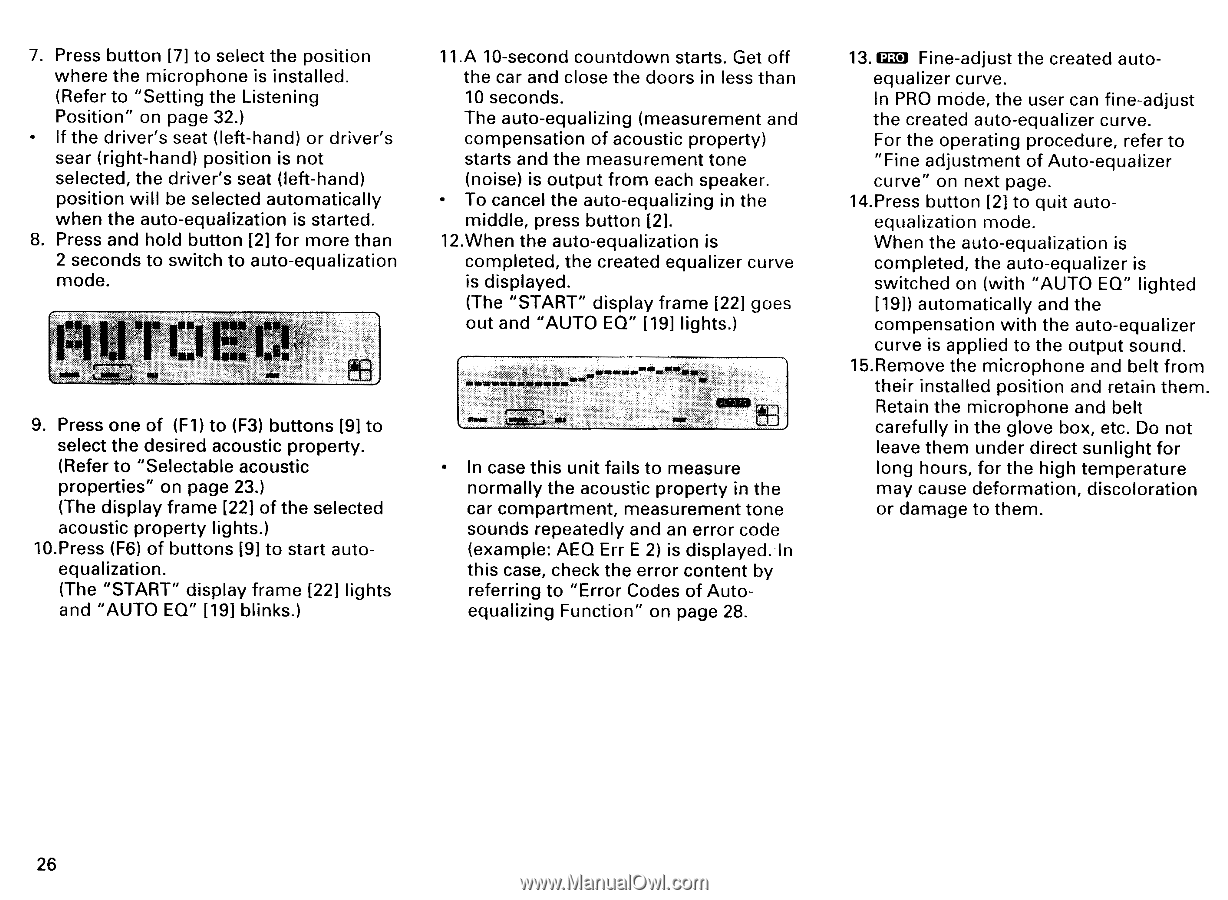
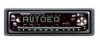
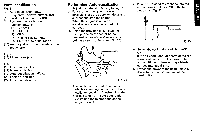
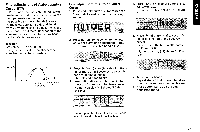
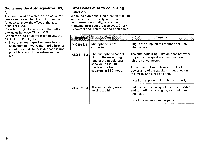
7. Press button [7] to select the position where the microphone is installed. (Refer to "Setting the Listening Position" on page 32.) • If the driver's seat (left-hand) or driver's sear (right-hand) position is not selected, the driver's seat (left-hand) position will be selected automatically when the auto-equalization is started. 8. Press and hold button [2] for more than 2 seconds to switch to auto-equalization mode. I 11.A 10-second countdown starts. Get off the car and close the doors in less than 10 seconds. The auto-equalizing (measurement and compensation of acoustic property) starts and the measurement tone (noise) is output from each speaker. • To cancel the auto-equalizing in the middle, press button [2]. 12.When the auto-equalization is completed, the created equalizer curve is displayed. (The "START" display frame [22] goes out and "AUTO EQ" [19] lights.) 9. Press one of (F1) to (F3) buttons [9] to select the desired acoustic property. (Refer to "Selectable acoustic properties" on page 23.) (The display frame [22] of the selected acoustic property lights.) 10.Press (F6) of buttons [9] to start autoequalization. (The "START" display frame [22] lights and "AUTO EQ" [19] blinks.) OM= • In case this unit fails to measure normally the acoustic property in the car compartment, measurement tone sounds repeatedly and an error code (example: AEQ Err E 2) is displayed. In this case, check the error content by referring to "Error Codes of Autoequalizing Function" on page 28. 13. PRO Fine-adjust the created autoequalizer curve. In PRO mode, the user can fine-adjust the created auto-equalizer curve. For the operating procedure, refer to "Fine adjustment of Auto-equalizer curve" on next page. 14.Press button [2] to quit autoequalization mode. When the auto-equalization is completed, the auto-equalizer is switched on (with "AUTO EQ" lighted [19]) automatically and the compensation with the auto-equalizer curve is applied to the output sound. 15.Remove the microphone and belt from their installed position and retain them. Retain the microphone and belt carefully in the glove box, etc. Do not leave them under direct sunlight for long hours, for the high temperature may cause deformation, discoloration or damage to them. 26
-
 1
1 -
2
-
3
-
4
-
5
-
6
-
7
-
8
-
9
-
10
-
11
-
12
-
13
-
14
-
15
-
16
-
17
-
18
-
19
-
20
-
 21
21 -
 22
22 -
 23
23 -
 24
24 -
 25
25 -
 26
26 -
 27
27 -
 28
28 -
 29
29 -
 30
30 -
 31
31 -
32
-
33
-
34
-
35
-
36
-
37
-
38
 |
 |