Pioneer DEQ 9200 Owners Manual - Page 12
Installing
 |
UPC - 012562290973
View all Pioneer DEQ 9200 manuals
Add to My Manuals
Save this manual to your list of manuals |
Page 12 highlights
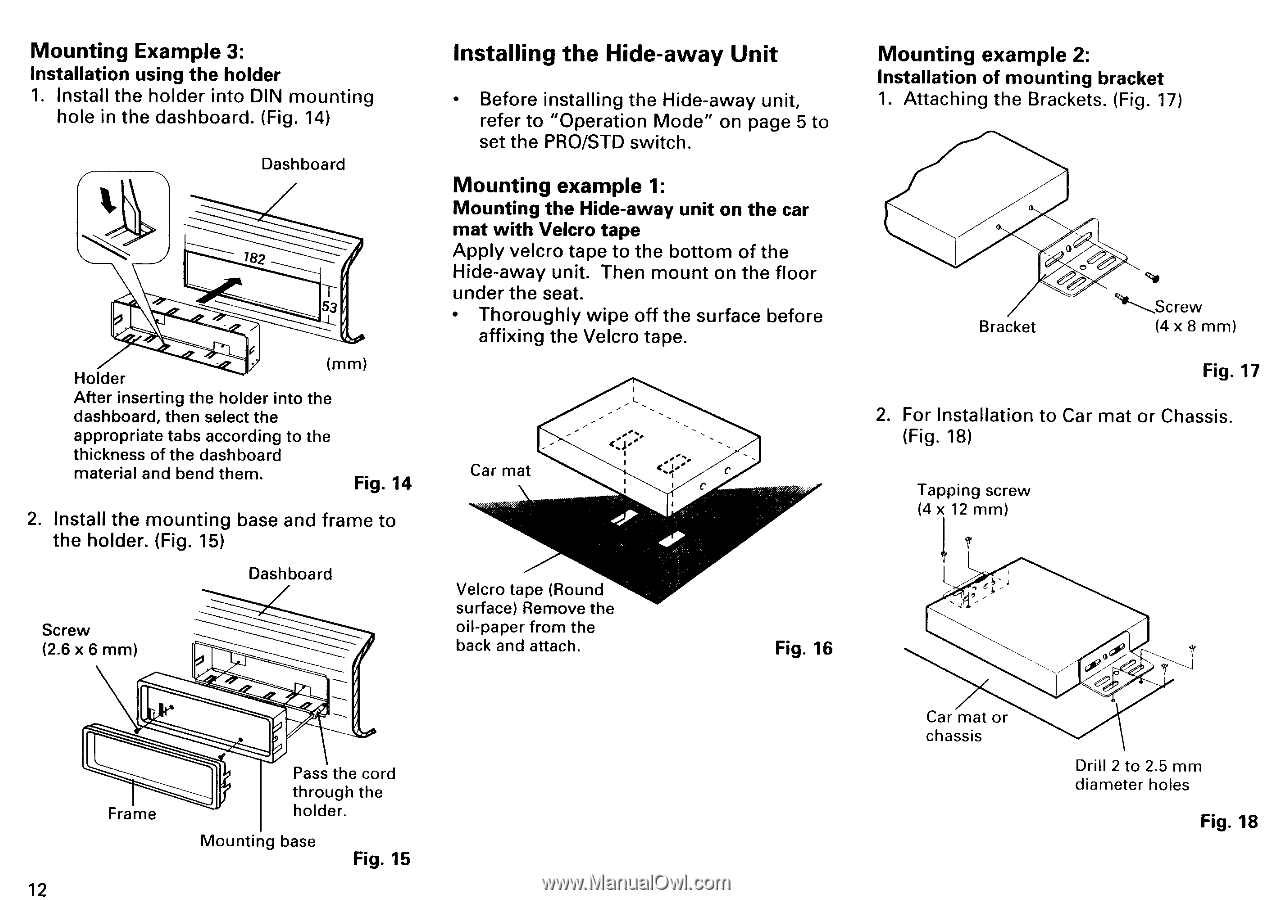
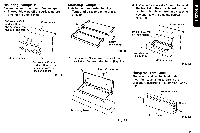
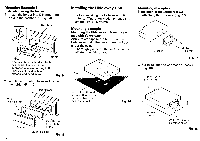
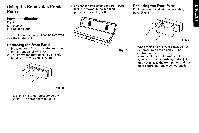
Mounting Example 3: Installation using the holder 1. Install the holder into DIN mounting hole in the dashboard. (Fig. 14) Dashboard 782 -L_ Holder (mm) After inserting the holder into the dashboard, then select the appropriate tabs according to the thickness of the dashboard material and bend them. Fig. 14 2. Install the mounting base and frame to the holder. (Fig. 15) Dashboard Screw (2.6 x 6 mm) Frame Pass the cord through the holder. Mounting base Fig. 15 12 Installing the Hide-away Unit • Before installing the Hide-away unit, refer to "Operation Mode" on page 5 to set the PRO/STD switch. Mounting example 1: Mounting the Hide-away unit on the car mat with Velcro tape Apply velcro tape to the bottom of the Hide-away unit. Then mount on the floor under the seat. • Thoroughly wipe off the surface before affixing the Velcro tape. Car mat 4, Velcro tape (Round surface) Remove the oil-paper from the back and attach. Fig. 16 Mounting example 2: Installation of mounting bracket 1. Attaching the Brackets. (Fig. 17) 0 0 ear Bracket 44" ---„Screw (4 x 8 mm) Fig. 17 2. For Installation to Car mat or Chassis. (Fig. 18) Tapping screw (4 x 12 mm) 7 Car mat or chassis 7 Drill 2 to 2.5 mm diameter holes Fig. 18
-
 1
1 -
2
-
3
-
4
-
5
-
6
-
 7
7 -
 8
8 -
 9
9 -
 10
10 -
 11
11 -
 12
12 -
 13
13 -
 14
14 -
 15
15 -
 16
16 -
 17
17 -
18
-
19
-
20
-
21
-
22
-
23
-
24
-
25
-
26
-
27
-
28
-
29
-
30
-
31
-
32
-
33
-
34
-
35
-
36
-
37
-
38
 |
 |