Pioneer PRO-1410HD Owner's Manual - Page 7
Basic Operations - parts
 |
View all Pioneer PRO-1410HD manuals
Add to My Manuals
Save this manual to your list of manuals |
Page 7 highlights
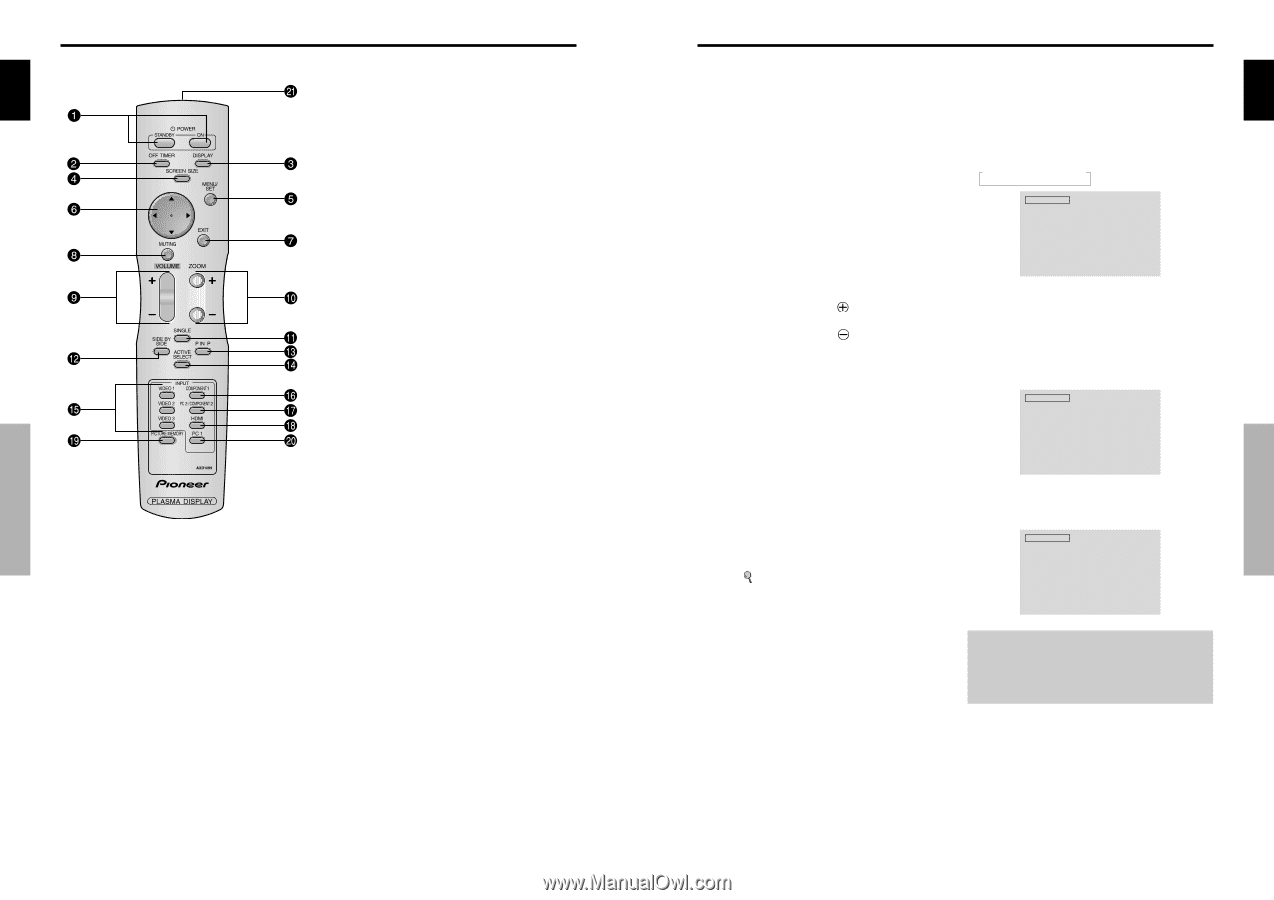
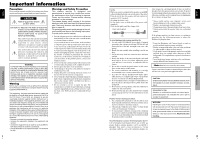
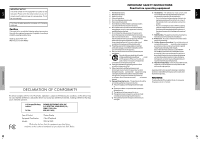
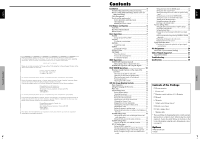
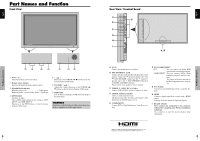
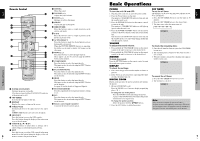
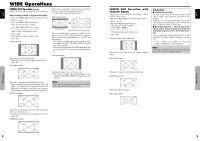
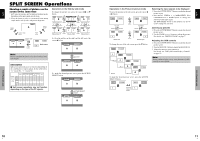
Remote Control i MUTING Mutes the sound. English o VOLUME (+ /-) Adjusts the sound volume. !0 ZOOM (+ /-) Enlarges or reduces the image. !1 SINGLE Cancels the split screen mode. !2 SIDE BY SIDE Press this button to show a couple of pictures in the side-by-side mode. !3 P IN P Press this button to show a couple of pictures in the picture-in-picture mode. !4 ACTIVE SELECT Press this button to make the desired picture activate during split screen mode. When the PICTURE FREEZE function is operating, this button can be used to display still images on the subscreen. !5 VIDEO1, 2, 3 Press these buttons to select the input directly. These inputs can also be selected using the INPUT button on the monitor. !6 COMPONENT1 Press this button to select the input directly. This input can also be selected using the INPUT button on the monitor. Part Names and Function !7 PC2/COMPONENT2 Press this button to select the input directly. This input can also be selected using the INPUT button on the monitor. !8 HDMI Press this button to select the input directly. This input can also be selected using the INPUT button on the monitor. See page 30 for the details of Supported Signals. q POWER ON/STANDBY Switches the power on/standby. (This does not operate when STANDBY/ON indicator of the main unit is off.) w OFF TIMER Activates the off timer for the unit. e DISPLAY Displays the source settings on the screen. r SCREEN SIZE Automatically detects the signal and sets the aspect ratio. SCREEN SIZE button is not active for all signals. !9 PICTURE MEMORY Switches sequentially between picture memory settings 1 to 6. @0 PC1 Press this button to select the input directly. This input can also be selected using the INPUT button on the monitor. @1 Remote control signal transmitter Transmits the remote control signals. t MENU/SET Press this button to access the OSD controls. Press this button during the display of the main menu to go to the sub menu. y CURSOR (L / M Use these buttons to select items or settings and to adjust settings or switch the display patterns. u EXIT Press this button to exit the OSD controls in the main menu. Press this button during the display of the sub 6 menu to return to the previous menu. En English Basic Operations POWER To turn the unit ON and OFF: 1. Plug the power cord into an active AC power outlet. 2. Press the Power button (on the unit). The monitor's STANDBY/ON indicator turns red and the standby mode is set. 3. Press the POWER ON button (on the remote control) to turn on the unit. The monitor's STANDBY/ON indicator will light up (green) when the unit is on. 4. Press the POWER STANDBY button (on the remote control) or the Power button (on the unit) to turn off the unit. The monitor's STANDBY/ON indicator turns red and the standby mode is set (only when turning off the unit with the remote control). VOLUME To adjust the sound volume: 1. Press and hold the VOLUME button (on the remote control or the unit) to increase to the desired level. 2. Press and hold the VOLUME button (on the remote control or the unit) to decrease to the desired level. MUTING To mute the sound: Press the MUTING button on the remote control to mute the sound press again to restore. DISPLAY To check the settings: 1. The screen changes each time the DISPLAY button is pressed. 2. If the button is not pressed for approximately three seconds, the menu turns off. DIGITAL ZOOM Digital zoom specifies the picture position and enlarges the picture. 1. (Be sure ZOOM NAV is off) Press the ZOOM (+ or -) button to display magnifying glass. ( ) To change the size of the picture: Press the ZOOM+ button and enlarge the picture. A press of the ZOOM- button will reduce the picture and return it to its original size. To change the picture position: Select the position with the LMᮤ ᮣ buttons. 2. Press the EXIT button to delete the pointer. OFF TIMER To set the off timer: The off timer can be set to turn the power off after 30, 60, 90 or 120 minutes. 1. Press the OFF TIMER button to start the timer at 30 minutes. 2. Press the OFF TIMER button to the desired time. 3. The timer starts when the menu turns off. → 30 → 60 → 90 → 120 → 0 OFF TIMER 30 To check the remaining time: 1. Once the off timer has been set, press the OFF TIMER button once. 2. The remaining time is displayed, then turns off after a few seconds. 3. When five minutes remain the remaining time appears until it reaches zero. OFF TIMER 28 To cancel the off timer: 1. Press the OFF TIMER button twice in a row. 2. The off timer is canceled. OFF TIMER 0 Note: After the power is turned off with the off timer ... A slight current is still supplied to the monitor. When you are leaving the room or do not plan to use the system for a long period of time, turn off the power of the monitor. Basic Operations 7 En
-
 1
1 -
 2
2 -
 3
3 -
 4
4 -
 5
5 -
 6
6 -
 7
7 -
 8
8 -
 9
9 -
 10
10 -
 11
11 -
 12
12 -
13
-
14
-
15
-
16
-
17
-
18
-
19
 |
 |