TP-Link N900 TL-WDN4200 V1 User Guide 1910010869 - Page 36
Security Key, Encryption Type
 |
View all TP-Link N900 manuals
Add to My Manuals
Save this manual to your list of manuals |
Page 36 highlights
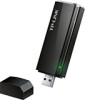
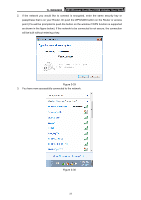
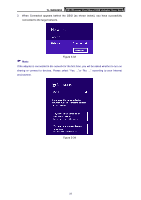
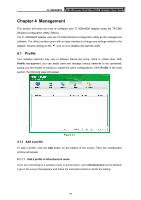
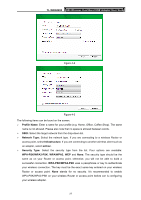
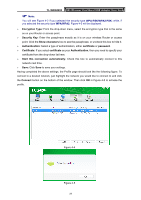
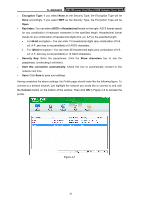
TL-WDN4200 N900 Wireless Dual Band USB Adapter User Guide ) Note: You will see Figure 4-2 if you selected the security type WPA-PSK/WPA2-PSK; while, if you selected the security type WPA/WPA2, Figure 4-3 will be displayed. ¾ Encryption Type: From the drop-down menu, select the encryption type that is the same as on your Router or access point. ¾ Security Key: Enter the passphrase exactly as it is on your wireless Router or access point. Click the Show characters box to see the passphrase, or uncheck this box to hide it. ¾ Authentication: Select a type of authentication, either certificate or password. ¾ Certificate: If you select certificate as your Authentication, then you need to specify your certificate from the drop-down list here. ¾ Start this connection automatically: Check this box to automatically connect to this network next time. ¾ Save: Click Save to save your settings. Having completed the above settings, the Profile page should look like the following figure. To connect to a desired network, just highlight the network you would like to connect to and click the Connect button on the bottom of the window. Then click OK in Figure 4-5 to activate the profile. Figure 4-4 Figure 4-5 28
-
 1
1 -
2
-
3
-
4
-
5
-
6
-
7
-
8
-
9
-
10
-
11
-
12
-
13
-
14
-
15
-
16
-
17
-
18
-
19
-
20
-
21
-
22
-
23
-
24
-
25
-
26
-
27
-
28
-
29
-
30
-
 31
31 -
 32
32 -
 33
33 -
 34
34 -
 35
35 -
 36
36 -
 37
37 -
 38
38 -
 39
39 -
 40
40 -
 41
41 -
42
-
43
-
44
-
45
-
46
-
47
-
48
-
49
-
50
-
51
-
52
-
53
-
54
 |
 |