TRENDnet TV-IP851WIC User's Guide - Page 11
Install the Camera, Install Wizard, autorun, Agree, Main Menu - installation
 |
View all TRENDnet TV-IP851WIC manuals
Add to My Manuals
Save this manual to your list of manuals |
Page 11 highlights
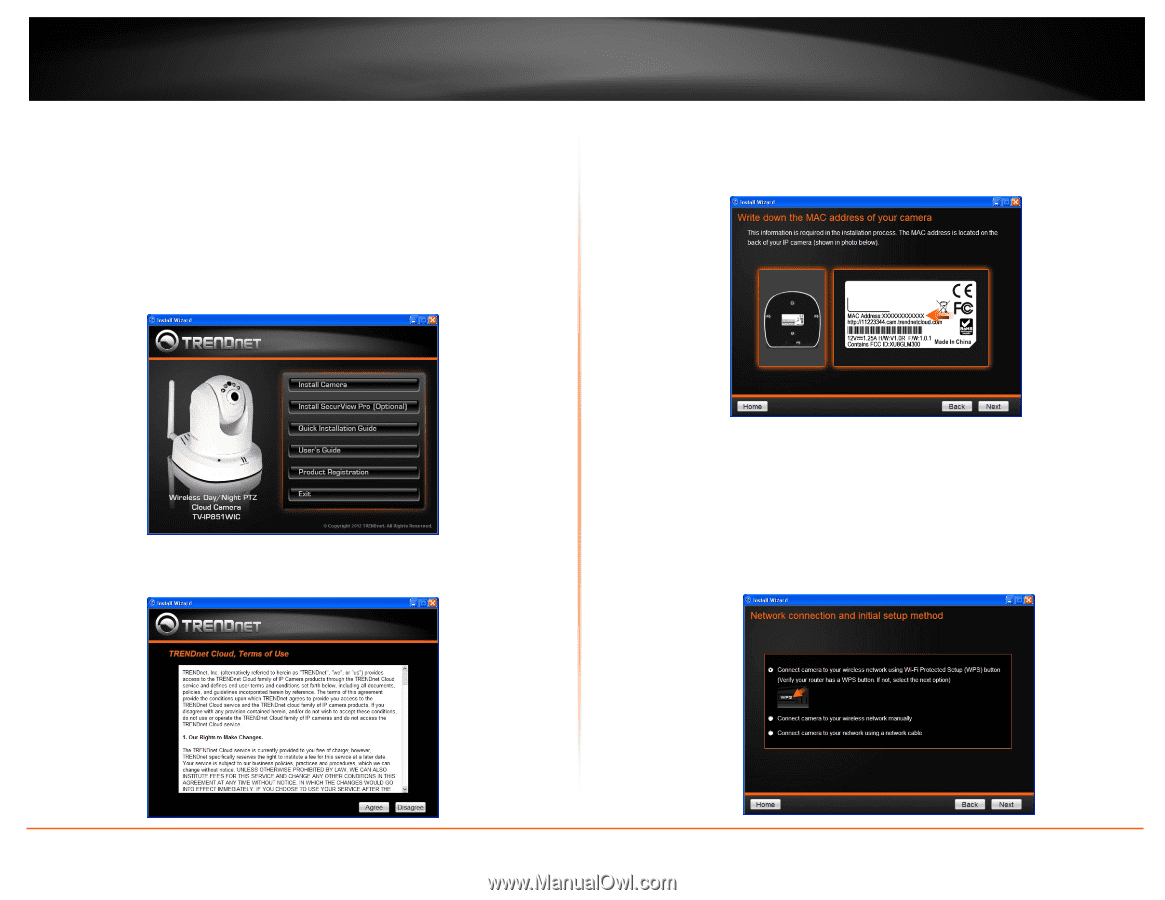
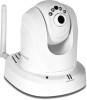
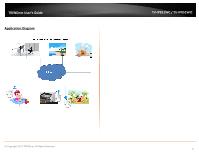
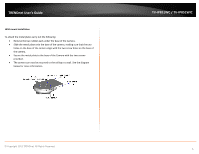
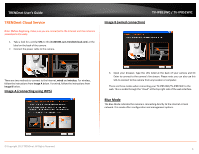
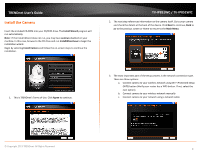
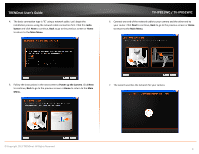
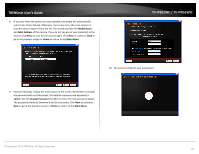
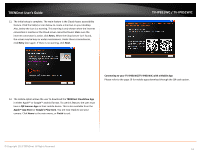
TRENDnet User's Guide Install the Camera Insert the included CD-ROM into your CD/DVD drive. The Install Wizard program will run automatically. Note: If the Install Wizard does not run, you may have autorun disabled on your machine. In this case, browse to the CD drive and run InstallWizard.exe to begin the installation wizard. Begin by selecting Install Camera and follow the on-screen steps to continue the installation. TV-IP851WC / TV-IP851WIC 2. The next step references information on the camera itself. Go to your camera and check the details at the back of the device. Click Next to continue, Back to go to the previous screen or Home to return to the Main Menu. 1. This is TRENDnet's Terms of Use. Click Agree to continue. 3. The most important part of the setup process is the network connection type. There are three options: a. Connect camera to your wireless network using Wi-Fi Protected Setup (WPS) button (Verify your router has a WPS button. If not, select the next option). b. Connect camera to your wireless network manually c. Connect camera to your network using a network cable. © Copyright 2013 TRENDnet. All Rights Reserved. 8
-
 1
1 -
2
-
3
-
4
-
5
-
 6
6 -
 7
7 -
 8
8 -
 9
9 -
 10
10 -
 11
11 -
 12
12 -
 13
13 -
 14
14 -
 15
15 -
 16
16 -
17
-
18
-
19
-
20
-
21
-
22
-
23
-
24
-
25
-
26
-
27
-
28
-
29
-
30
-
31
-
32
-
33
-
34
-
35
-
36
-
37
-
38
-
39
-
40
-
41
-
42
-
43
-
44
-
45
-
46
-
47
-
48
-
49
-
50
-
51
 |
 |