Toshiba 26AV550E Owners Manual - Page 23
Selecting the video input source to, Teletext - direct
 |
UPC - 883180587178
View all Toshiba 26AV550E manuals
Add to My Manuals
Save this manual to your list of manuals |
Page 23 highlights
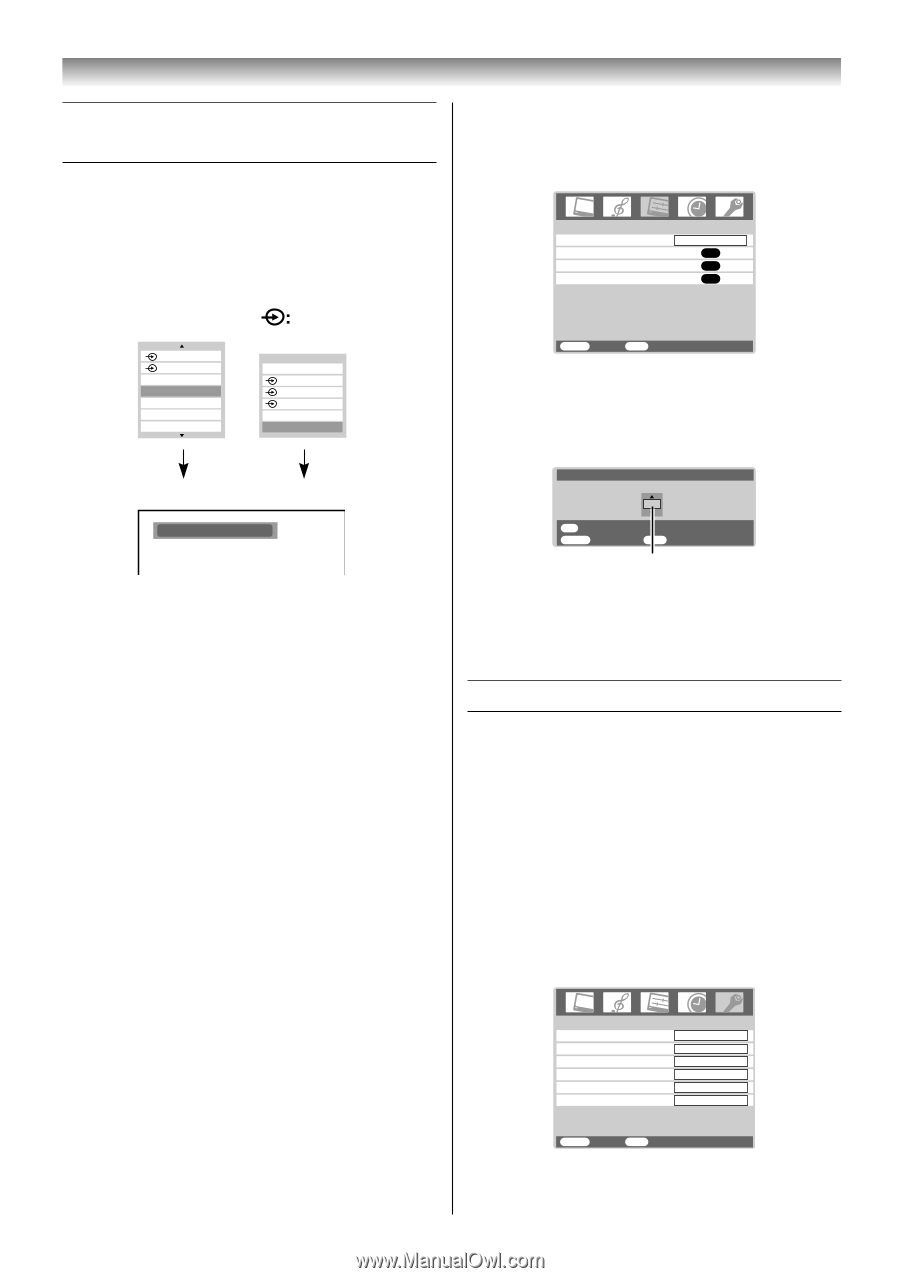
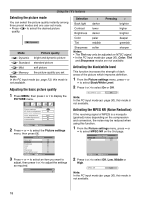
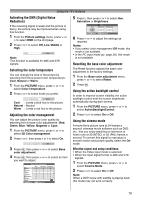
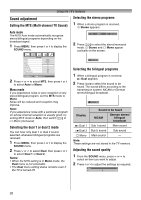
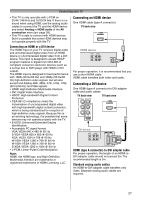
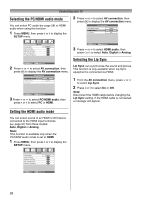
Using the TV's features Selecting the video input source to view 1 Press and hold o or press Q on the remote control until the video input mode list appears on the screen, then press u, U or o to select appropriate input source (or press o on the TV bottom of the panel to select required input source directly). Setting the manual setting menu 1 Press MENU, then press I or i to display the SETUP menu. SETUP Language Manual setting AV connection Picture Position English OK OK OK OK: 2 3 HDMI PC 0 1 2 (Press and hold) TV 1 2 3 HDMI PC Ex. PC VGA mode PC VGA MENU Back EXIT Watch TV 2 Press u or U to select Manual setting, then press Q. 3 Press I or i to select an item, then press u or U to select the item as shown below. Manual setting Color System:Auto A OK Store MENU Back EXIT Watch TV A 2 Press Q. o 1 (o (1), video 1 input), o 2 (o (2), video 2 input) or o 2S (S-video input), o 3 (o (3), component video input), HDMI (o HDMI, HDMI input), PC (o RGB/PC, PC input) Note: When S-video input, the component video input, PC input mode or HDMI input mode is selected, the MONITOR OUT output terminals (- page 26) output audio signal only. A. Color System Confirm that color system is set to "A" (Auto). If not, select "A" with u or U. Teletext This TV has a multi-page teletext memory, which takes a few moments to load and it offers two ways of viewing Teletext Auto and LIST which are explained below. Setting up the teletext mode To select a language for teletext: The language 1-6 option enables the display of different language when using Teletext. 1 Press MENU, then press I or i to display the FUNCTION menu. FUNCTION Te l e t e x t Teletext language Auto format 4:3 stretch Blue screen Side panel Auto 1 On Off On 1 MENU Back EXIT Watch TV 23
-
 1
1 -
2
-
3
-
4
-
5
-
6
-
7
-
8
-
9
-
10
-
11
-
12
-
13
-
14
-
15
-
16
-
17
-
 18
18 -
 19
19 -
 20
20 -
 21
21 -
 22
22 -
 23
23 -
 24
24 -
 25
25 -
 26
26 -
 27
27 -
 28
28 -
29
-
30
-
31
-
32
-
33
-
34
-
35
-
36
 |
 |