Toshiba Canvio AeroCast Wireless HDD HDTU110AKWC1 Users Guide for Canvio AeroC - Page 19
Connect to Canvio AeroCast
 |
View all Toshiba Canvio AeroCast Wireless HDD HDTU110AKWC1 manuals
Add to My Manuals
Save this manual to your list of manuals |
Page 19 highlights
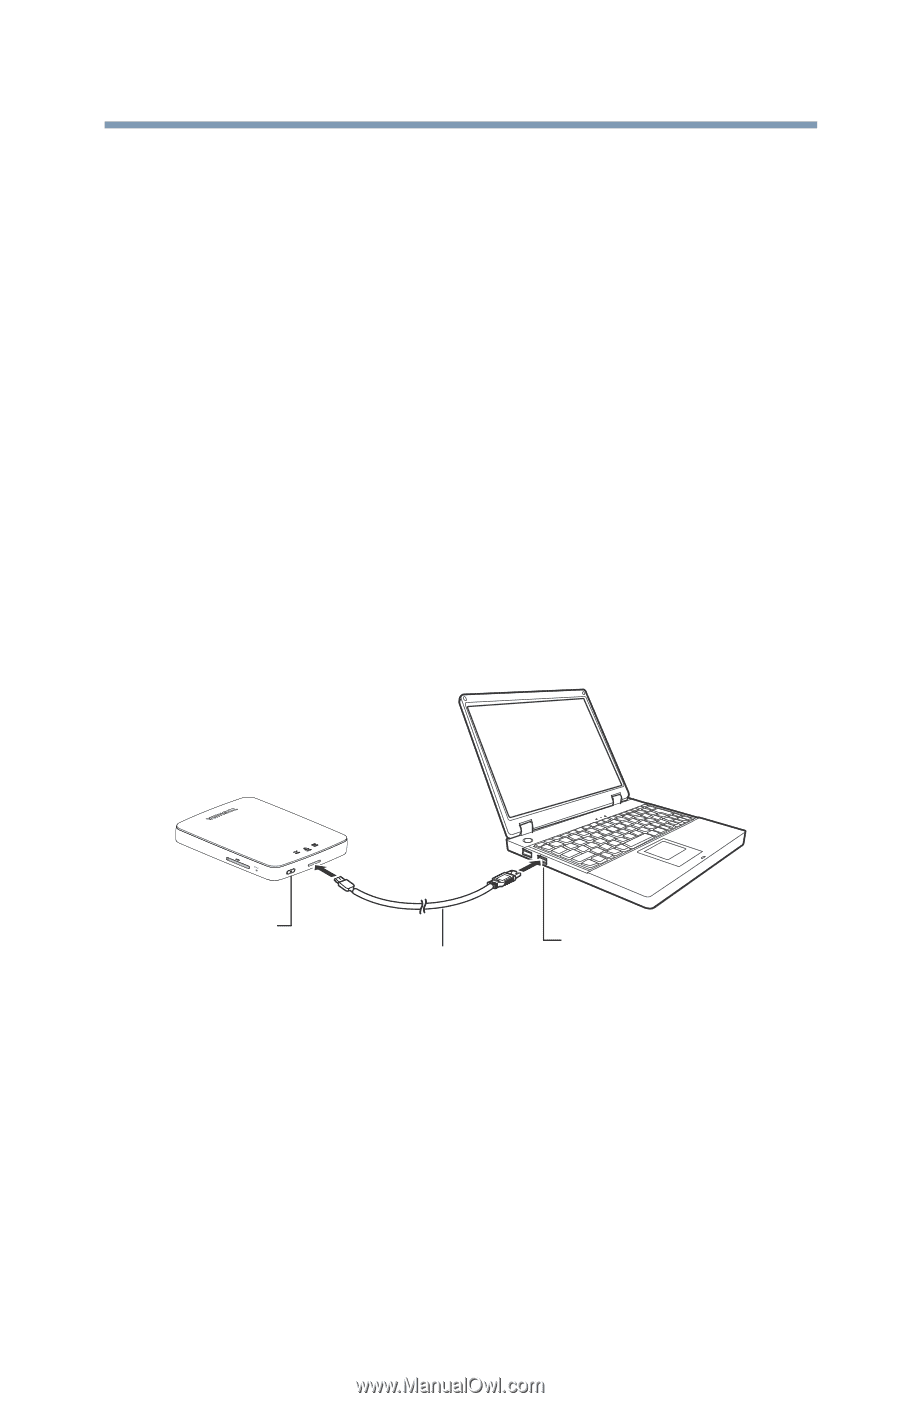
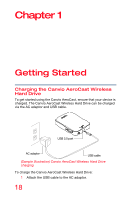
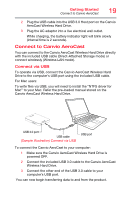
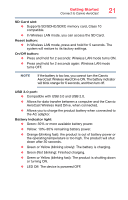
Getting Started Connect to Canvio AeroCast 19 2 Plug the USB cable into the USB 3.0 Host port on the Canvio AeroCast Wireless Hard Drive. 3 Plug the AC adaptor into a live electrical wall outlet. While charging, the battery indicator light will blink slowly (interval time is 2 seconds). Connect to Canvio AeroCast You can connect to the Canvio AeroCast Wireless Hard Drive directly with the included USB cable (Direct-Attached Storage mode) or connect wirelessly (Wireless LAN mode). Connect via USB To operate via USB, connect the Canvio AeroCast Wireless Hard Drive to the computer's USB port using the included USB cable. For Mac users: To write files via USB, you will need to install the "NTFS driver for Mac" to your Mac. Refer the pre-loaded manual stored on the Canvio AeroCast Wireless Hard Drive. USB 3.0 port USB cable (Sample Illustration) Connect via USB USB port To connect the Canvio AeroCast to your computer: 1 Make sure the Canvio AeroCast Wireless Hard Drive is powered OFF. 2 Connect the included USB 3.0 cable to the Canvio AeroCast Wireless Hard Drive. 3 Connect the other end of the USB 3.0 cable to your computer's USB port. You can now begin transferring data to and from the product.
-
 1
1 -
2
-
3
-
4
-
5
-
6
-
7
-
8
-
9
-
10
-
11
-
12
-
13
-
 14
14 -
 15
15 -
 16
16 -
 17
17 -
 18
18 -
 19
19 -
 20
20 -
 21
21 -
 22
22 -
 23
23 -
 24
24 -
25
-
26
-
27
-
28
-
29
-
30
-
31
-
32
-
33
-
34
-
35
-
36
-
37
-
38
-
39
-
40
-
41
-
42
-
43
-
44
-
45
-
46
-
47
-
48
-
49
-
50
-
51
-
52
-
53
-
54
-
55
-
56
-
57
-
58
-
59
-
60
-
61
-
62
-
63
-
64
-
65
-
66
-
67
-
68
-
69
-
70
-
71
-
72
-
73
-
74
-
75
-
76
-
77
-
78
-
79
-
80
-
81
-
82
-
83
-
84
-
85
-
86
-
87
-
88
-
89
-
90
-
91
-
92
-
93
-
94
-
95
-
96
-
97
-
98
-
99
-
100
-
101
-
102
-
103
-
104
-
105
-
106
-
107
-
108
-
109
-
110
-
111
-
112
-
113
-
114
-
115
-
116
-
117
-
118
-
119
-
120
-
121
-
122
-
123
-
124
-
125
-
126
-
127
-
128
-
129
-
130
-
131
-
132
-
133
-
134
-
135
-
136
-
137
-
138
-
139
-
140
-
141
-
142
-
143
-
144
-
145
-
146
-
147
-
148
-
149
-
150
-
151
-
152
-
153
-
154
-
155
-
156
-
157
-
158
-
159
-
160
-
161
-
162
-
163
-
164
-
165
-
166
-
167
-
168
-
169
-
170
-
171
-
172
-
173
-
174
-
175
-
176
-
177
-
178
-
179
-
180
-
181
-
182
-
183
-
184
-
185
-
186
-
187
-
188
-
189
-
190
-
191
 |
 |