Toshiba P100 User Guide - Page 30
Video Setting options, Operation, Screen
 |
View all Toshiba P100 manuals
Add to My Manuals
Save this manual to your list of manuals |
Page 30 highlights
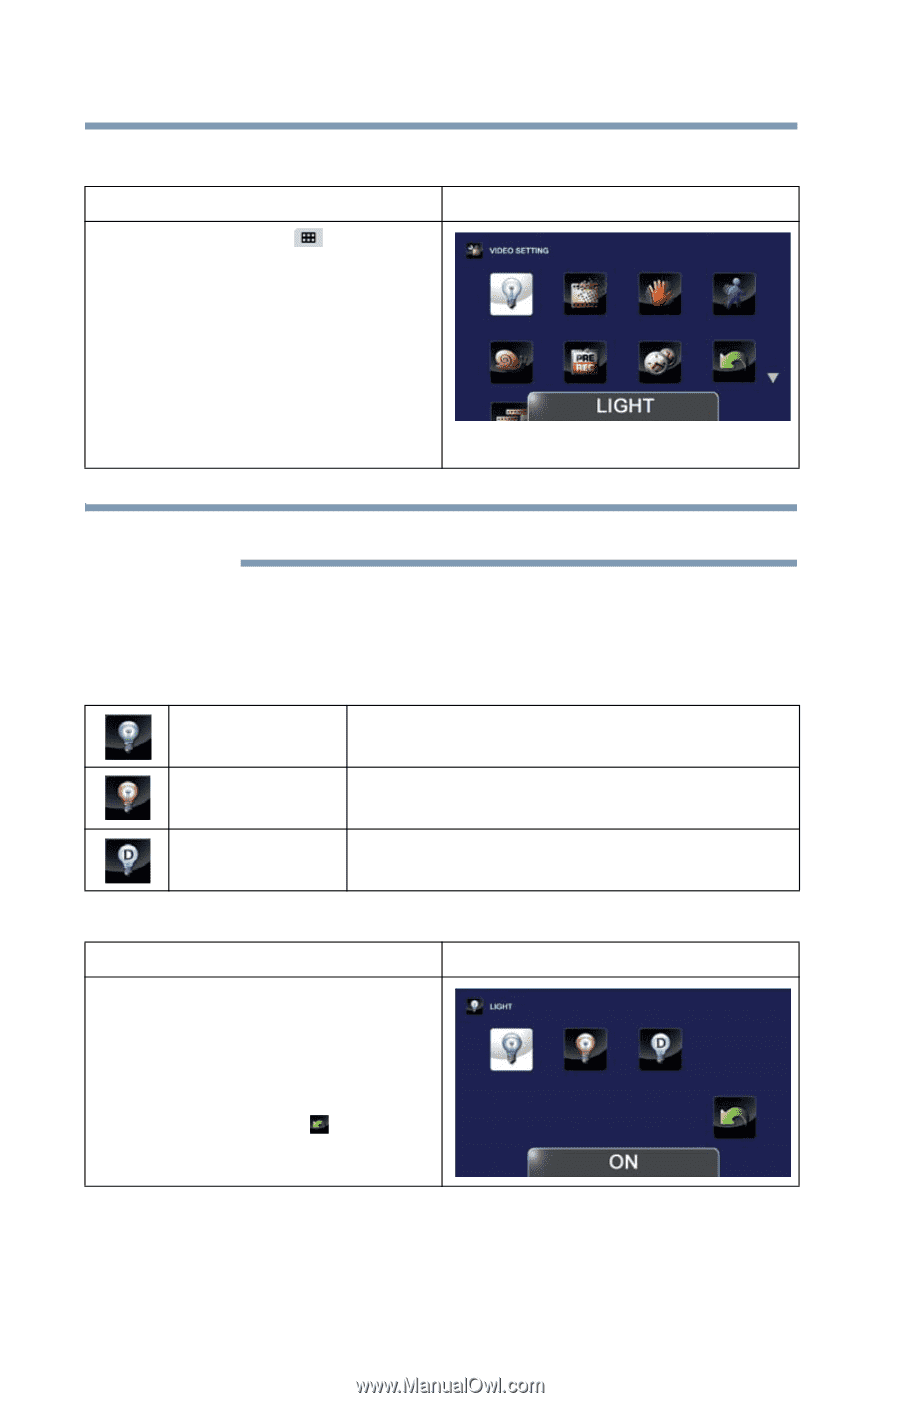
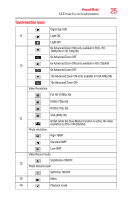
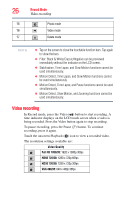
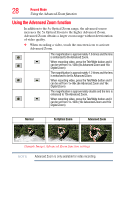
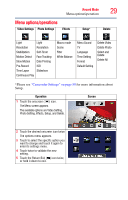
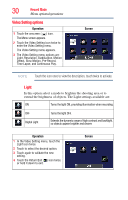
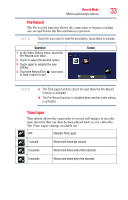
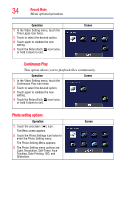
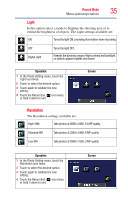
30 Record Mode Menu options/operations Video Setting options Operation 1 Touch the onscreen ( ) icon. The Menu screen appears. 2 Touch the Video Setting icon twice to enter the Video Setting menu. The Video Setting menu appears. 3 The Video Setting menu options are: Light, Resolution, Stabilization, Motion Detect, Slow Motion, Pre-Record, Time Lapse, and Continuous Play. Screen NOTE Touch the icon once to view the description, touch twice to activate. Light In this option select a mode to brighten the shooting area or to extend the brightness of objects. The Light settings available are: ON Turns the light ON, providing illumination when recording. OFF Digital Light Turns the light OFF. Extends the dynamic range of high contrast and backlight, so objects appear brighter and clearer. Operation 1 In the Video Setting menu, touch the Light icon twice. 2 Touch to select the desired option. 3 Touch again to validate the new setting. 4 Touch the Return/Exit ( ) icon twice, or hold it down to exit. Screen
-
 1
1 -
2
-
3
-
4
-
5
-
6
-
7
-
8
-
9
-
10
-
11
-
12
-
13
-
14
-
15
-
16
-
17
-
18
-
19
-
20
-
21
-
22
-
23
-
24
-
 25
25 -
 26
26 -
 27
27 -
 28
28 -
 29
29 -
 30
30 -
 31
31 -
 32
32 -
 33
33 -
 34
34 -
 35
35 -
36
-
37
-
38
-
39
-
40
-
41
-
42
-
43
-
44
-
45
-
46
-
47
-
48
-
49
-
50
-
51
-
52
-
53
-
54
-
55
-
56
-
57
-
58
-
59
-
60
-
61
-
62
-
63
-
64
-
65
-
66
-
67
-
68
-
69
-
70
-
71
-
72
-
73
-
74
-
75
-
76
-
77
-
78
-
79
-
80
-
81
-
82
-
83
-
84
-
85
-
86
-
87
-
88
-
89
-
90
-
91
-
92
-
93
-
94
-
95
-
96
-
97
-
98
-
99
-
100
-
101
-
102
-
103
-
104
-
105
-
106
-
107
-
108
-
109
-
110
-
111
-
112
-
113
-
114
-
115
-
116
-
117
-
118
-
119
-
120
-
121
-
122
-
123
-
124
-
125
-
126
-
127
-
128
-
129
-
130
-
131
-
132
-
133
-
134
-
135
-
136
-
137
-
138
-
139
-
140
-
141
-
142
-
143
-
144
-
145
-
146
 |
 |