Toshiba P100 User Guide - Page 37
Date Printing
 |
View all Toshiba P100 manuals
Add to My Manuals
Save this manual to your list of manuals |
Page 37 highlights
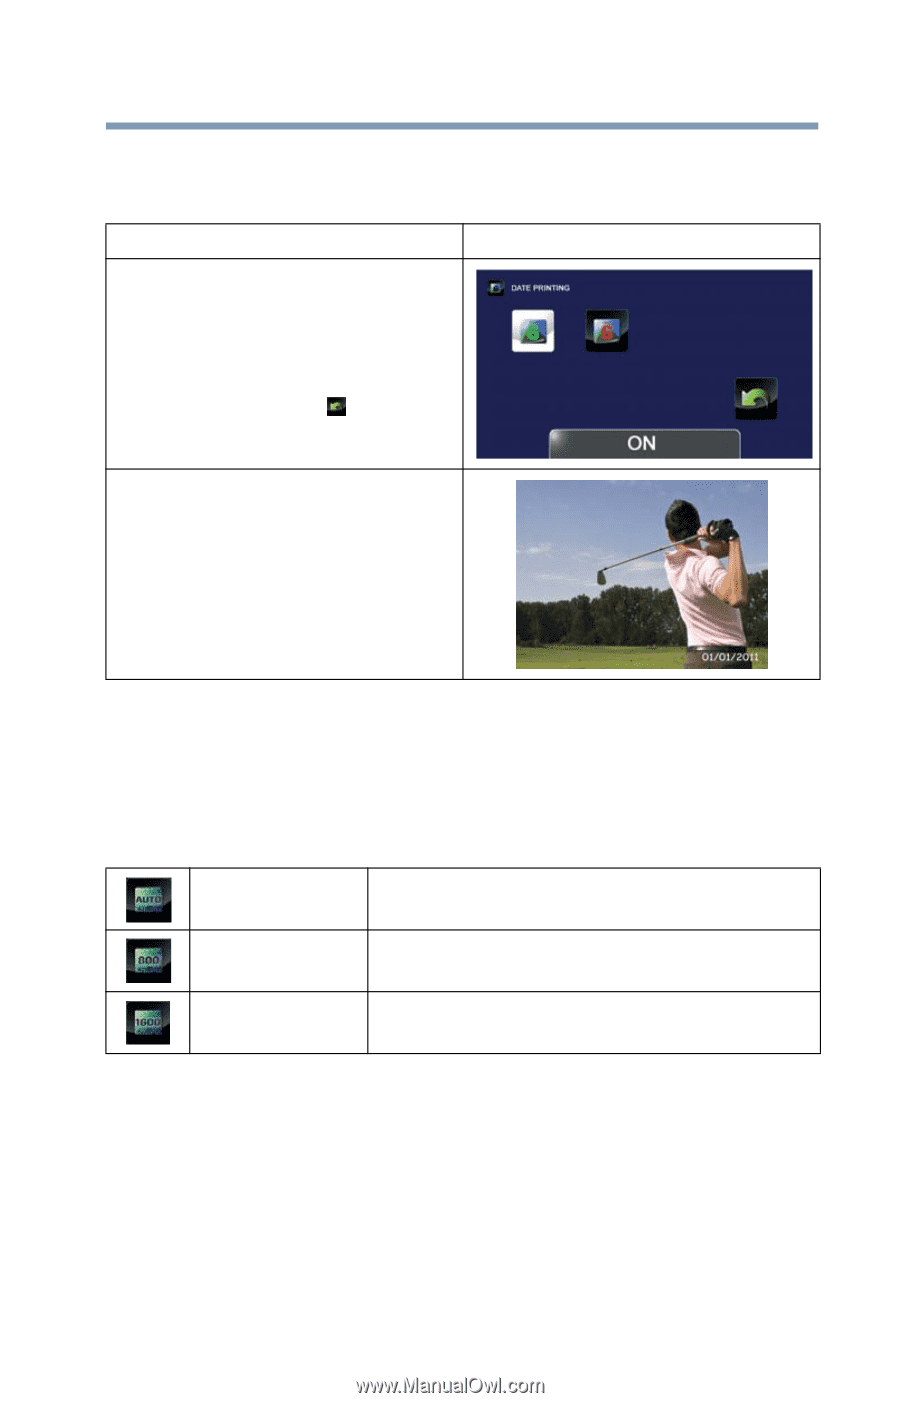
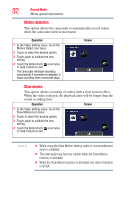
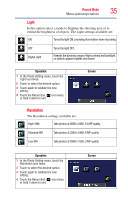
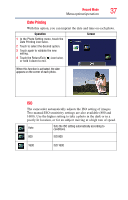
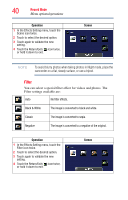
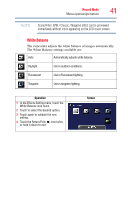
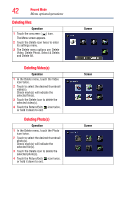
Record Mode 37 Menu options/operations Date Printing With this option, you can imprint the date and time on each photo. Operation 1 In the Photo Setting menu, touch the Date Printing icon twice. 2 Touch to select the desired option. 3 Touch again to validate the new setting. 4 Touch the Return/Exit ( ) icon twice, or hold it down to exit. Screen When this function is activated, the date appears on the corner of each photo. ISO The camcorder automatically adjusts the ISO setting of images. Two manual ISO sensitivity settings are also available (800 and 1600). Use the higher setting to take a photo in the dark or in a poorly lit location, or for an subject moving at a high rate of speed. Auto Sets the ISO setting automatically according to conditions. 800 ISO 800 1600 ISO 1600
-
 1
1 -
2
-
3
-
4
-
5
-
6
-
7
-
8
-
9
-
10
-
11
-
12
-
13
-
14
-
15
-
16
-
17
-
18
-
19
-
20
-
21
-
22
-
23
-
24
-
25
-
26
-
27
-
28
-
29
-
30
-
31
-
 32
32 -
 33
33 -
 34
34 -
 35
35 -
 36
36 -
 37
37 -
 38
38 -
 39
39 -
 40
40 -
 41
41 -
 42
42 -
43
-
44
-
45
-
46
-
47
-
48
-
49
-
50
-
51
-
52
-
53
-
54
-
55
-
56
-
57
-
58
-
59
-
60
-
61
-
62
-
63
-
64
-
65
-
66
-
67
-
68
-
69
-
70
-
71
-
72
-
73
-
74
-
75
-
76
-
77
-
78
-
79
-
80
-
81
-
82
-
83
-
84
-
85
-
86
-
87
-
88
-
89
-
90
-
91
-
92
-
93
-
94
-
95
-
96
-
97
-
98
-
99
-
100
-
101
-
102
-
103
-
104
-
105
-
106
-
107
-
108
-
109
-
110
-
111
-
112
-
113
-
114
-
115
-
116
-
117
-
118
-
119
-
120
-
121
-
122
-
123
-
124
-
125
-
126
-
127
-
128
-
129
-
130
-
131
-
132
-
133
-
134
-
135
-
136
-
137
-
138
-
139
-
140
-
141
-
142
-
143
-
144
-
145
-
146
 |
 |