Yamaha DTX500K Owner's Manual - Page 13
Time to Play
 |
View all Yamaha DTX500K manuals
Add to My Manuals
Save this manual to your list of manuals |
Page 13 highlights
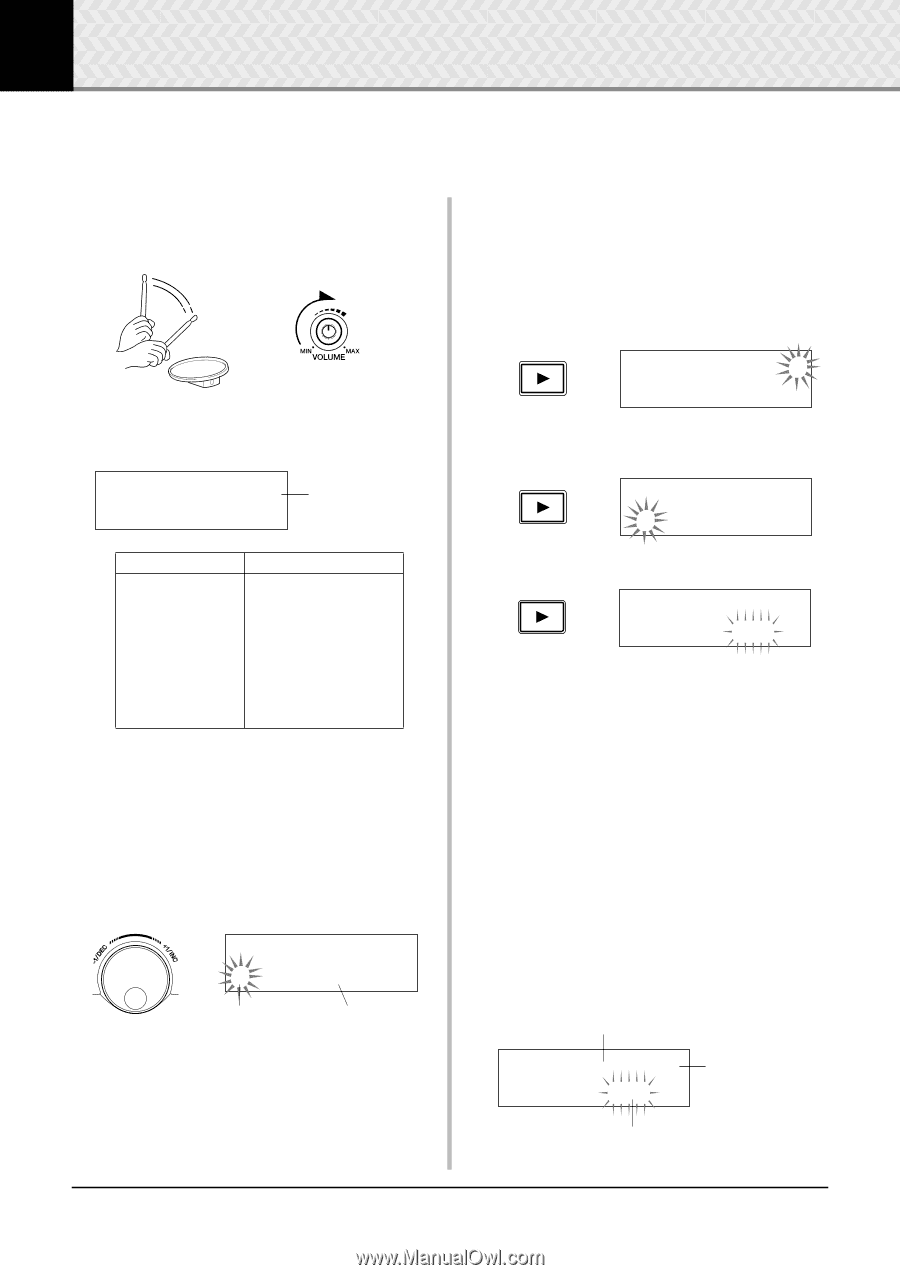
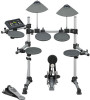
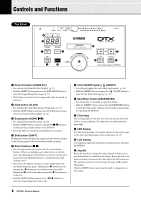
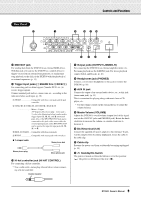
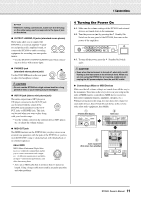
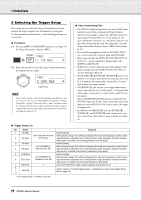
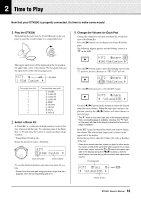
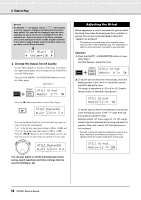
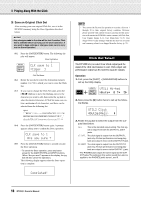
2 Time to Play Now that your DTX500 is properly connected, it's time to make some music! 1 Play the DTX500 While hitting the pads, turn the VOLUME knob on the rear panel to raise the overall volume to a comfortable level. The trigger input level will be displayed in the bar graph in the upper right corner of the display. The bar graph indicates the input levels of the following input jacks. KIT1 1~:Oak~Custom~~, Bar graph Bar graph (from left) 1 2 3 4 5 6 7 8 9 Corresponding input jacks 1 SNARE 2 TOM1/ 0 3 TOM2/ ! 4 TOM3/ @ 5 RIDE 6 CRASH 7 HI HAT 8 KICK 8 PAD 9 2 Select a Drum Kit A 'Drum Kit' is a collection of drum sounds (or voices) that play when you hit the pads. Try selecting some of the Drum Kits (1-50) and enjoy the variety of sounds and drum setups available. * Preset Drum Kit List (p. 46) Rotate the jog dial to select a Drum Kit. KIT1 1~:Oak~Custom~~, Drum kit Number Drum kit Name Try out the different drum kits and select one drum kit you like. * Some Drum Kits have pad songs and drum loops that start playback when the corresponding pad is hit. 3 Change the Volume for Each Pad Change the volume for each pad and adjust the overall balance of the Drum Kit. Press the [>] button once in the previous Drum Kit Select page. The following display appears and the flashing cursor is at "˙" in the LCD. KIT2~~~ƒsnare~~˙ "S01:OakCustom~, Press the [>] button again to move the flashing cursor to the "S" position, the first character of "S01:OakCustom". KIT2~~~ƒsnare~~˙ "S01:OakCustom~, Press the [>] button twice to view the KIT 3 page. KIT3~~~ƒsnare~~ "~~Volume=120~~, Use the [] buttons in this manner to select the desired item (the cursor flashes). When the page only contains a single item, pressing the [] buttons will select the next or previous page. * The "," mark on the lower right side of the display indicates that a succeeding page is available. Likewise, the """ mark on the lower left side of the display indicates that a previous page is available. In the KIT 3 page, hit the pad for which you want to change the volume. The selected pad (input jack) is shown in the upper half of the display. Rotate the jog dial to adjust the volume (the value is flashing) of the pad. * Some drum voices have two voices in a layer (in other words, two voices sound at the same time when a pad is hit). In case of two-layer voices, select the ˙ or ¶ mark in the upper right side of the display (press the [] buttons so that the mark flashes, and use the jog dial to select) then adjust each volume. Pad (Input jack) KIT3~~~™tom1~~~˙ Layer (˙/¶) "~~Volume=120~~, Volume (0-127) 13 DTX500 Owner's Manual
-
 1
1 -
2
-
3
-
4
-
5
-
6
-
7
-
 8
8 -
 9
9 -
 10
10 -
 11
11 -
 12
12 -
 13
13 -
 14
14 -
 15
15 -
 16
16 -
 17
17 -
 18
18 -
19
-
20
-
21
-
22
-
23
-
24
-
25
-
26
-
27
-
28
-
29
-
30
-
31
-
32
-
33
-
34
-
35
-
36
-
37
-
38
-
39
-
40
-
41
-
42
-
43
-
44
-
45
-
46
-
47
-
48
 |
 |