Yamaha DTX500K Owner's Manual - Page 15
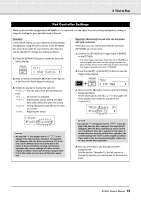
Pad Controller Settings
 |
View all Yamaha DTX500K manuals
Add to My Manuals
Save this manual to your list of manuals |
Page 15 highlights
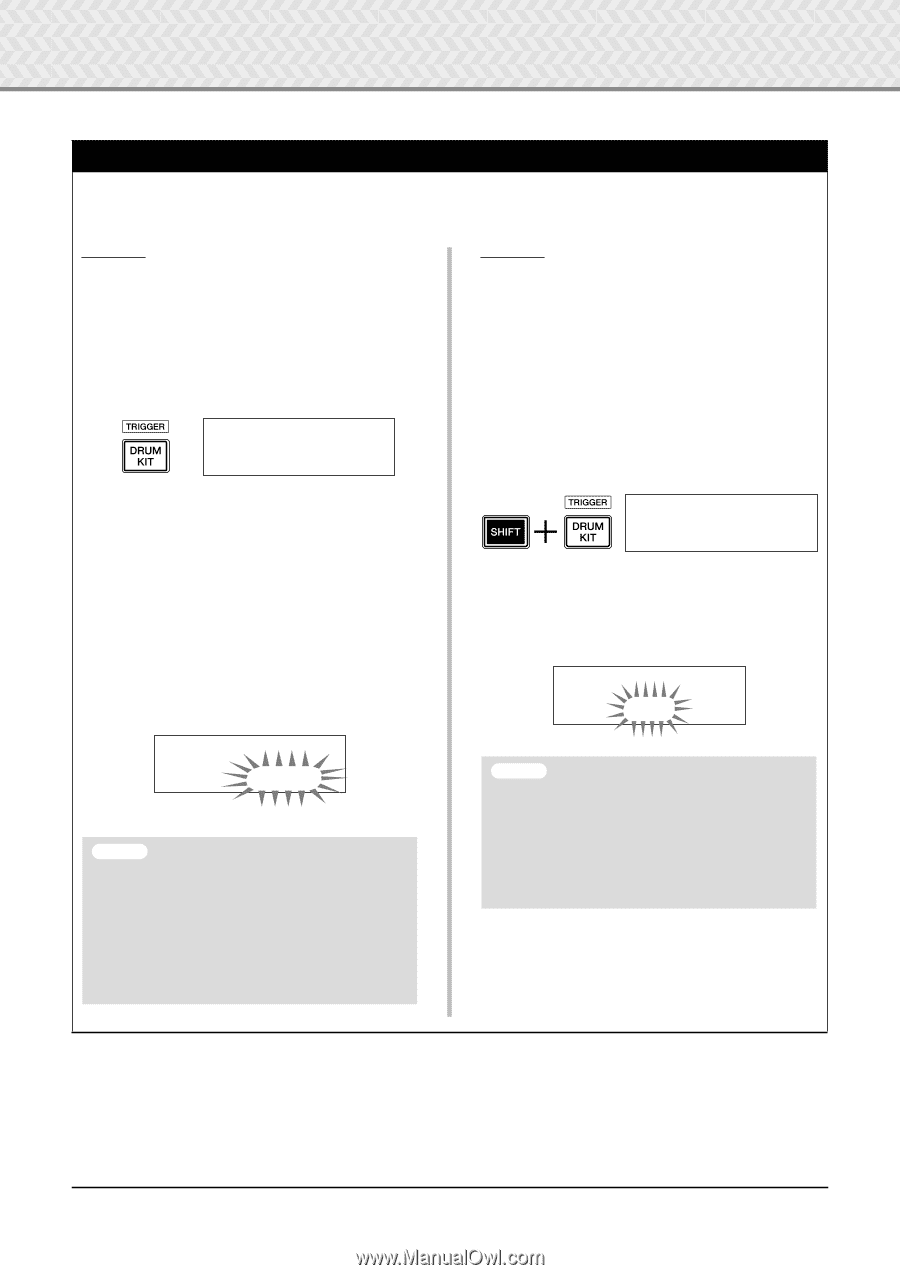
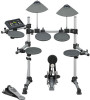
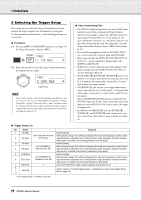
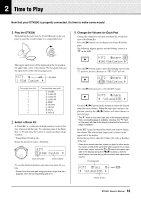
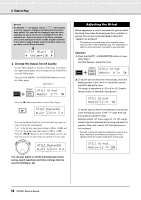
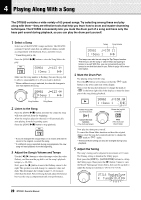
2 Time to Play Pad Controller Settings When a pad-controller-equipped pad (XP100SD, etc.) is connected, you can adjust the snares setting and tightness, tuning, or tempo by rotating the pad controller knob of the pad. Operation In the default setting, you can adjust the snares setting and tightness using the pad controller of the XP100SD (the snare drum pad). To use functions other than the snares adjustment, change the setting as follows. 1. Press the [DRUM KIT] button to enter the Drum Kit Select display. KIT1 1~:Oak~Custom~~, 2. Next, continue pressing the [>] button until Page 22 of the Drum Kit Select pages is called up. 3. Rotate the jog dial to change the value for "PadCtl=". You can select from the following functions. off .......... No function is assigned. snares .... Adjusting the snares setting and tightness (also affects the open rim sound) tuning.... Tuning adjustment (also affects the open rim sound) tempo ...... Adjusting the tempo Operation (Replacing the pad with one equipped with pad controller) Here's how you can use the pad with pad controller (XP100SD) as a snare drum. 1. Connect the XP100SD with trigger input 1SNARE on the DTX500. * The other trigger input jacks other than the 1SNARE are not compatible with pad-controller-equipped pads. The pad controller will not work if this type of pad is connected to a trigger input jack other than 1SNARE. 2. Press the [SHIFT] + [DRUM KIT] buttons to view the Trigger Setup display. TRG1 1~:XP Med~~~~~~, 3. Next, press the [>] button once to view the following display (pad type). Hit the snare pad to view "ƒsnare" in the upper half of the display, then rotate the jog dial to set "Type=SN-1." TRG2*~ƒsnare~~0% "Type=SN-1~~~~~, KIT22* "PadCtl=tuning~, NOTICE • An asterisk "*" will appear next to "KIT22" in the display if the data has been changed. This asterisk will disappear after the Store operation (p. 32) is carried out. If a different drum kit is selected or the power is turned off before carrying out the Store operation, the current settings will return to their original condition. If you want to keep changes made to the data, make sure to carry out the Store operation. NOTICE • An asterisk "*" will appear next to "TRG2" in the display if the data has been changed. This asterisk will disappear after the Store operation (p. 34) is carried out. If a different drum kit is selected or the power is turned off before carrying out the Store operation, the current settings will return to their original condition. If you want to use the selected pad again, make sure to carry out the Store operation. 4. Now you are ready to use the pad-controllerequipped pad. See the section "Operation" in the left column to change the function you want to use for the pad controller. 15 DTX500 Owner's Manual
-
 1
1 -
2
-
3
-
4
-
5
-
6
-
7
-
8
-
9
-
 10
10 -
 11
11 -
 12
12 -
 13
13 -
 14
14 -
 15
15 -
 16
16 -
 17
17 -
 18
18 -
 19
19 -
 20
20 -
21
-
22
-
23
-
24
-
25
-
26
-
27
-
28
-
29
-
30
-
31
-
32
-
33
-
34
-
35
-
36
-
37
-
38
-
39
-
40
-
41
-
42
-
43
-
44
-
45
-
46
-
47
-
48
 |
 |